LeapX integration with TheThingsNetwork Cloud edition
The Things Network provides a set of open tools and a global open network to build your next IoT application at a low cost, featuring maximum security and scalability.
With the LeapX application, the user has the possibility to simplify the Gateway and Sensor onboarding process on “The Things Network” in a few taps.
Please follow the registration process provided by this link: https://www.thethingsnetwork.org/get-started
When the TTN account is successfully created, the user will be ready to proceed with the Gateway and Sensor onboarding process:
- Open the LeapX application.
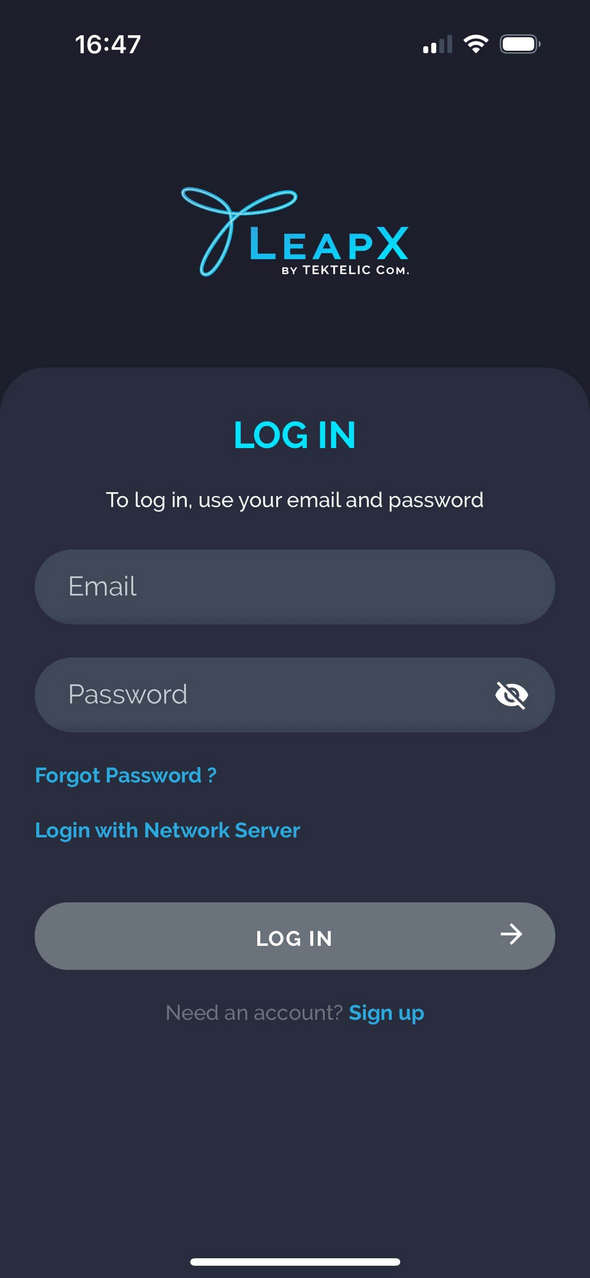
- On the “Sign up” screen, tap on the “Log in” button.

- On the “Log in” screen, tap on the “Log in with Network Server” button.
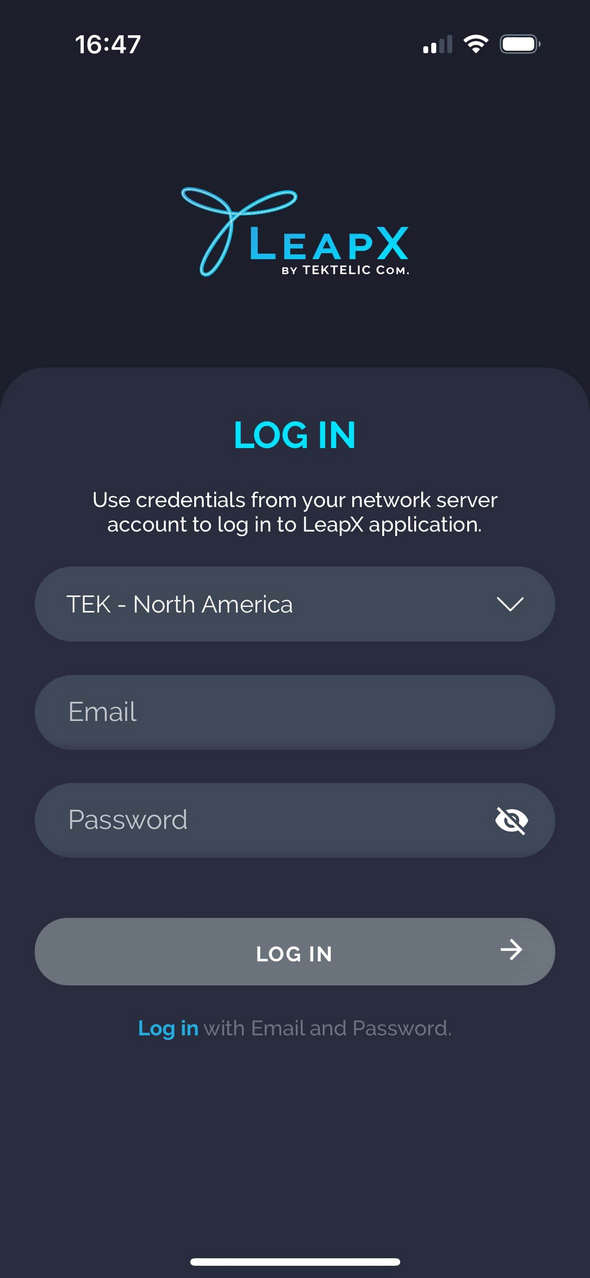
- On the “Log in with the Network Server Credentials” screen, tap on the down arrow to trigger the drop-down list with available Network Server instances.
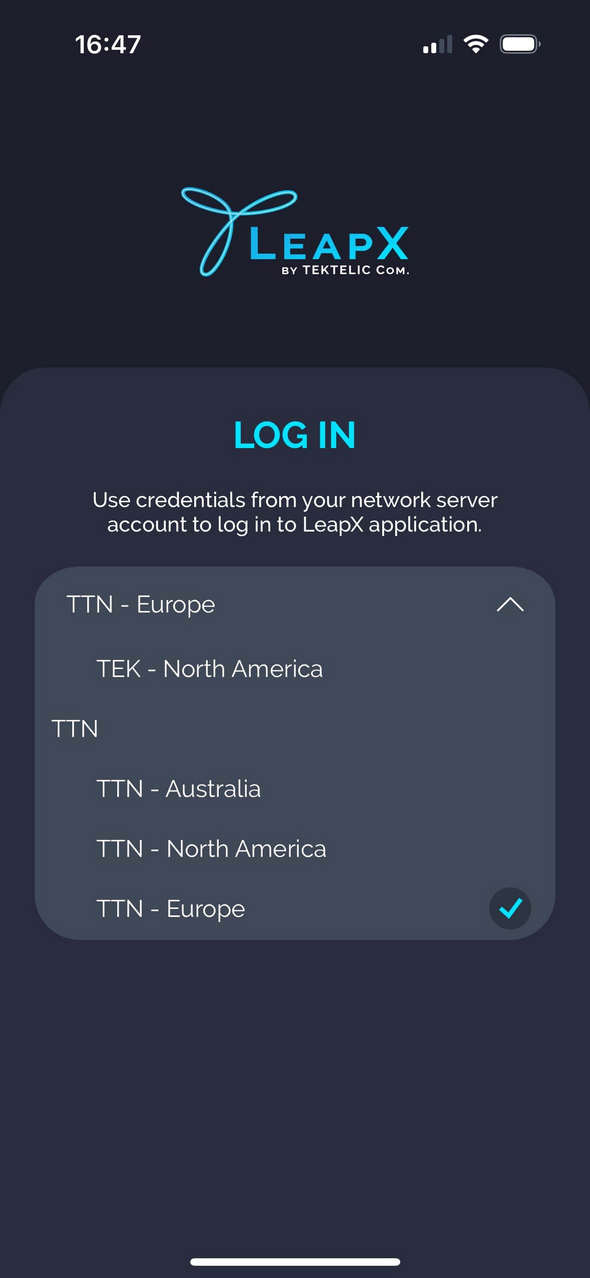
- From the list of available Network Servers, choose the proper instance of TTN according to your usage region and tap on the “Log in” button.
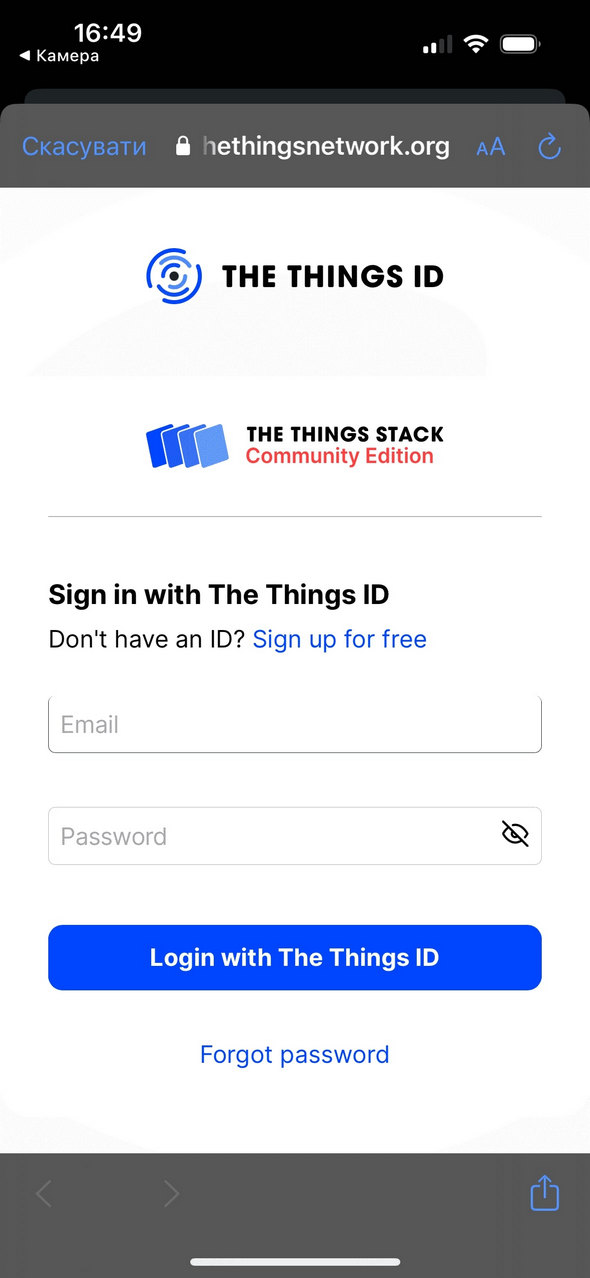
- In the opened window, please fill out all the fields with the credentials of your TTN account and tap on the “Log in with The Things ID” button.
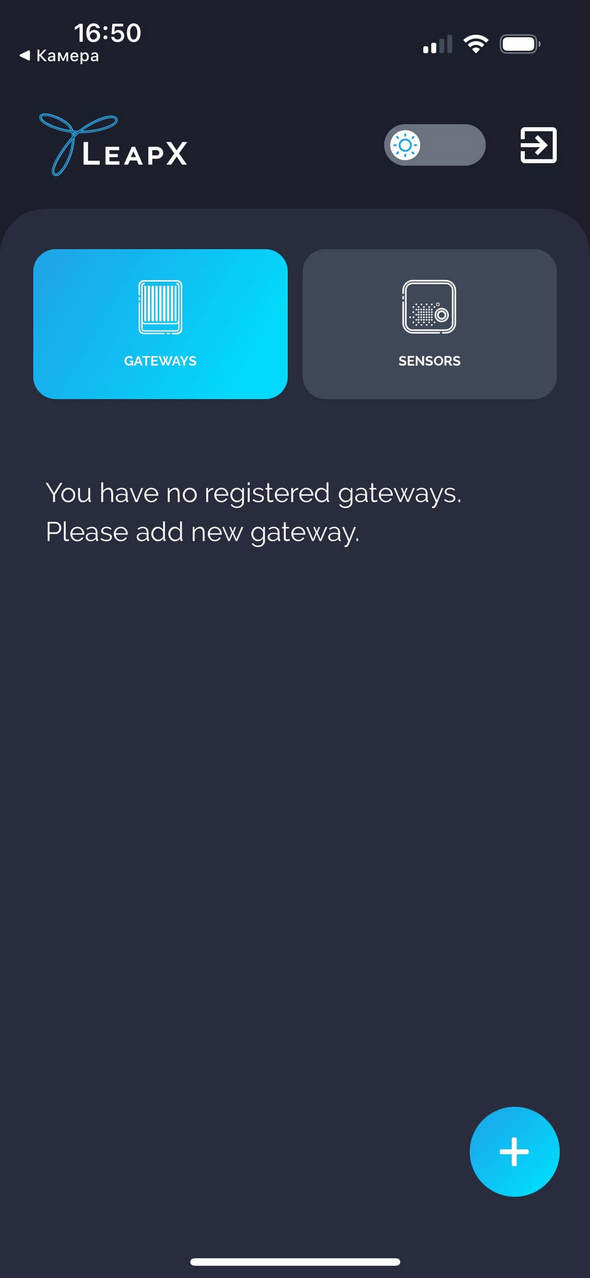
- At this stage, the user has the possibility to onboard the first Gateway. Please click on the “+” button to proceed with the Gateway onboarding process.
- On the “Scan Your Gateway” screen, please scan the QR code that can be found at the bottom of the Gateway. If the QR code is unreachable/damaged, please tap on the “QR Is Not Available” button. If you encounter any error during the Gateway onboarding process, please contact our Support portal: https://support.tektelic.com/portal/

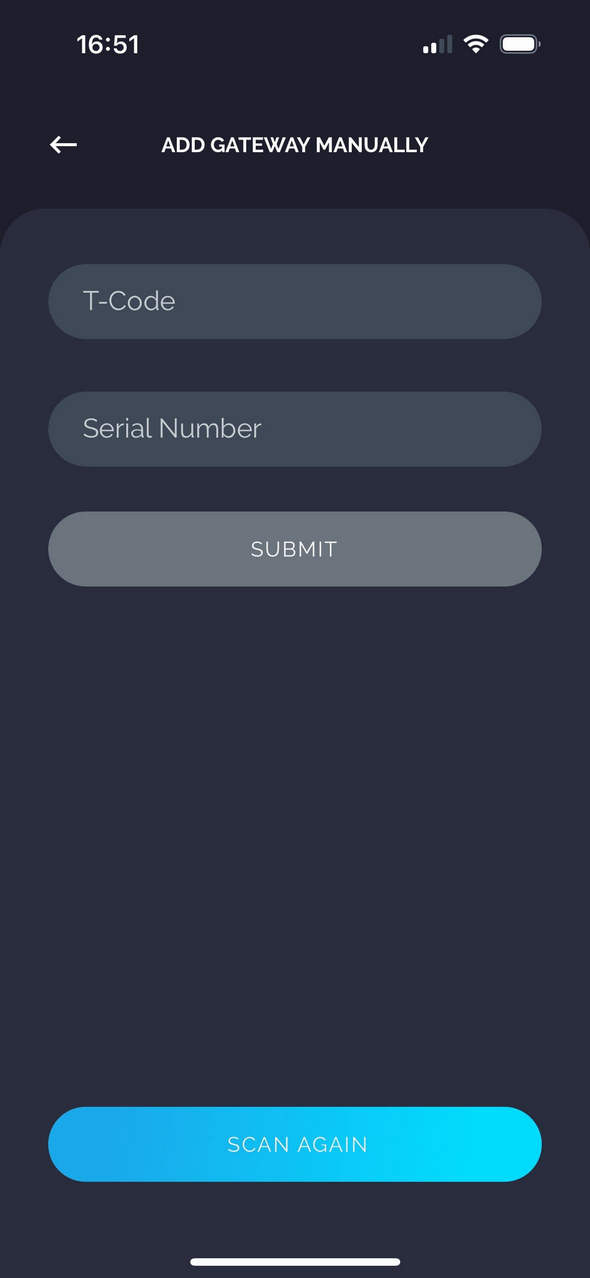
- On the “Add Gateway Manually” screen, please fill out all the fields with the information that is written on the sticker with a further tap on the “Submit” button. T000XXXX is an example of the T-code. 2020A0101 is an example of the serial number. If you encounter any error during the Gateway onboarding process, please contact our Support portal: https://support.tektelic.com/portal/
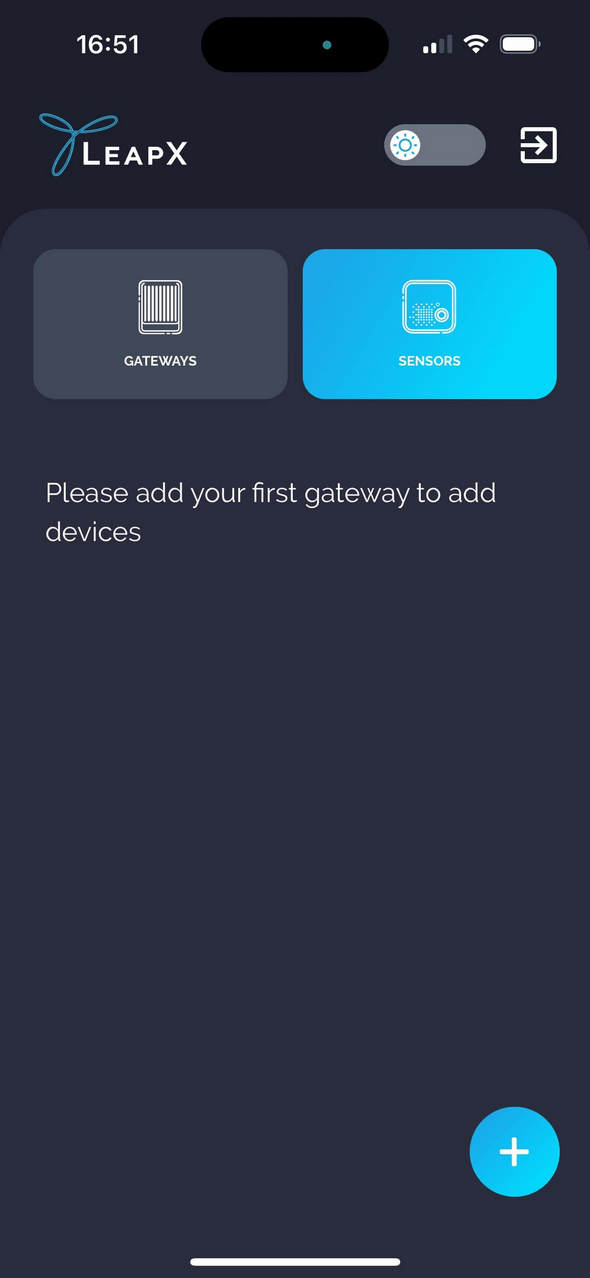
- When the Gateway is successfully added, please proceed with the Sensor onboarding process. Tap on the “Sensors” section and further tap on the “+” button.
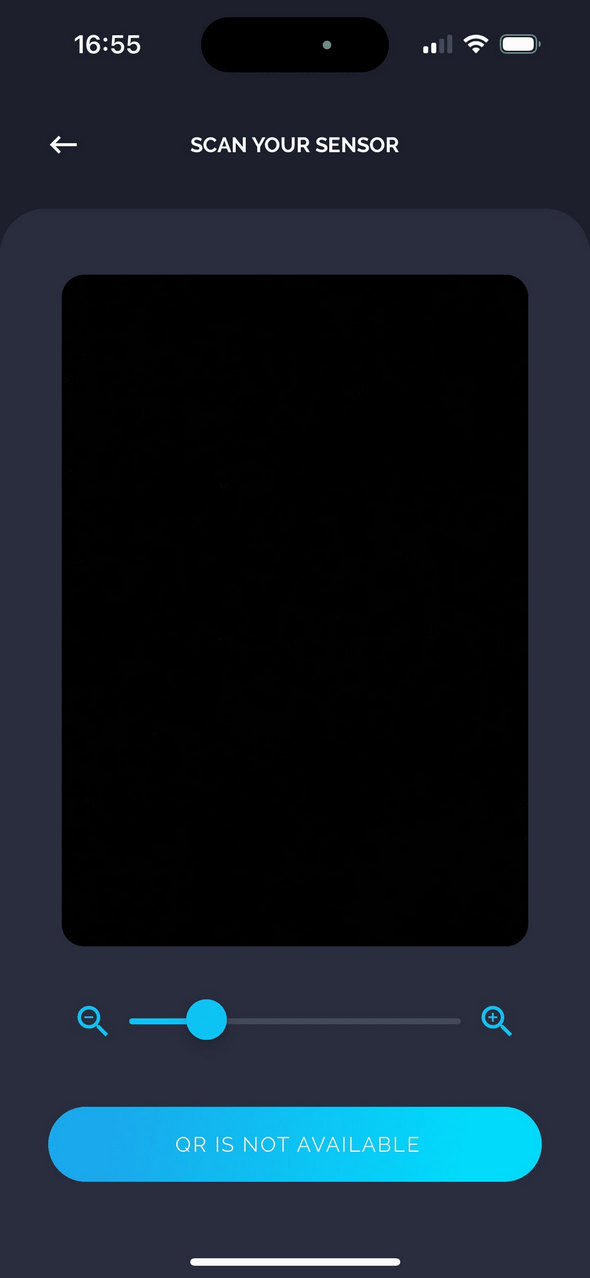
- On the “Scan Your Sensor” screen, please scan the QR code that can be found at the bottom of the Sensor. If the QR code is unreachable/damaged, please tap on the “QR Is Not Available” button. If you encounter any error during the Sensor onboarding process, please contact our Support portal: https://support.tektelic.com/portal/
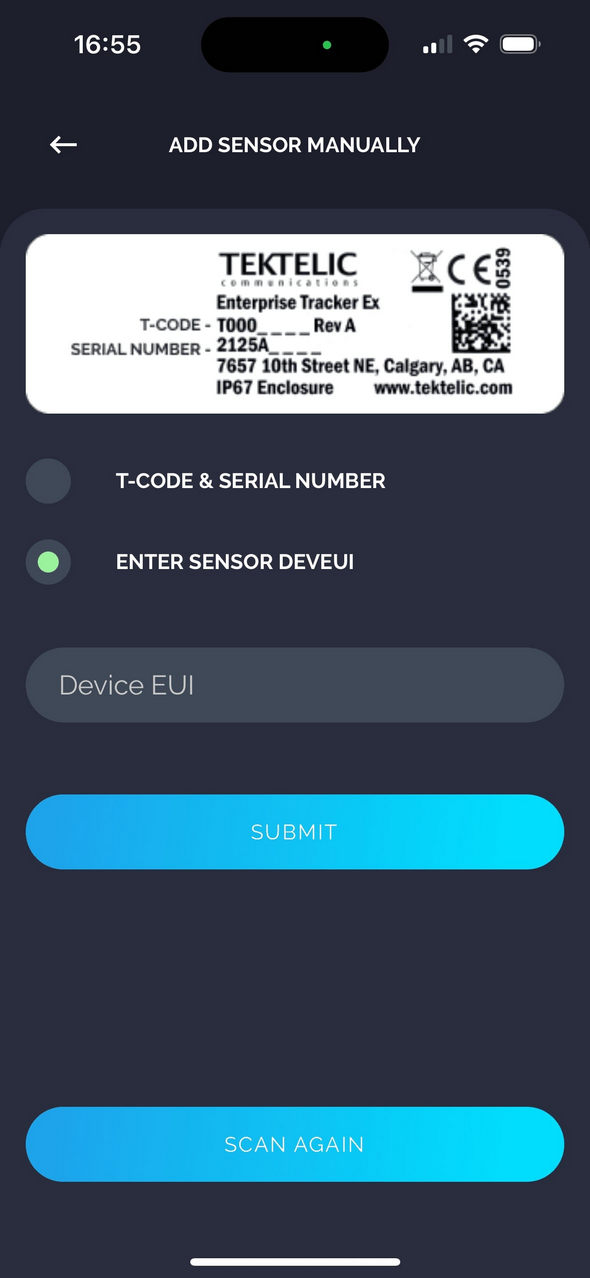
- On the “Add Sensor Manually” screen, please fill out all the fields with the information that is written on the sticker with a further tap on the “Submit” button. T000XXXX is an example of the T-code. 2020A0101 is an example of the serial number. 647FDA00000XXXXX is an example of the DevEUI. If you encounter any error during the Gateway onboarding process, please contact our Support portal: https://support.tektelic.com/portal/
- If the Gateway or Sensor does not come up within 5 minutes, please open a ticket on our Support portal, and a member of the team will help you resolve the issue as soon as possible: https://support.tektelic.com/portal/