
Alarms tab
The Alarms tab allows users to view the information about monitored entity health and status. Information about Alarms/Events/Faults description provided in Alarms and Events
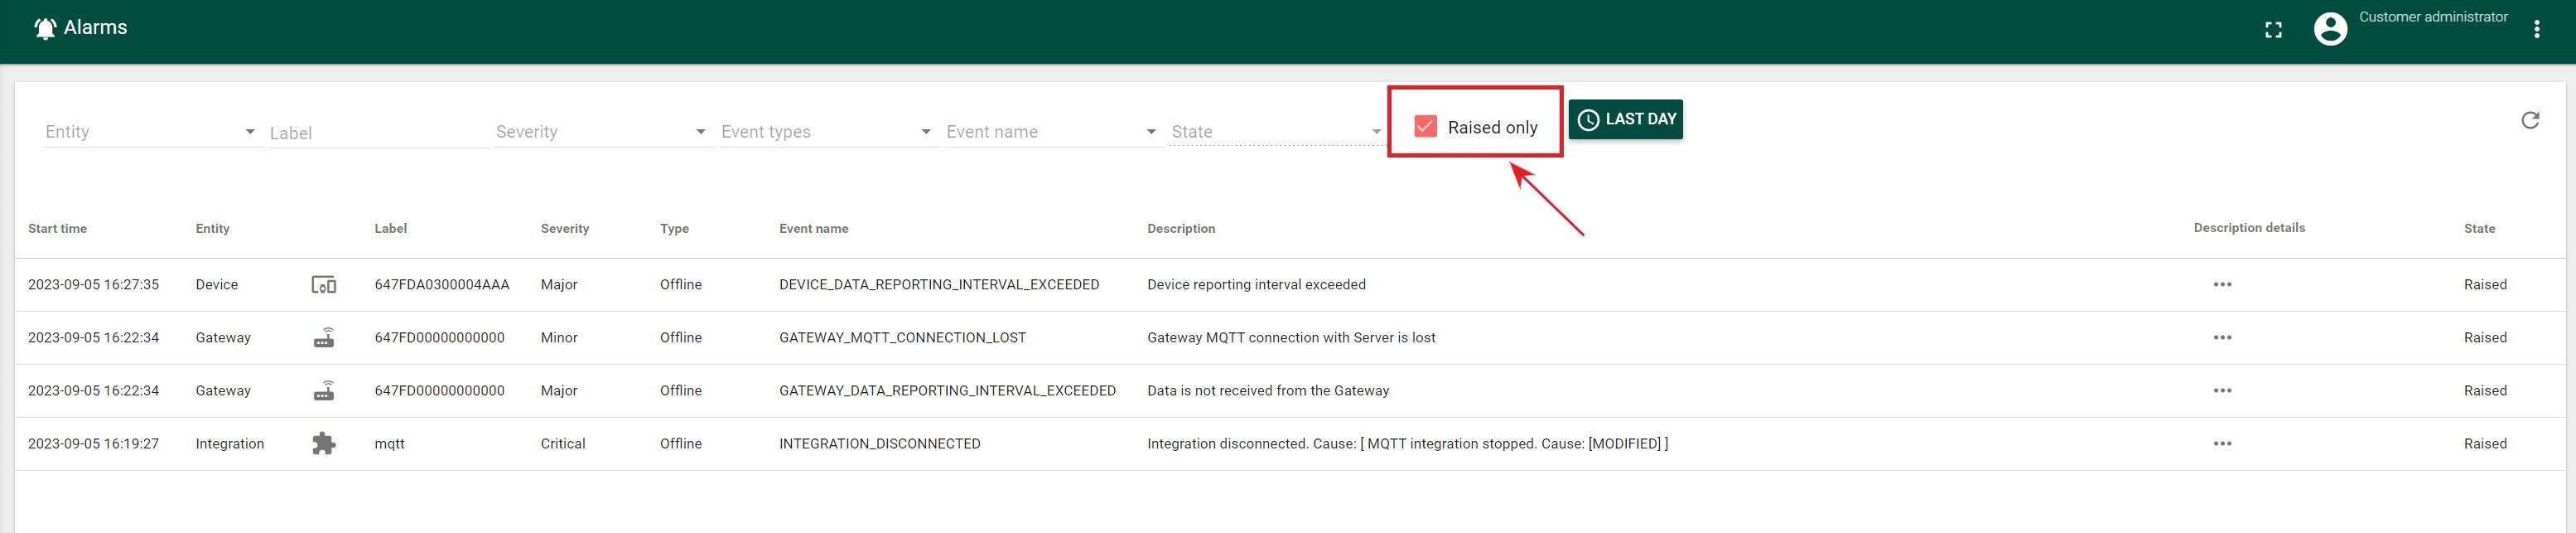
The “Raised only” checkbox is set by default, so the user immediately sees only actual alarms in the “Raised” state.
- Entity
- Gateway
- Device
- Integration

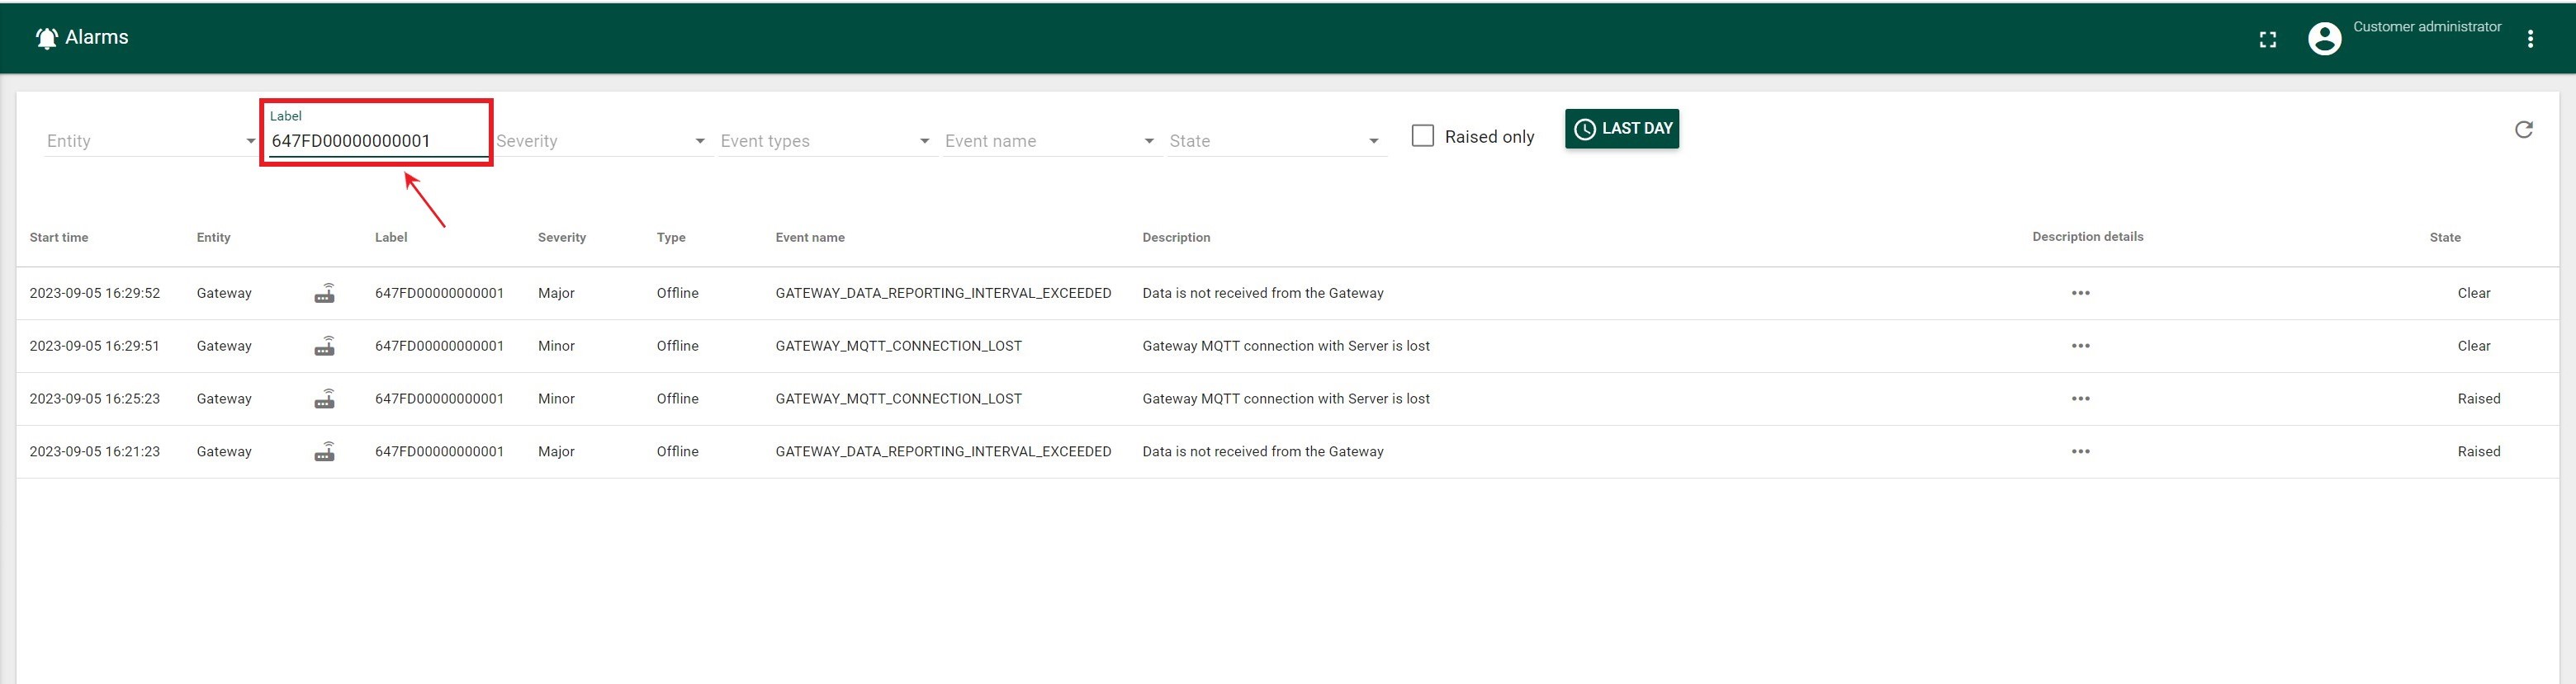
- Label (Entity name (input))
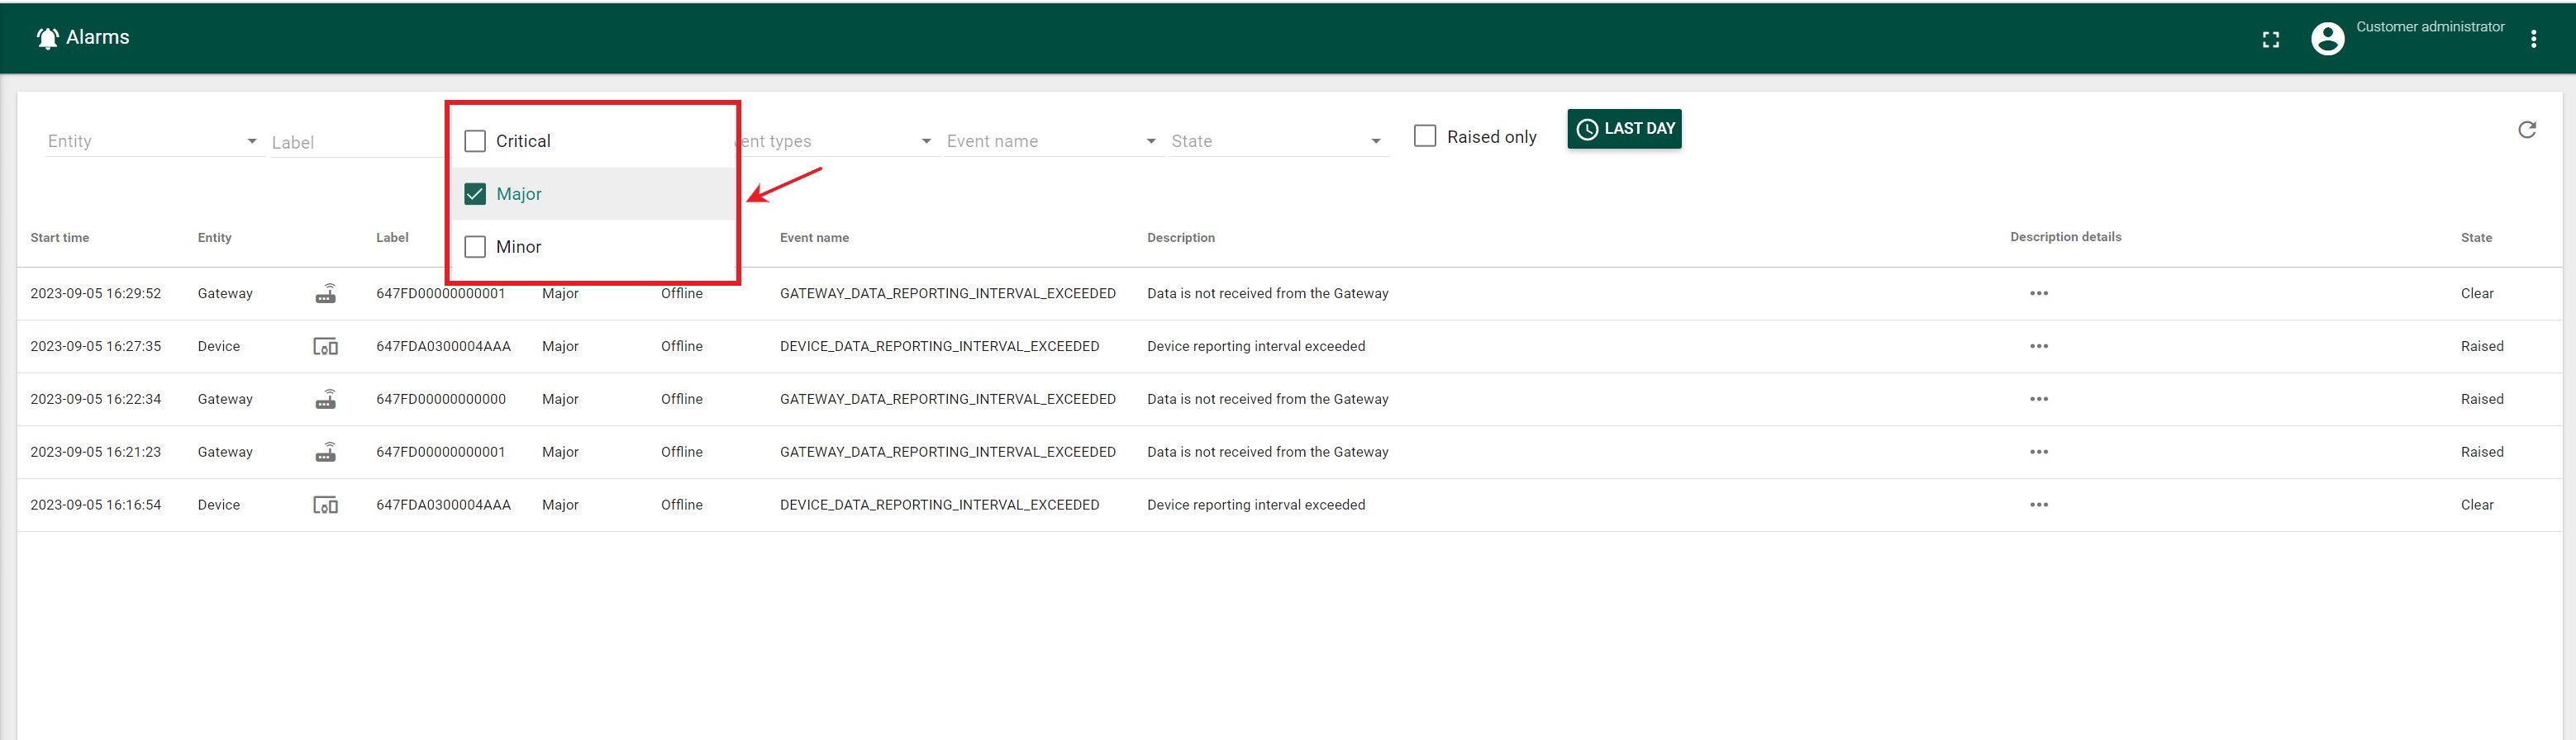
- Severity
- Critical
- Major
- Minor
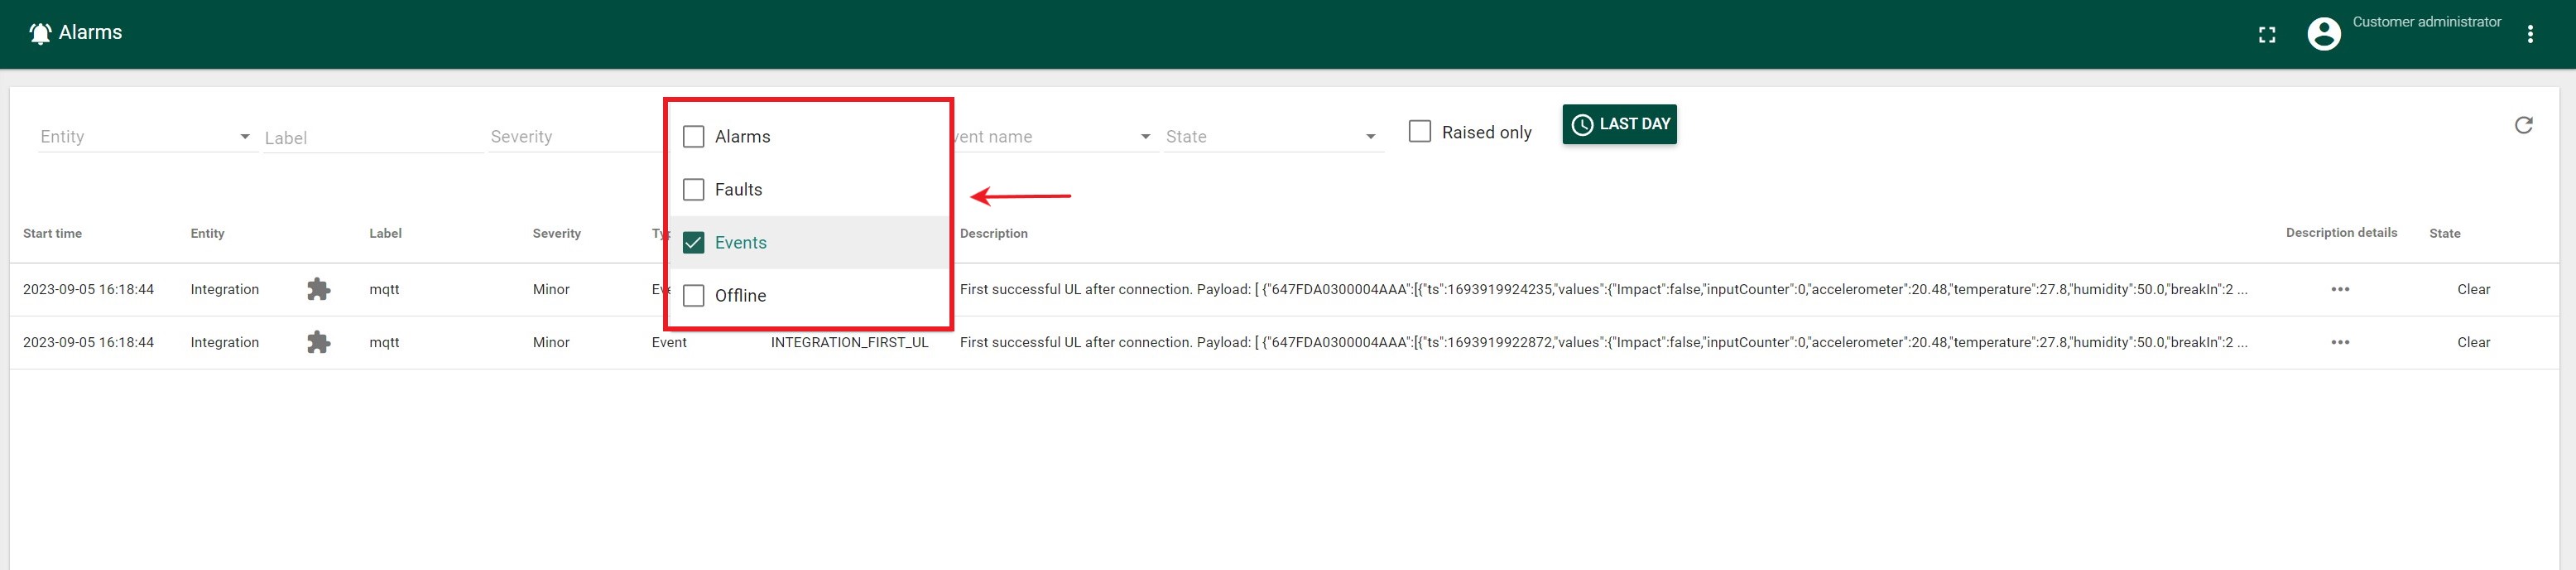
- Type
- Offline
- Event
- Alarm
- Fault
-
Event name
The list of Event Names can be found in Alarms and Events
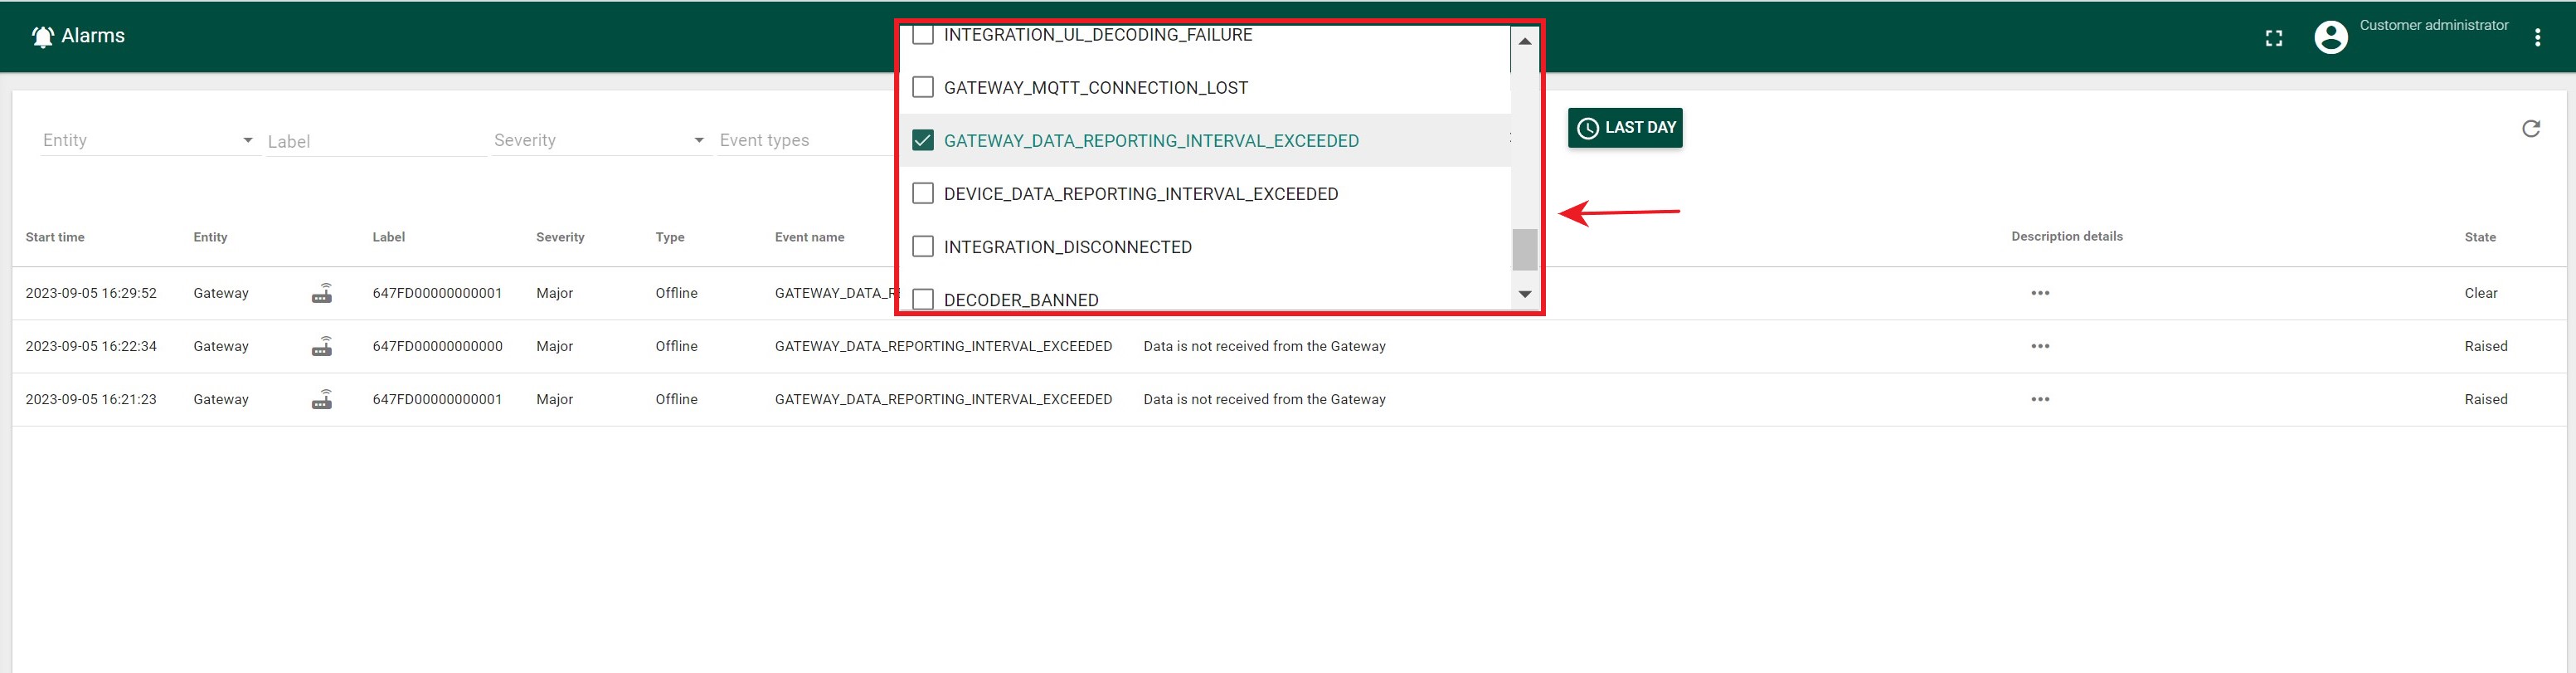
- State
- Raised
- Clear
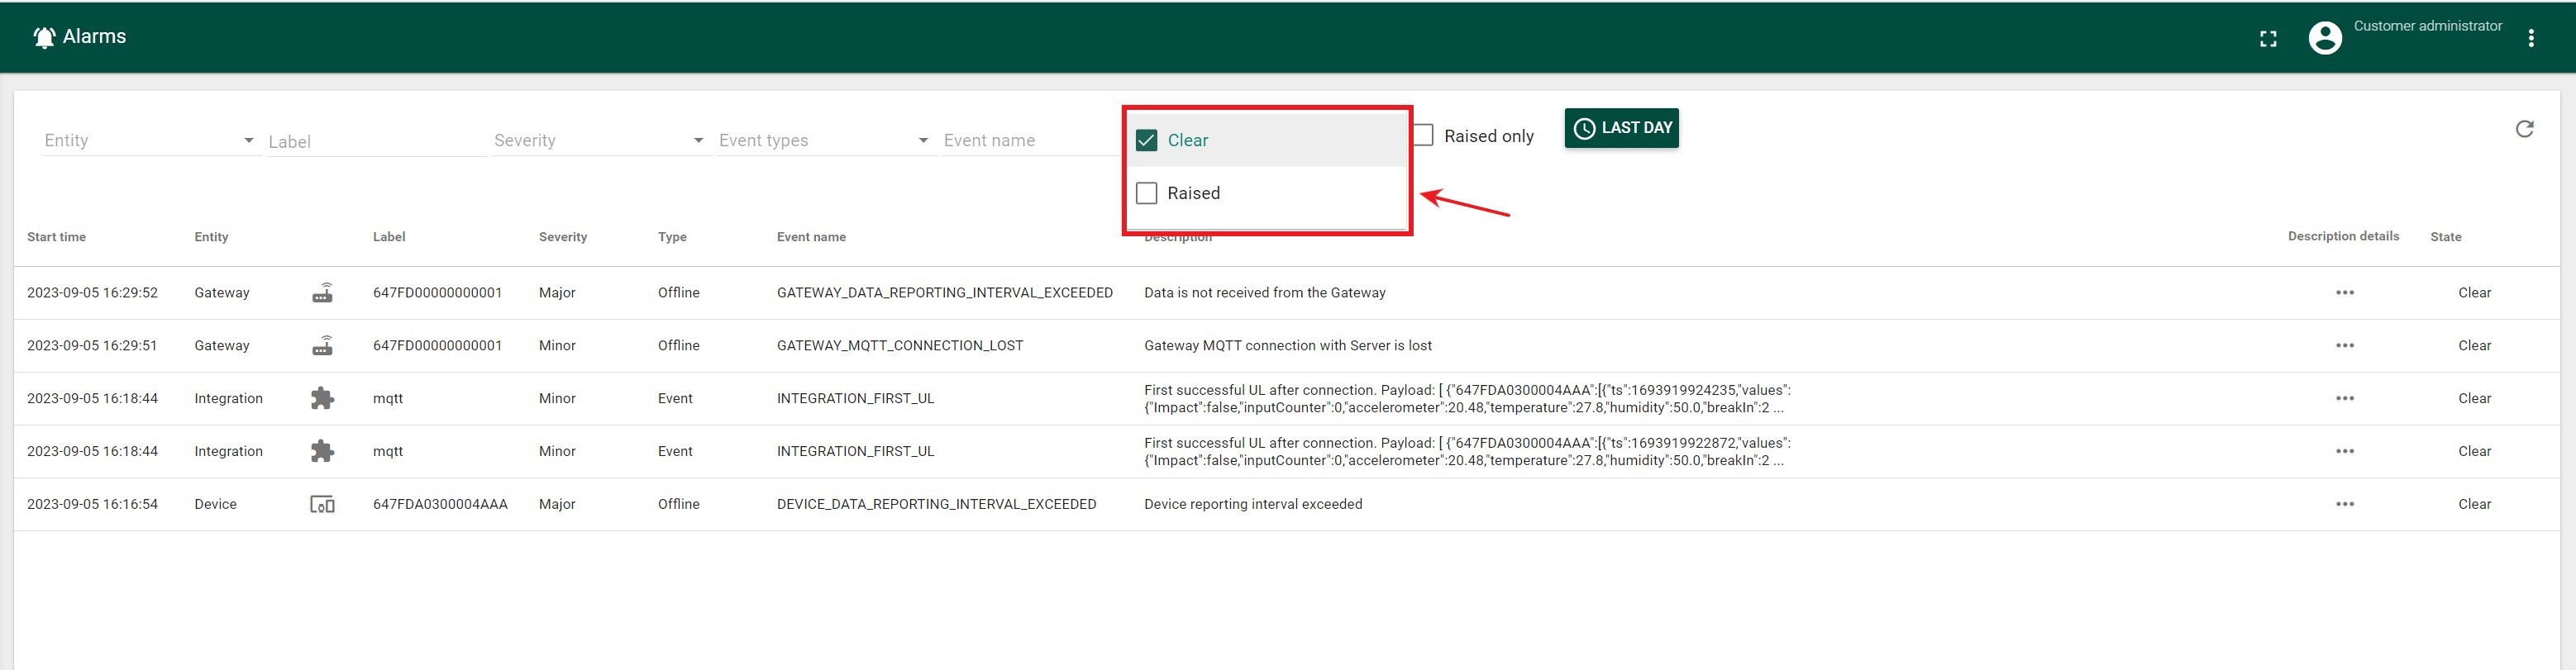
Please Note: the State drop-down is available just in case when “Raised only” checkbox is unchecked
- By time (Last(time slots from drop-down)/Time period)
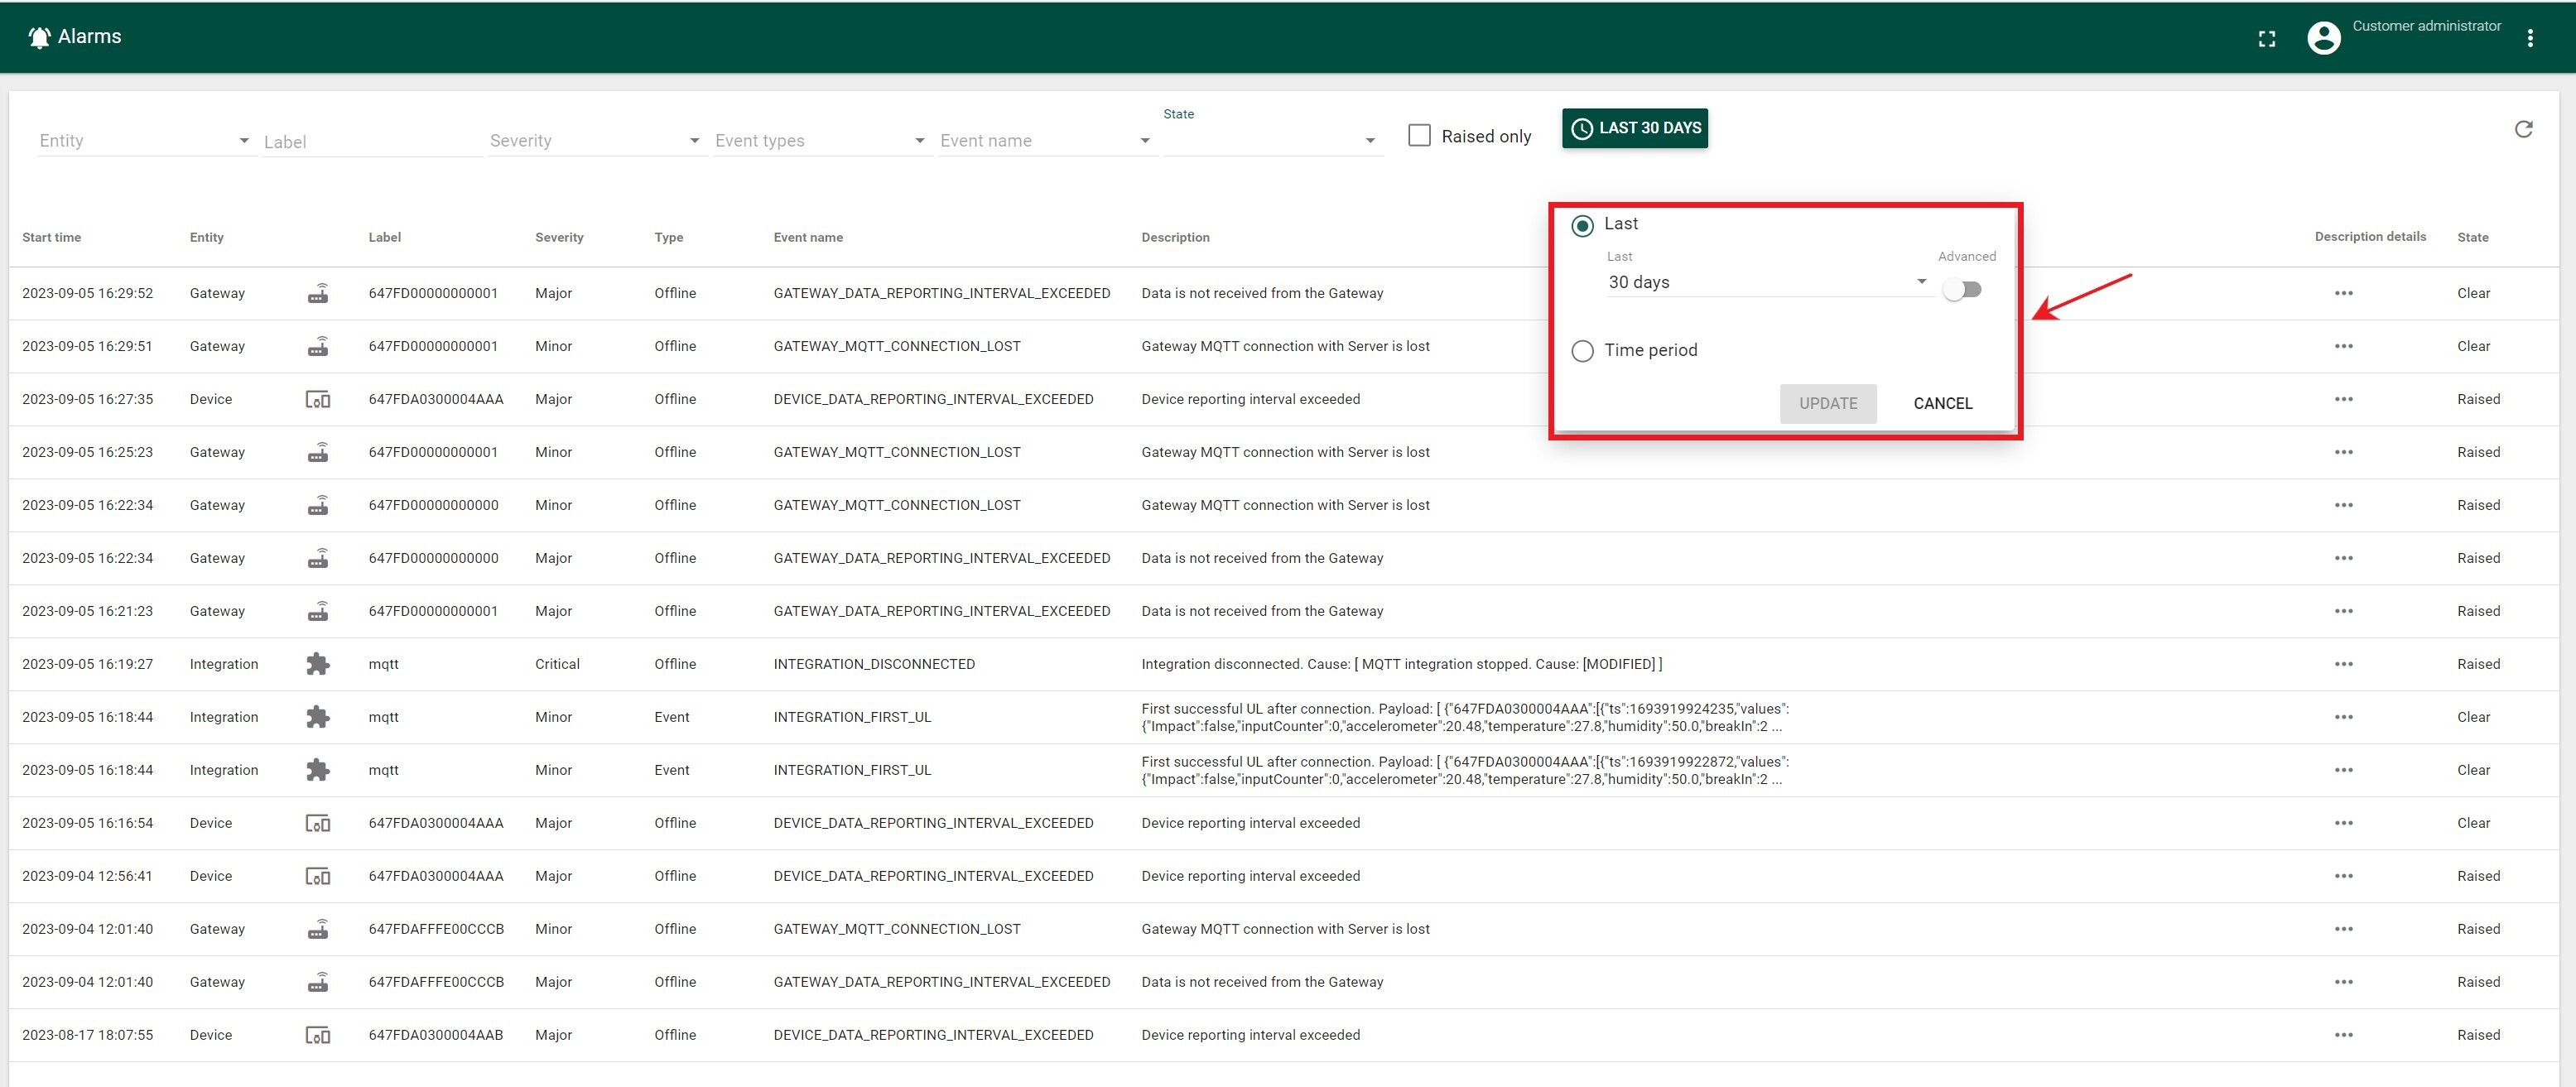
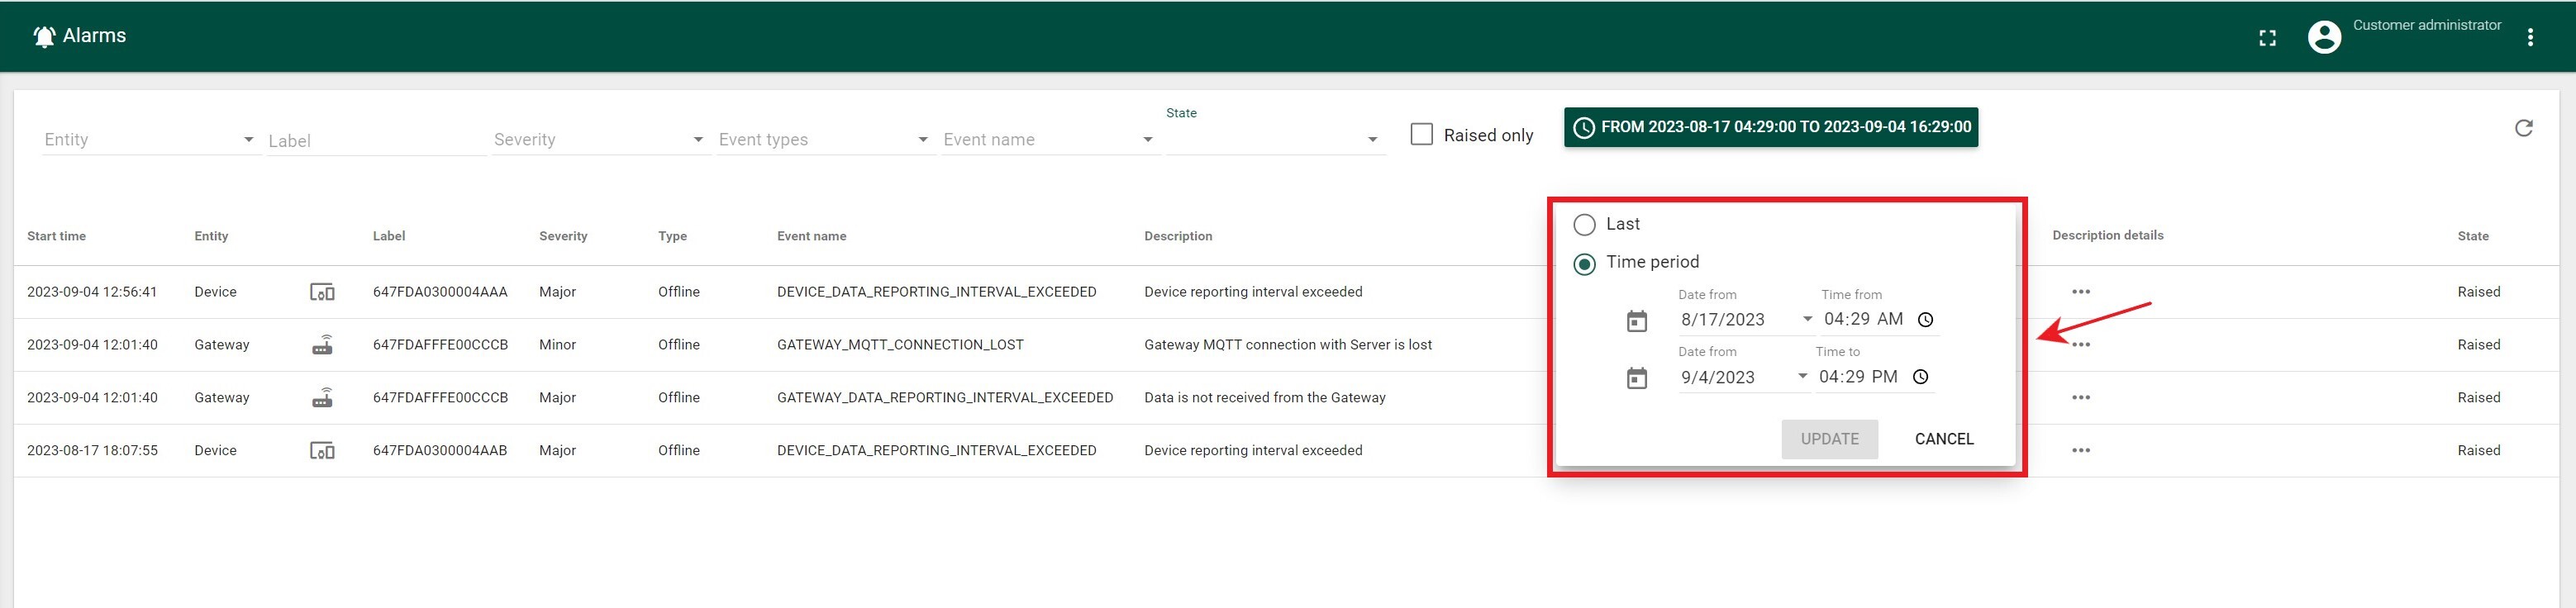
The EXPORT button is available in the upper-right corner of the Alarms table and allows users to download alarm data for further analysis, reporting, or record keeping.
Before selecting EXPORT, apply the required filters—such as Entity, Label, Severity, Event types, Event name, State, Raised only, and the time range—to define which alarms should be included. Select EXPORT to generate and download a file containing the alarms that match the current filter criteria.
If no filters are applied, the export includes all alarms available for the selected time range. The exported data contains the alarm details displayed in the table, including the start time, entity, label, severity, type, event name, description, description details, and state.
- Open the Alarms tab.
- Select the required time range.
- Apply any filters needed to narrow the alarm list.
- Review the displayed results.
- Select EXPORT in the upper-right corner of the table.
- Open the downloaded file to review or process the exported alarm data.
Note: The exported results are based on the filters and time range applied when the EXPORT button is selected.