3. Manage Devices
Please note that before adding sensors to the BREEZE app, they must be onboarded to the Network server, and also the Integration between the Network server and the BREEZE app must be created as well. User guide on how to do this you will find on TEKTELIC WIKI.
The “DEVICES” page contains two tabs - Device list and Configurations.
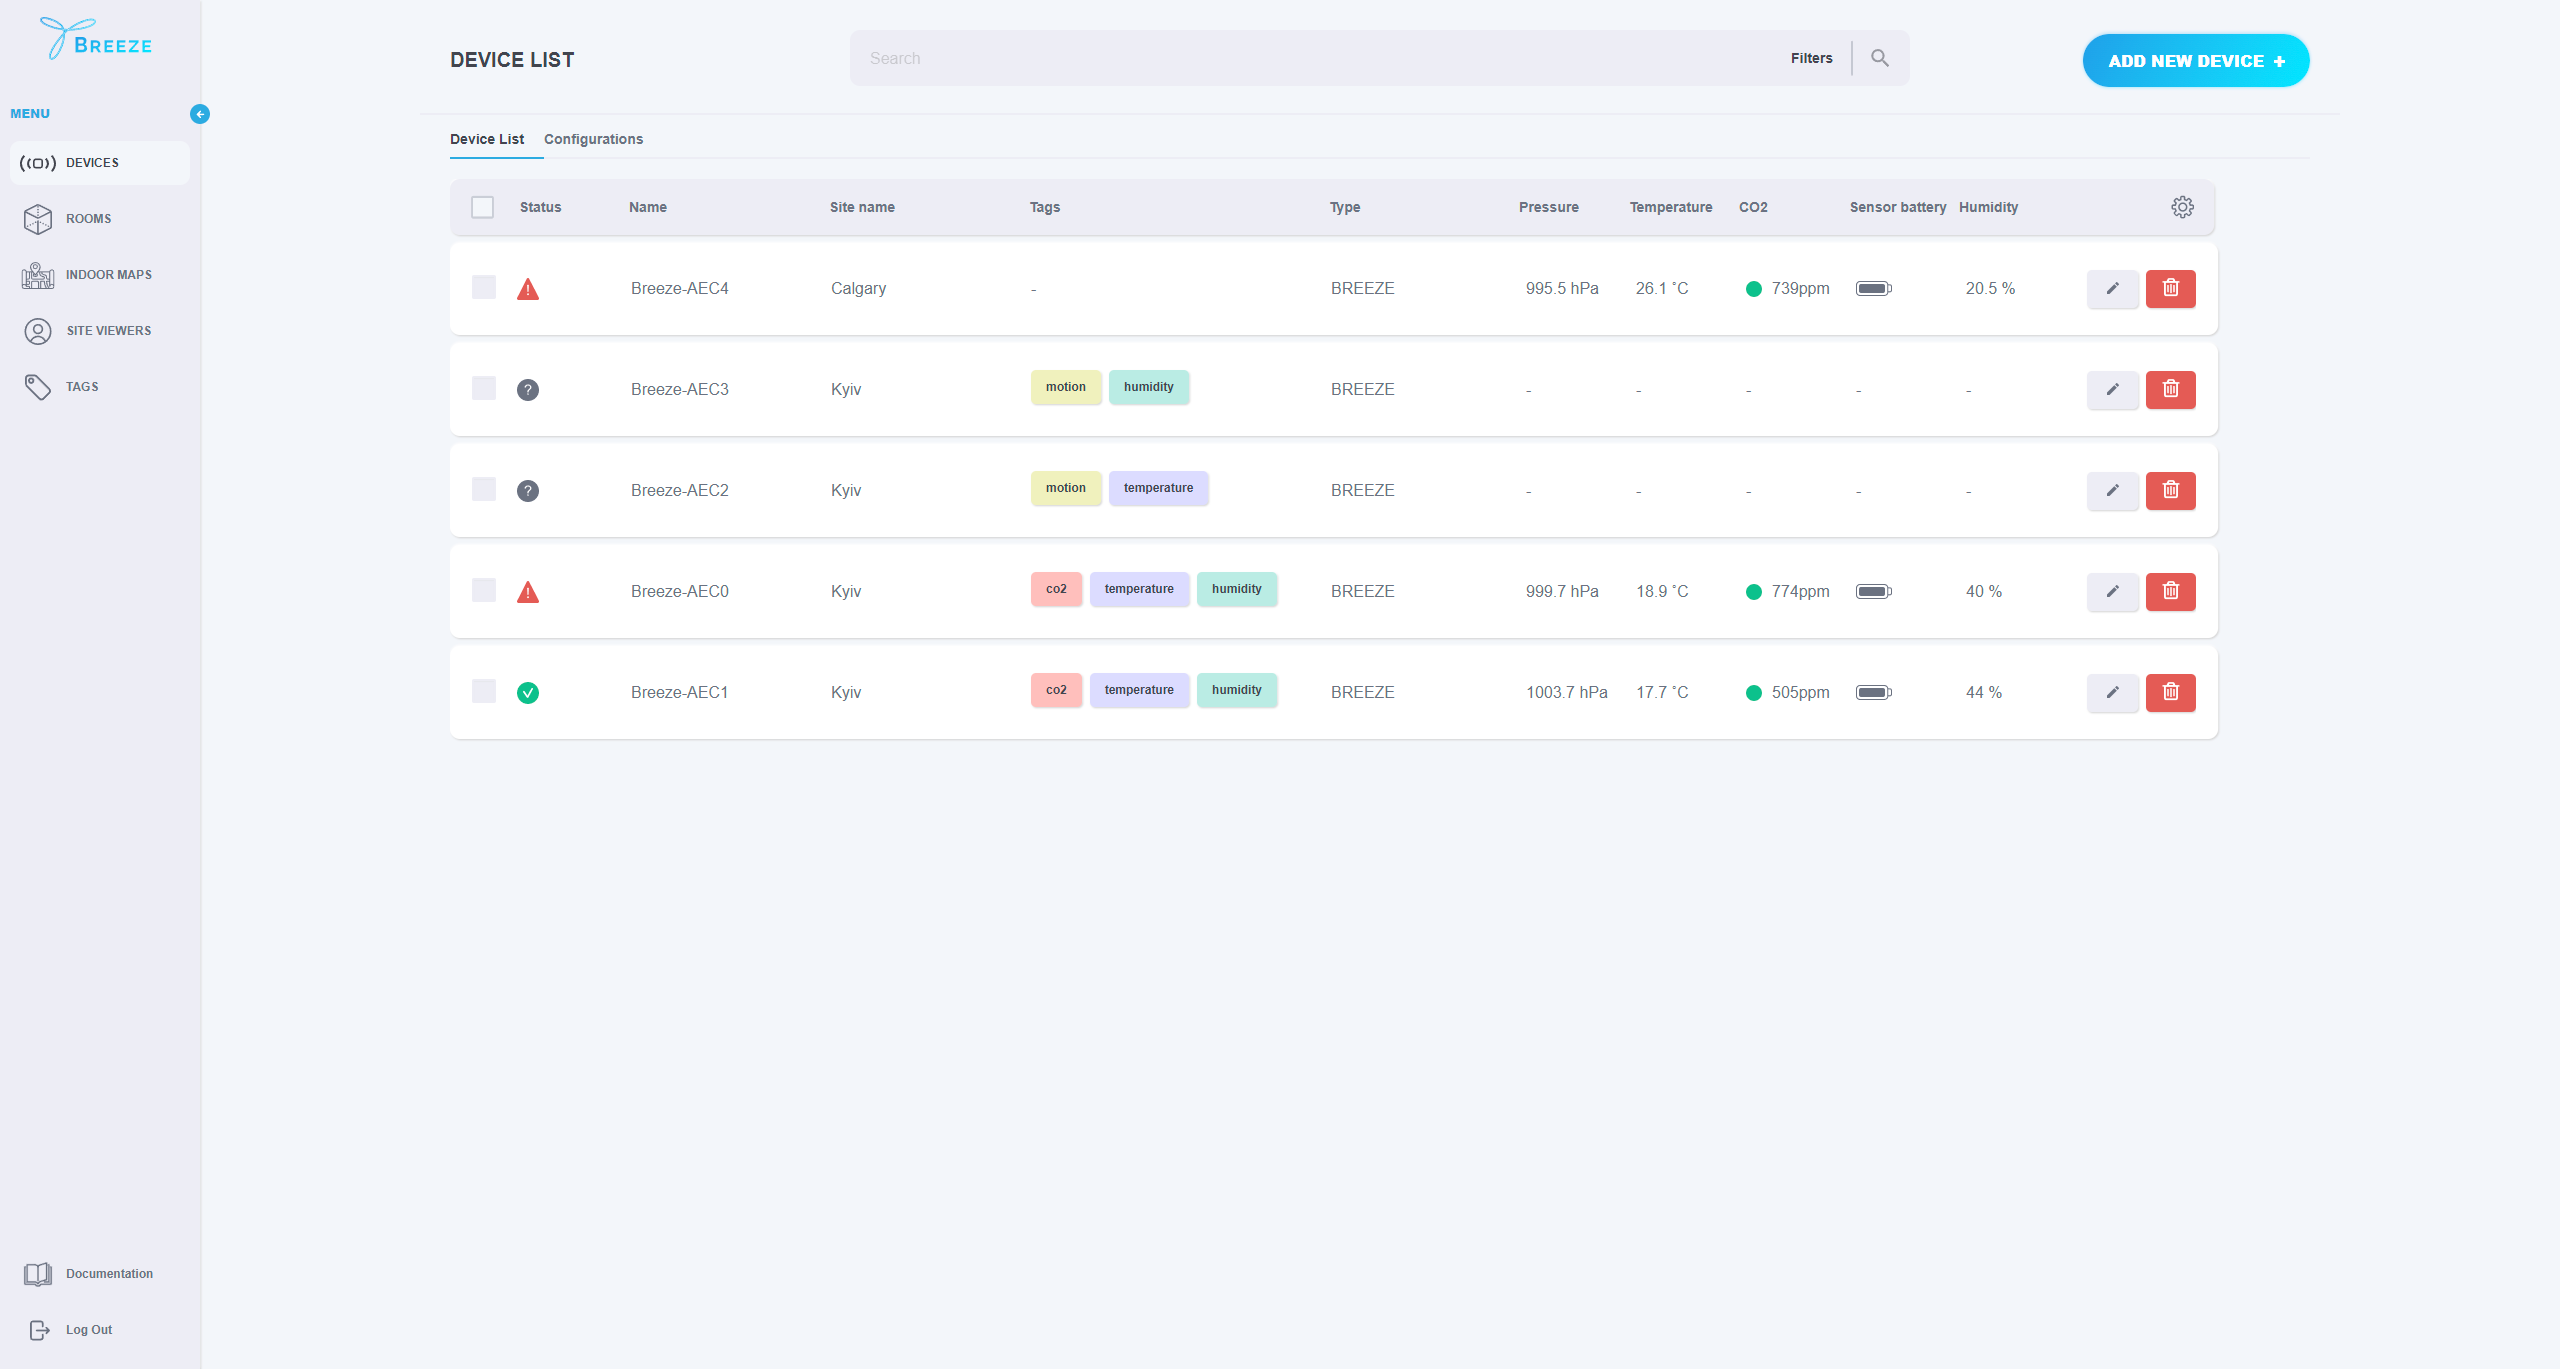
On the Device list, the user can add new devices, update/delete the existing ones as well as monitor the data reported by CO2 sensors. Also, the user is able to configure devices. To view the list of the devices added to the application, open “DEVICES”:
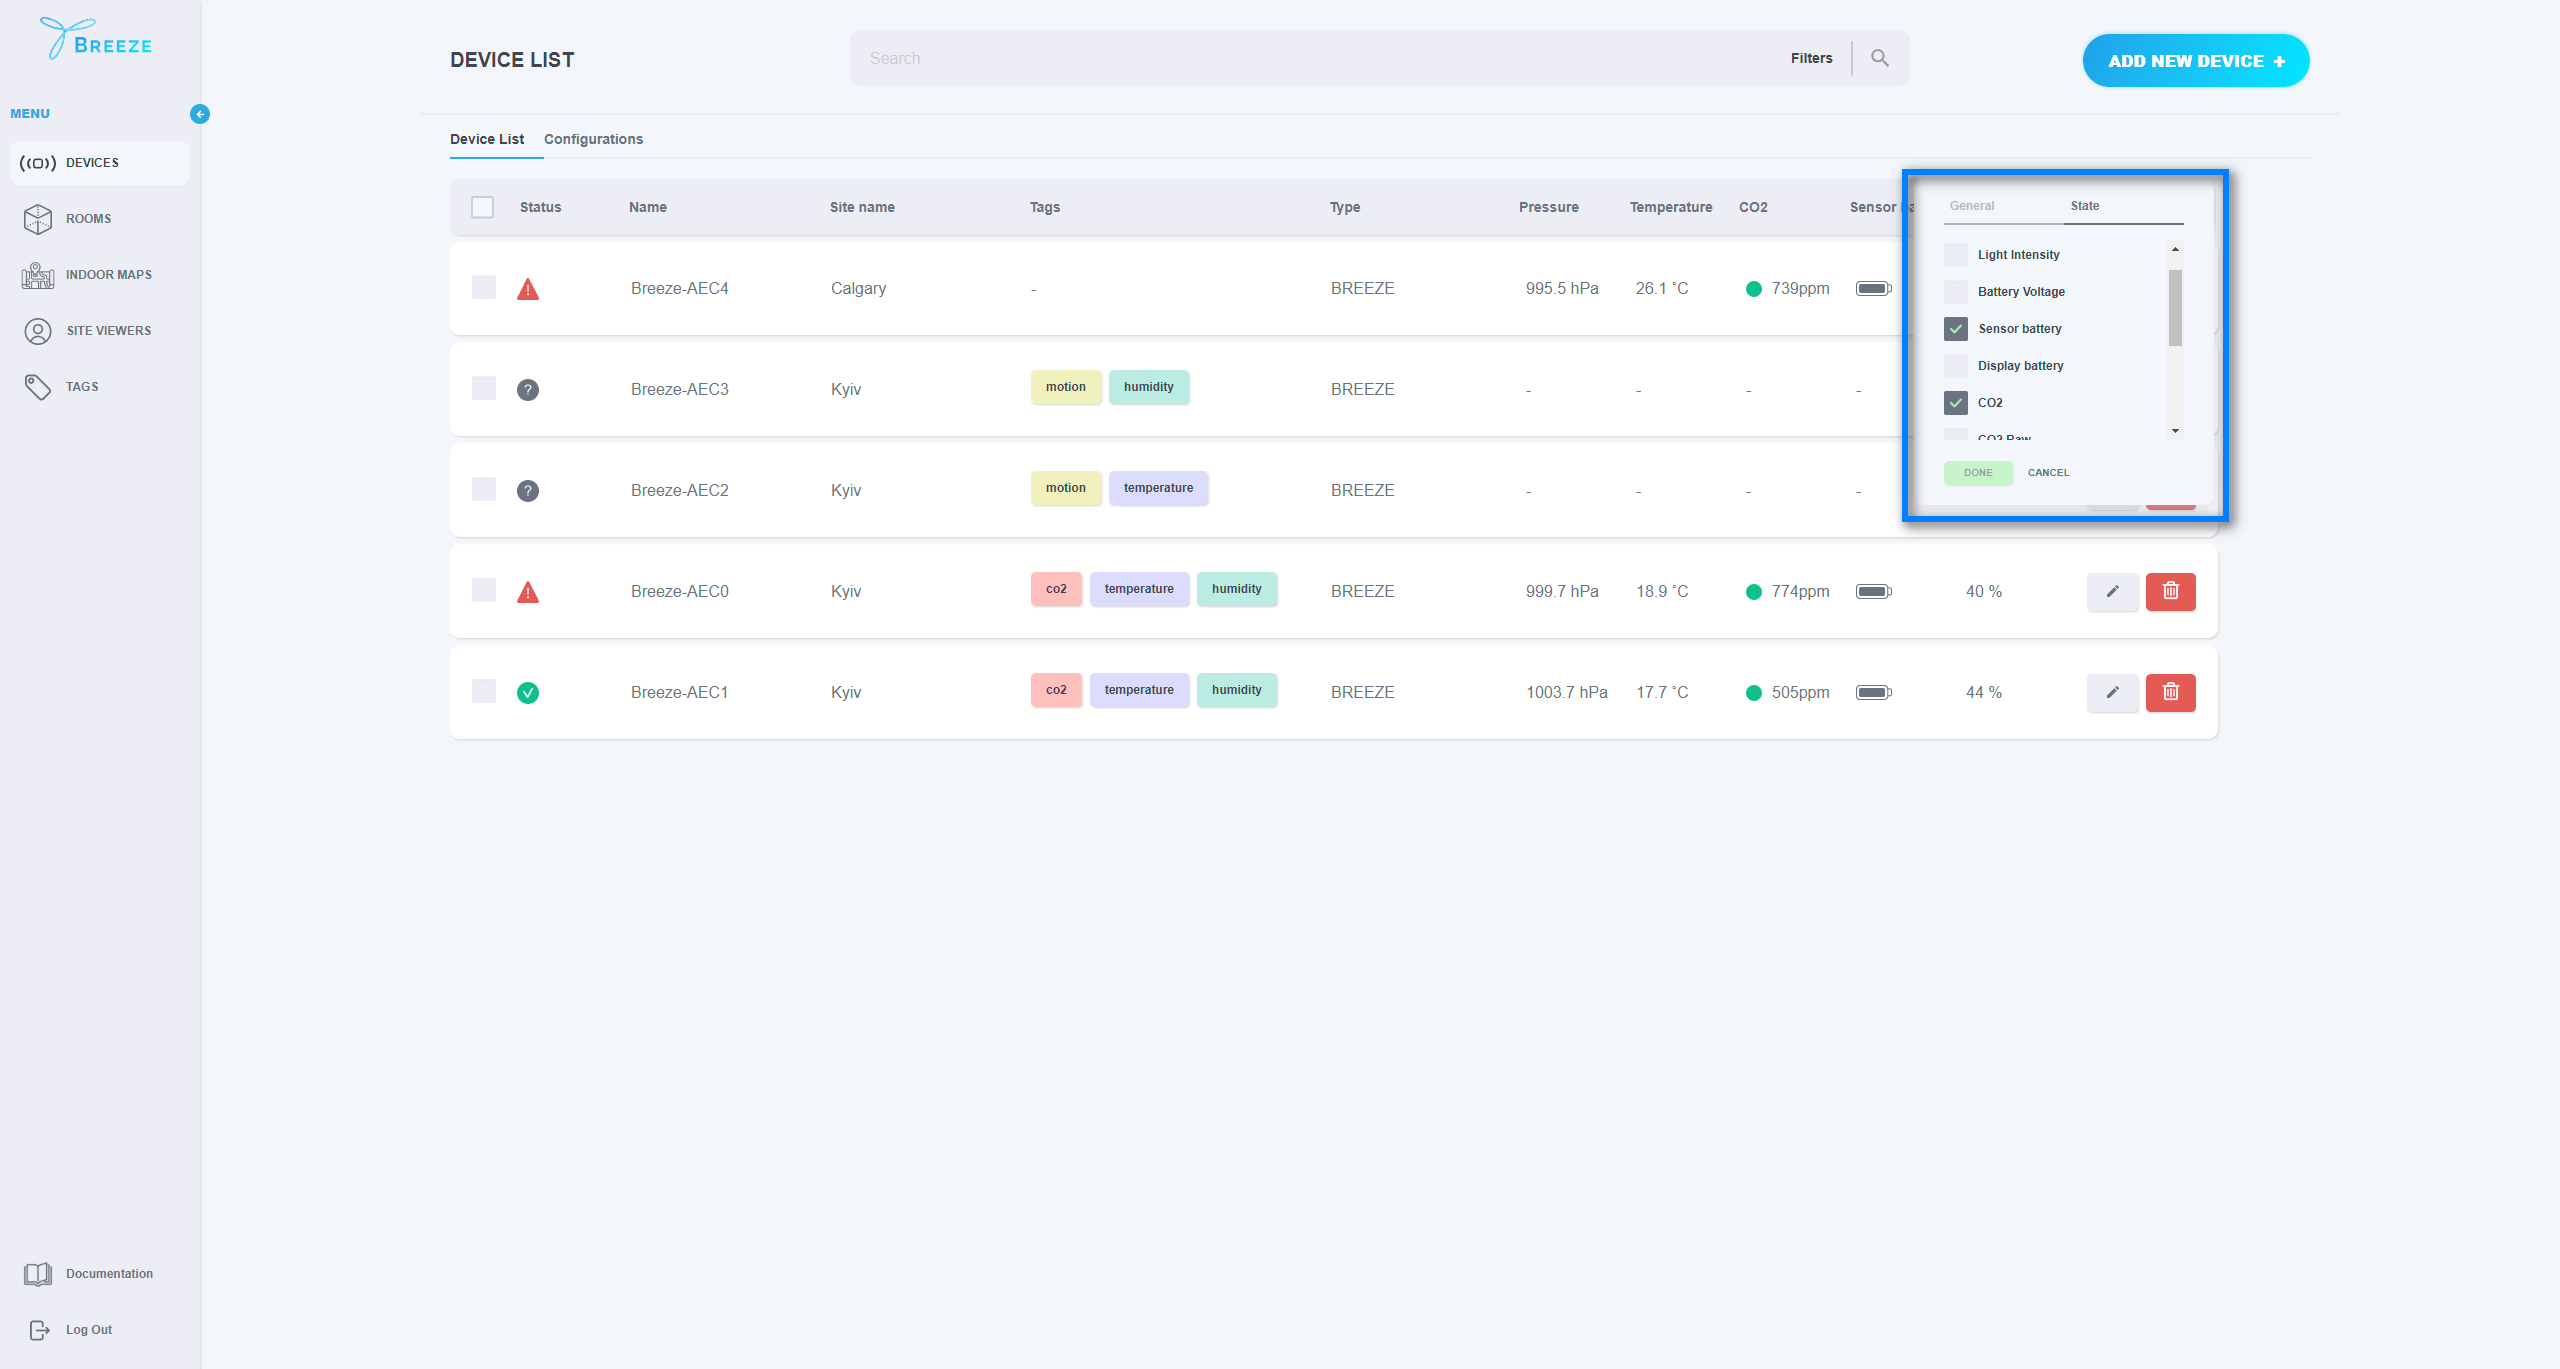
For monitoring purposes, the user can also configure the display of the data in the table to see the relevant data only. To do this, open the settings menu as displayed below.
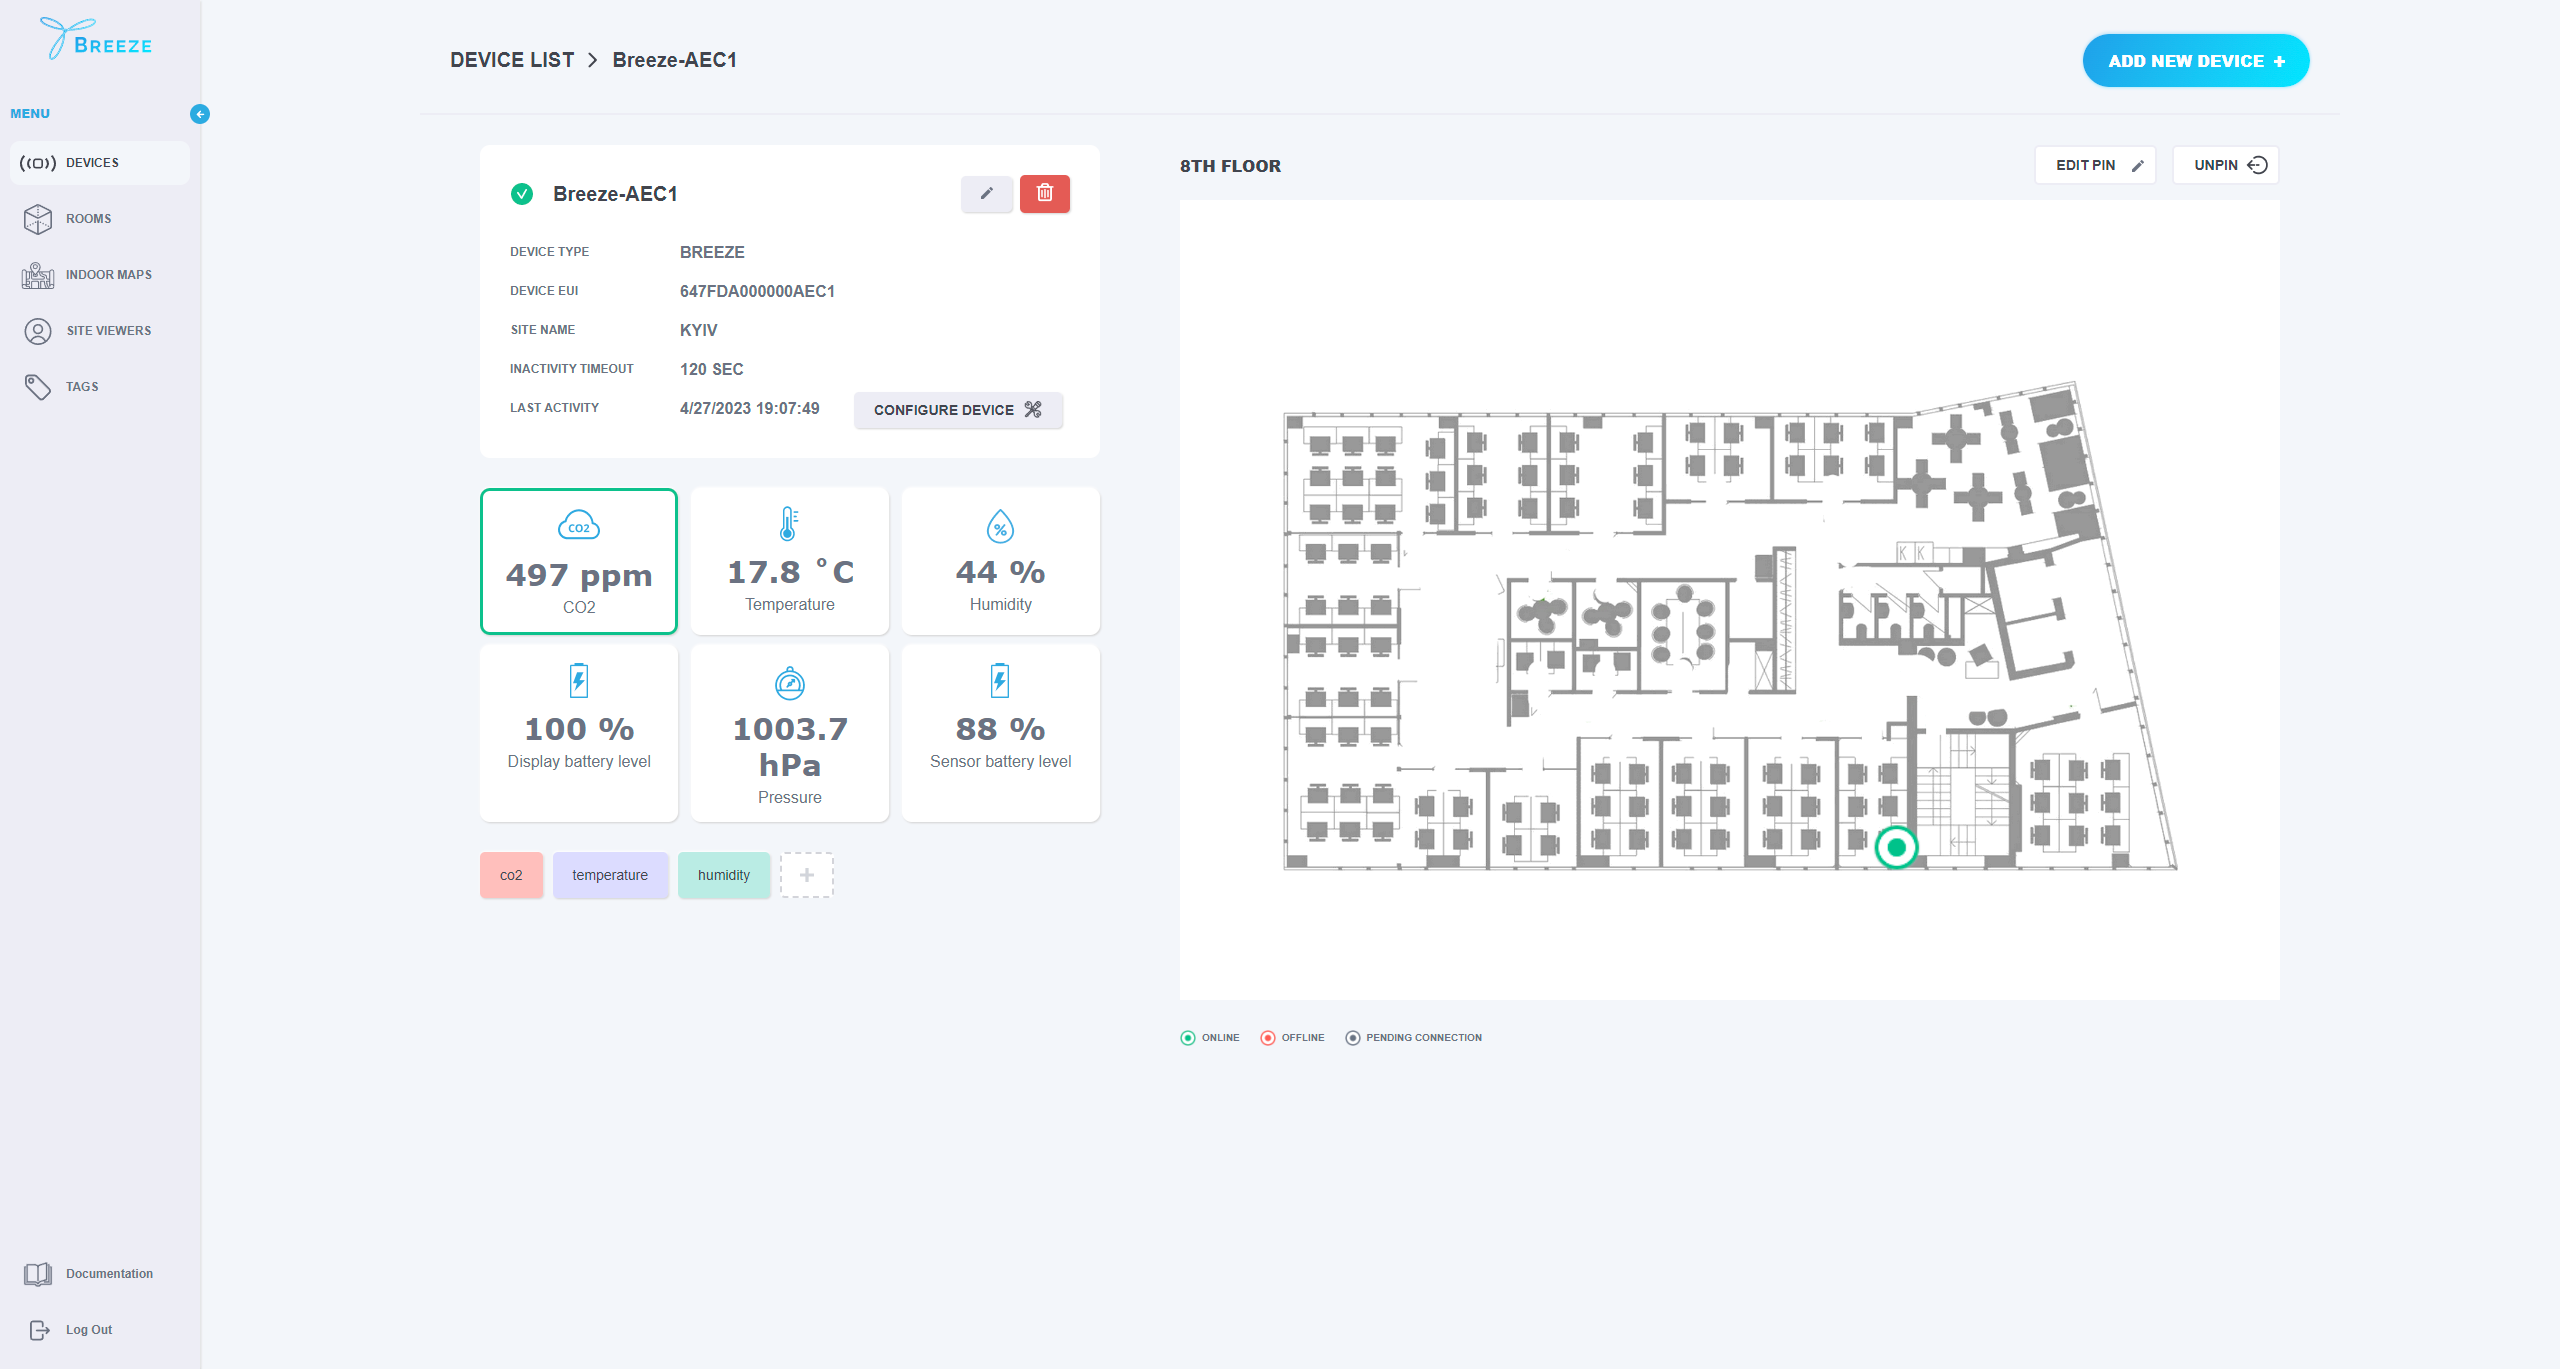
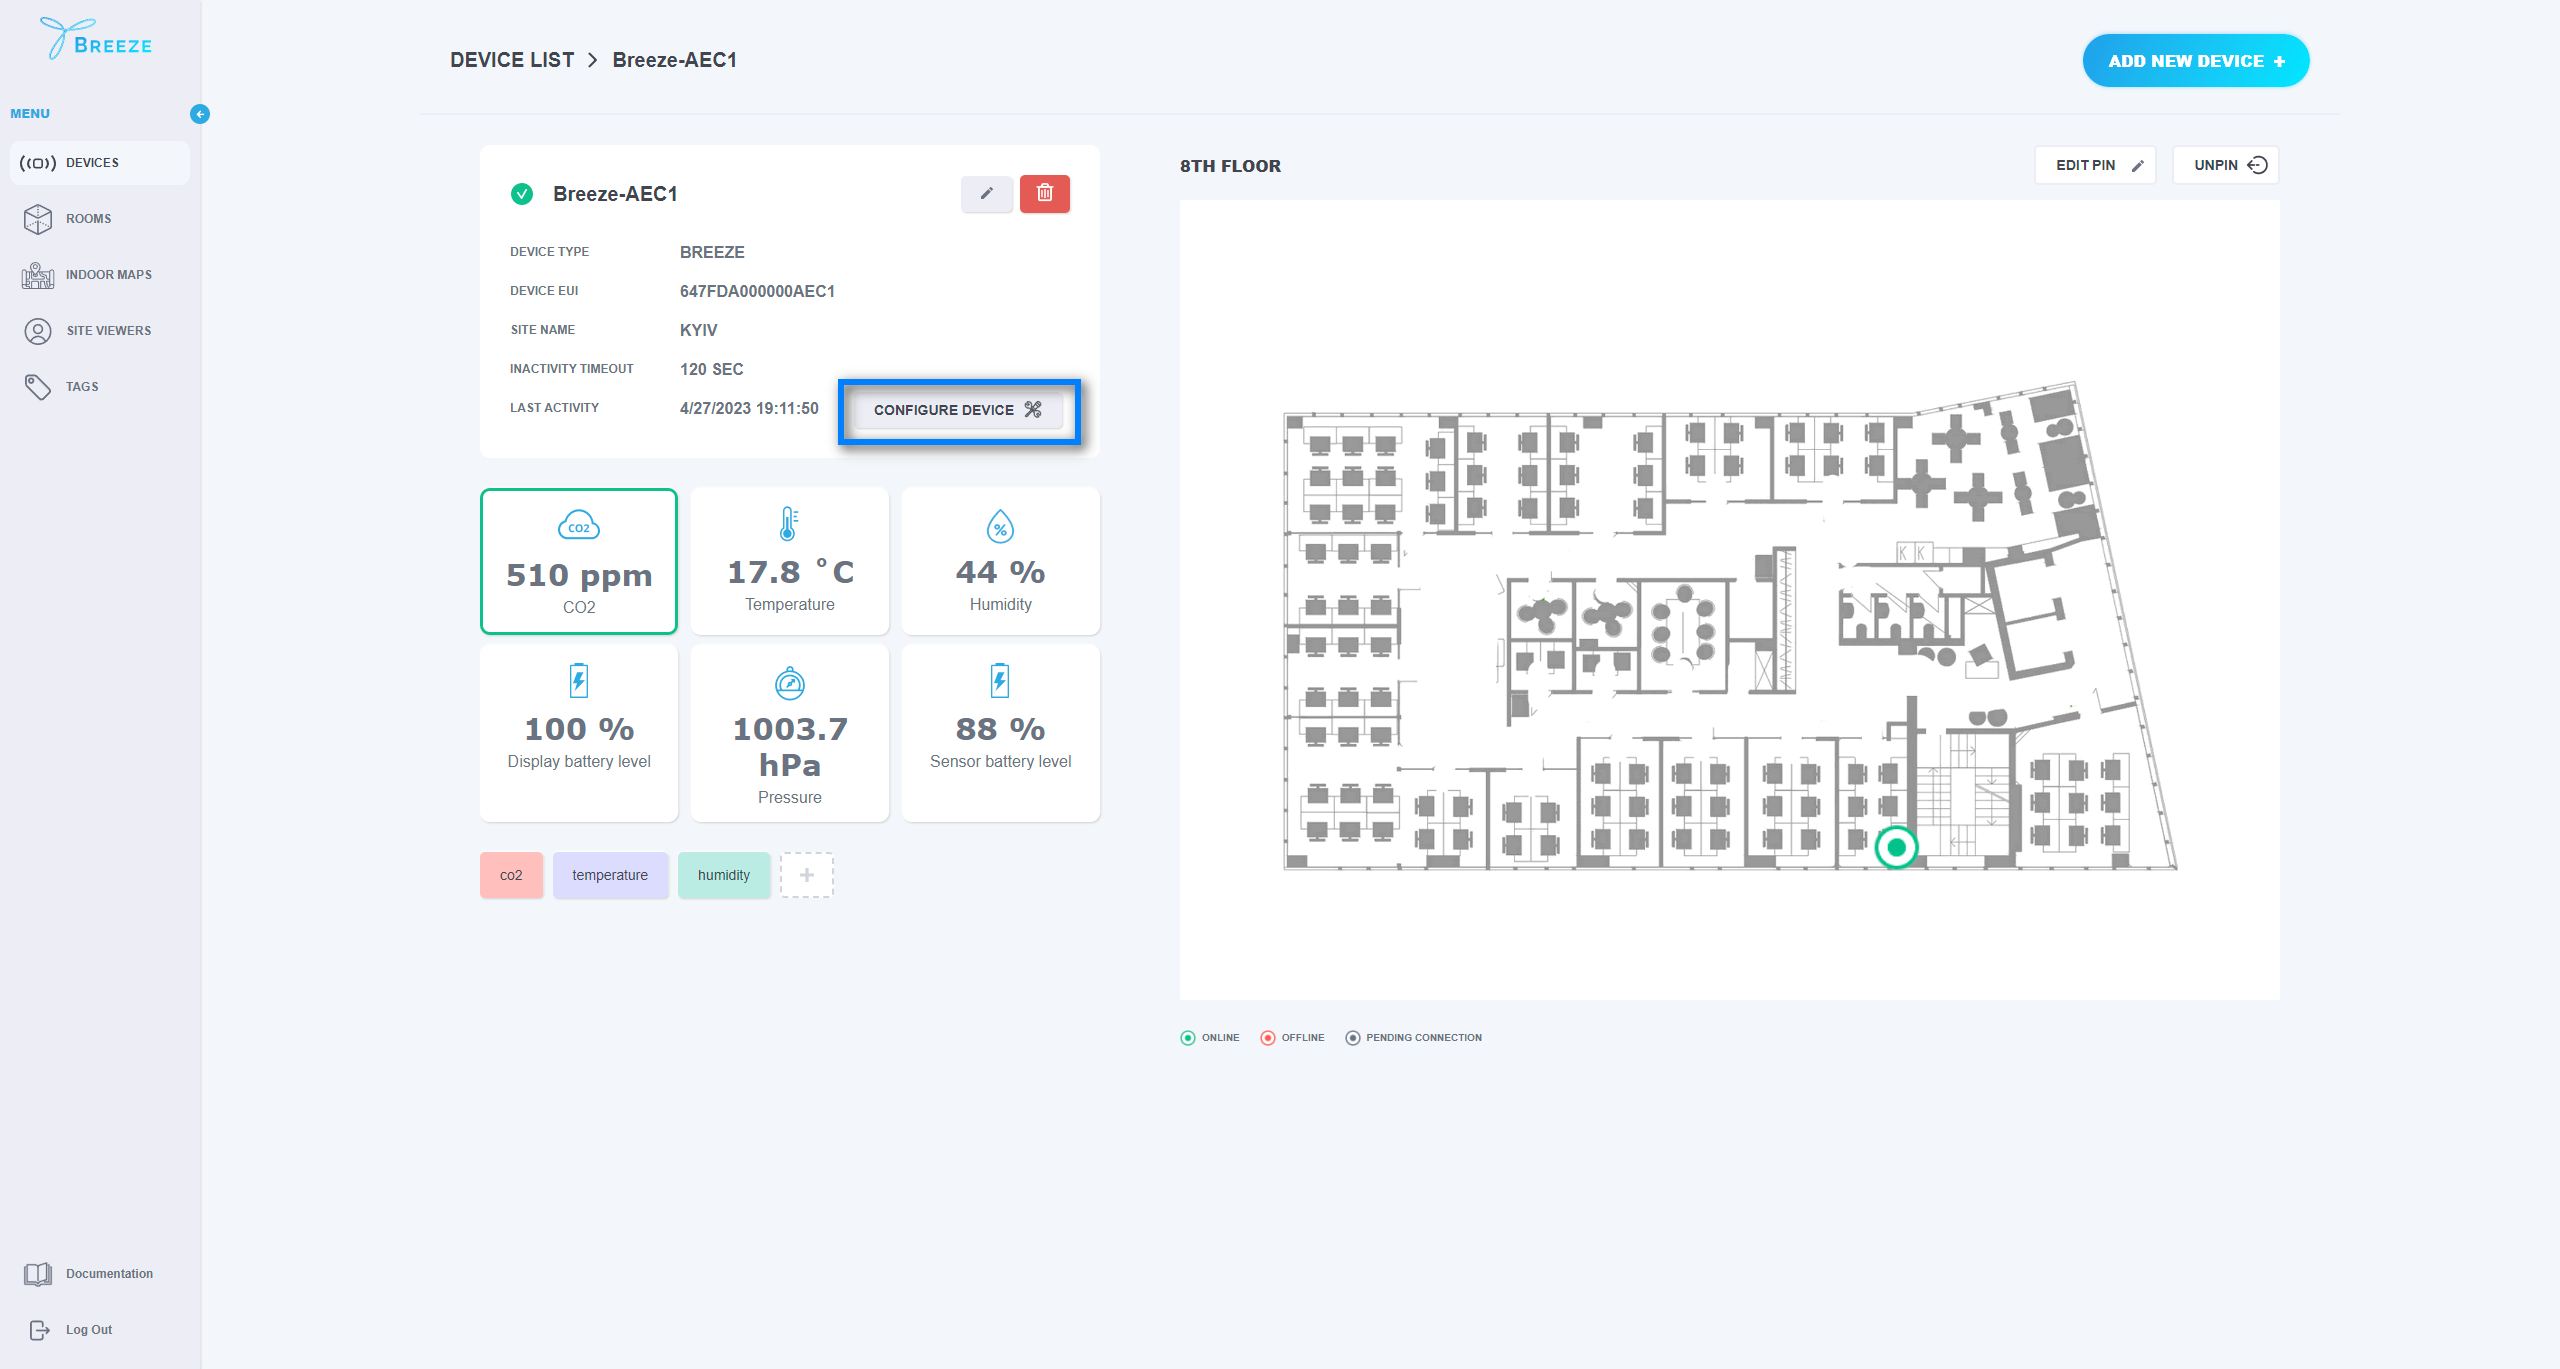
To check the detailed information about your device, simply click a record in the table and the system will open the detailed view where you can see the device details and its location if set.
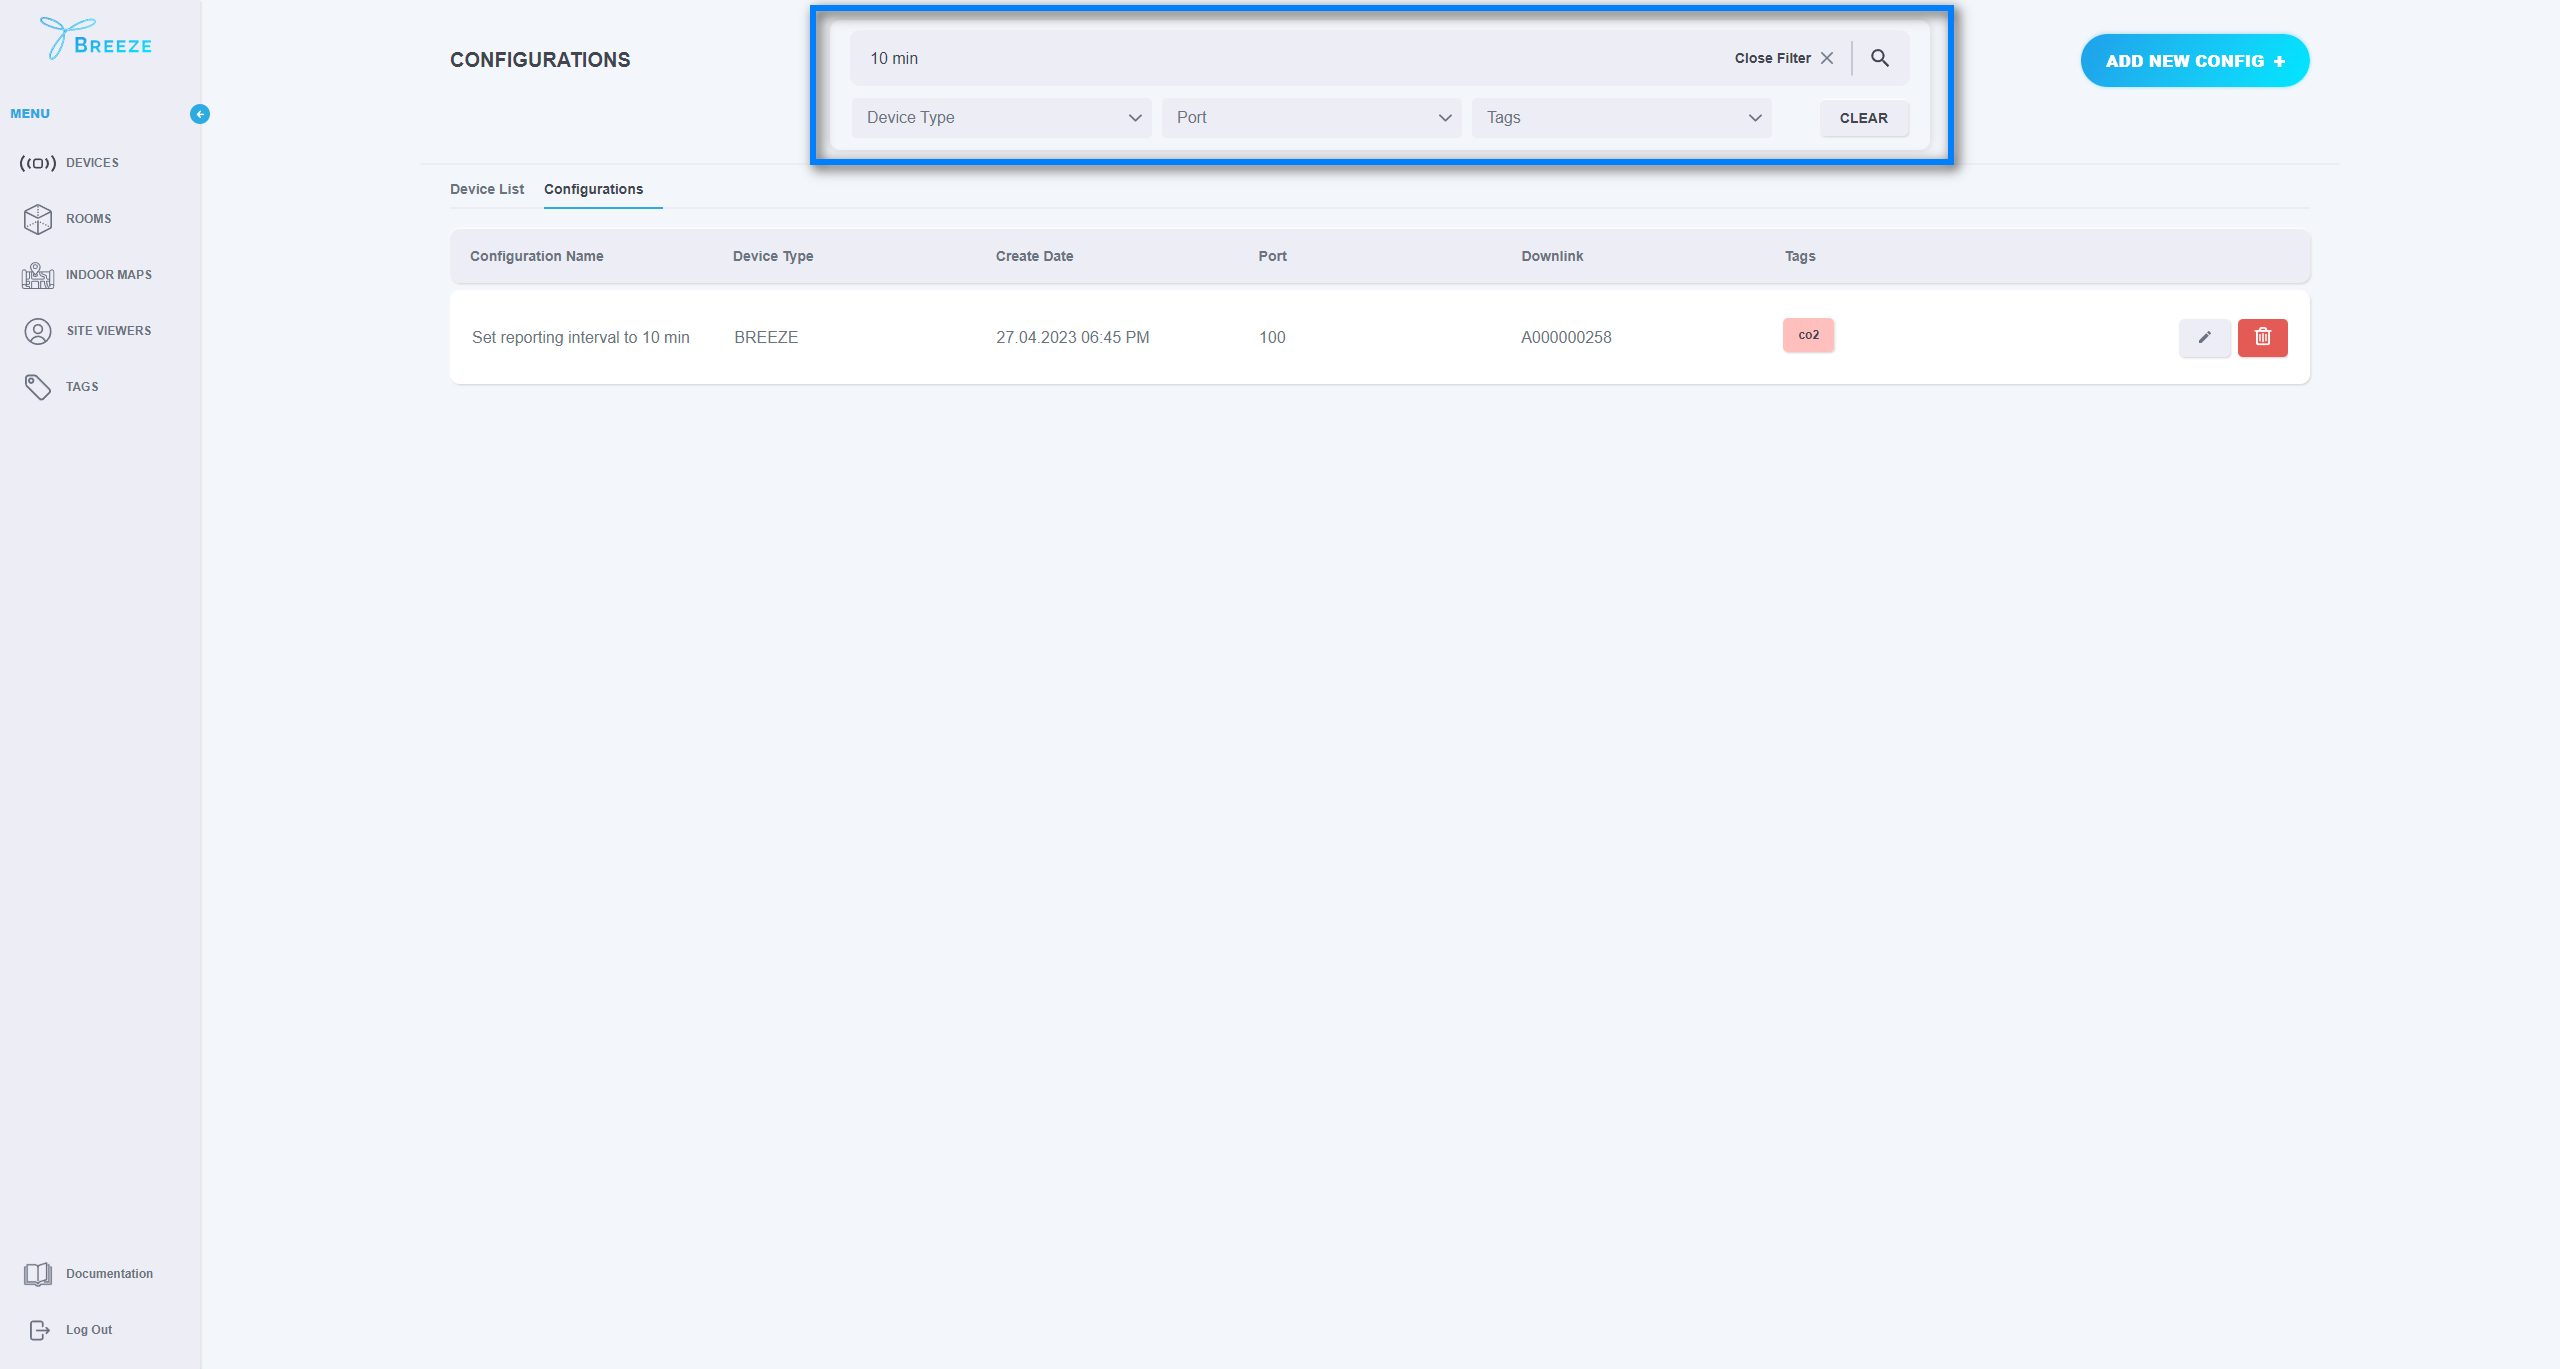
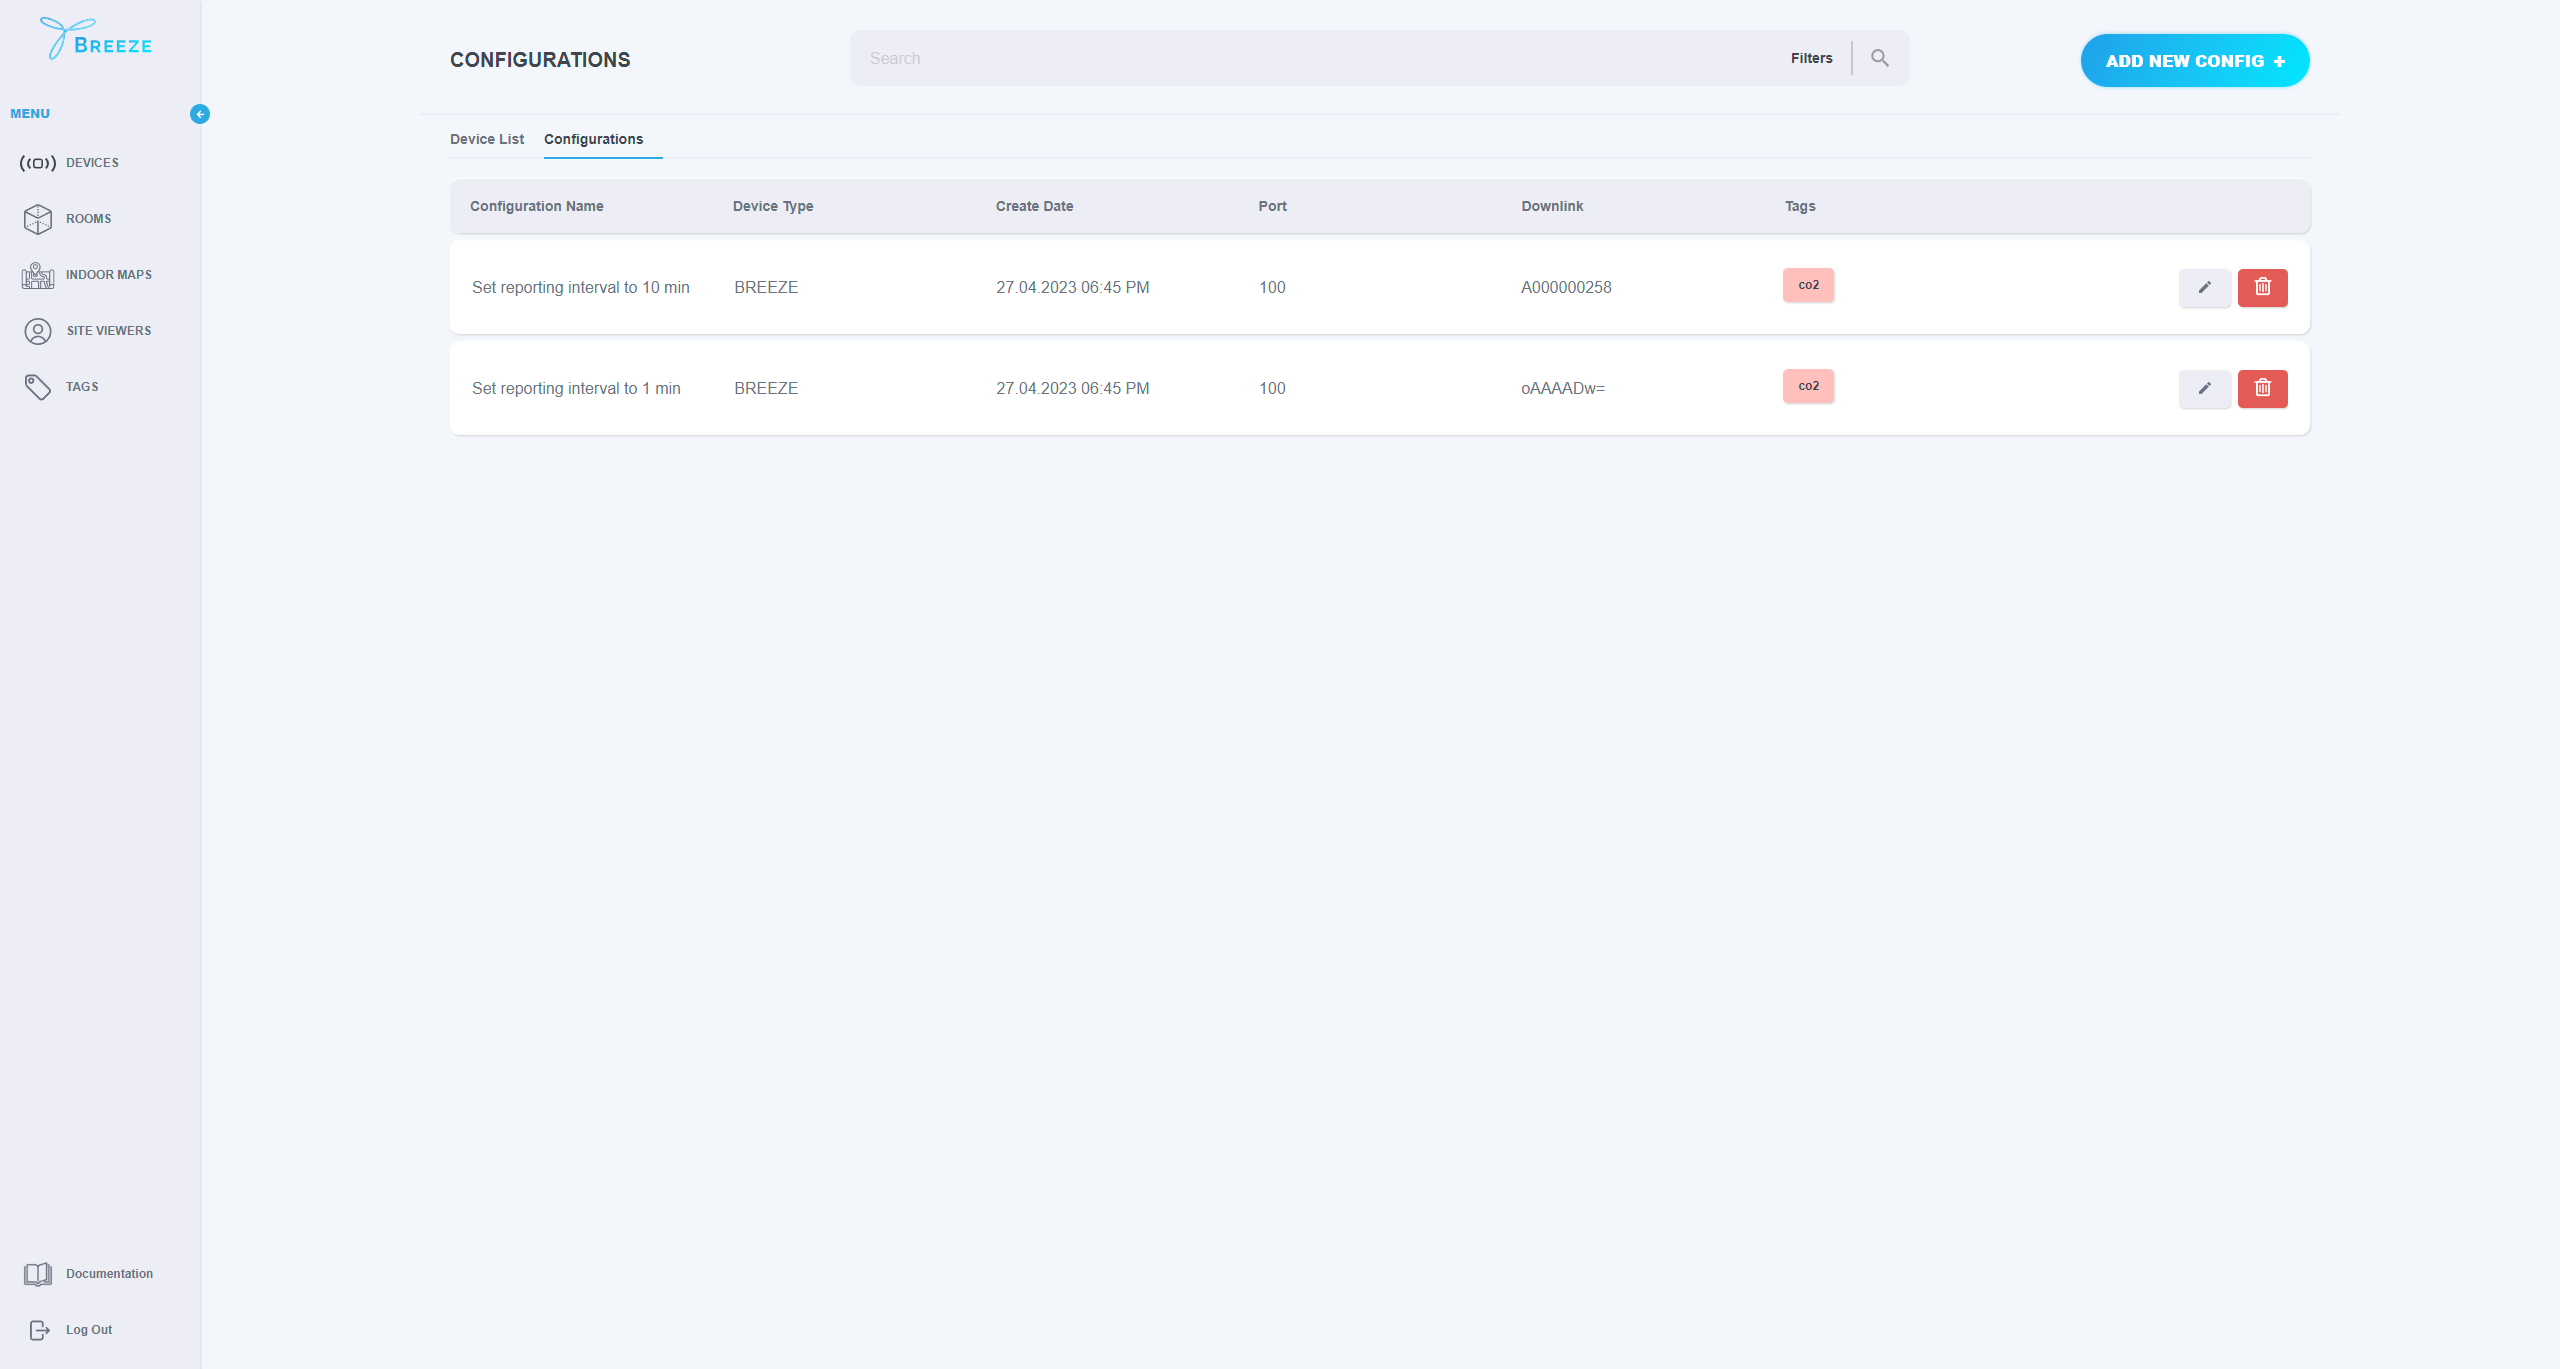
On the Configurations, the user can add new configuration, update/delete the existing ones as well as configure CO2 sensors. To view the list of the configurations, open “DEVICES” and then go “Configurations” tab:
To add a new device, click “ADD NEW DEVICE +":
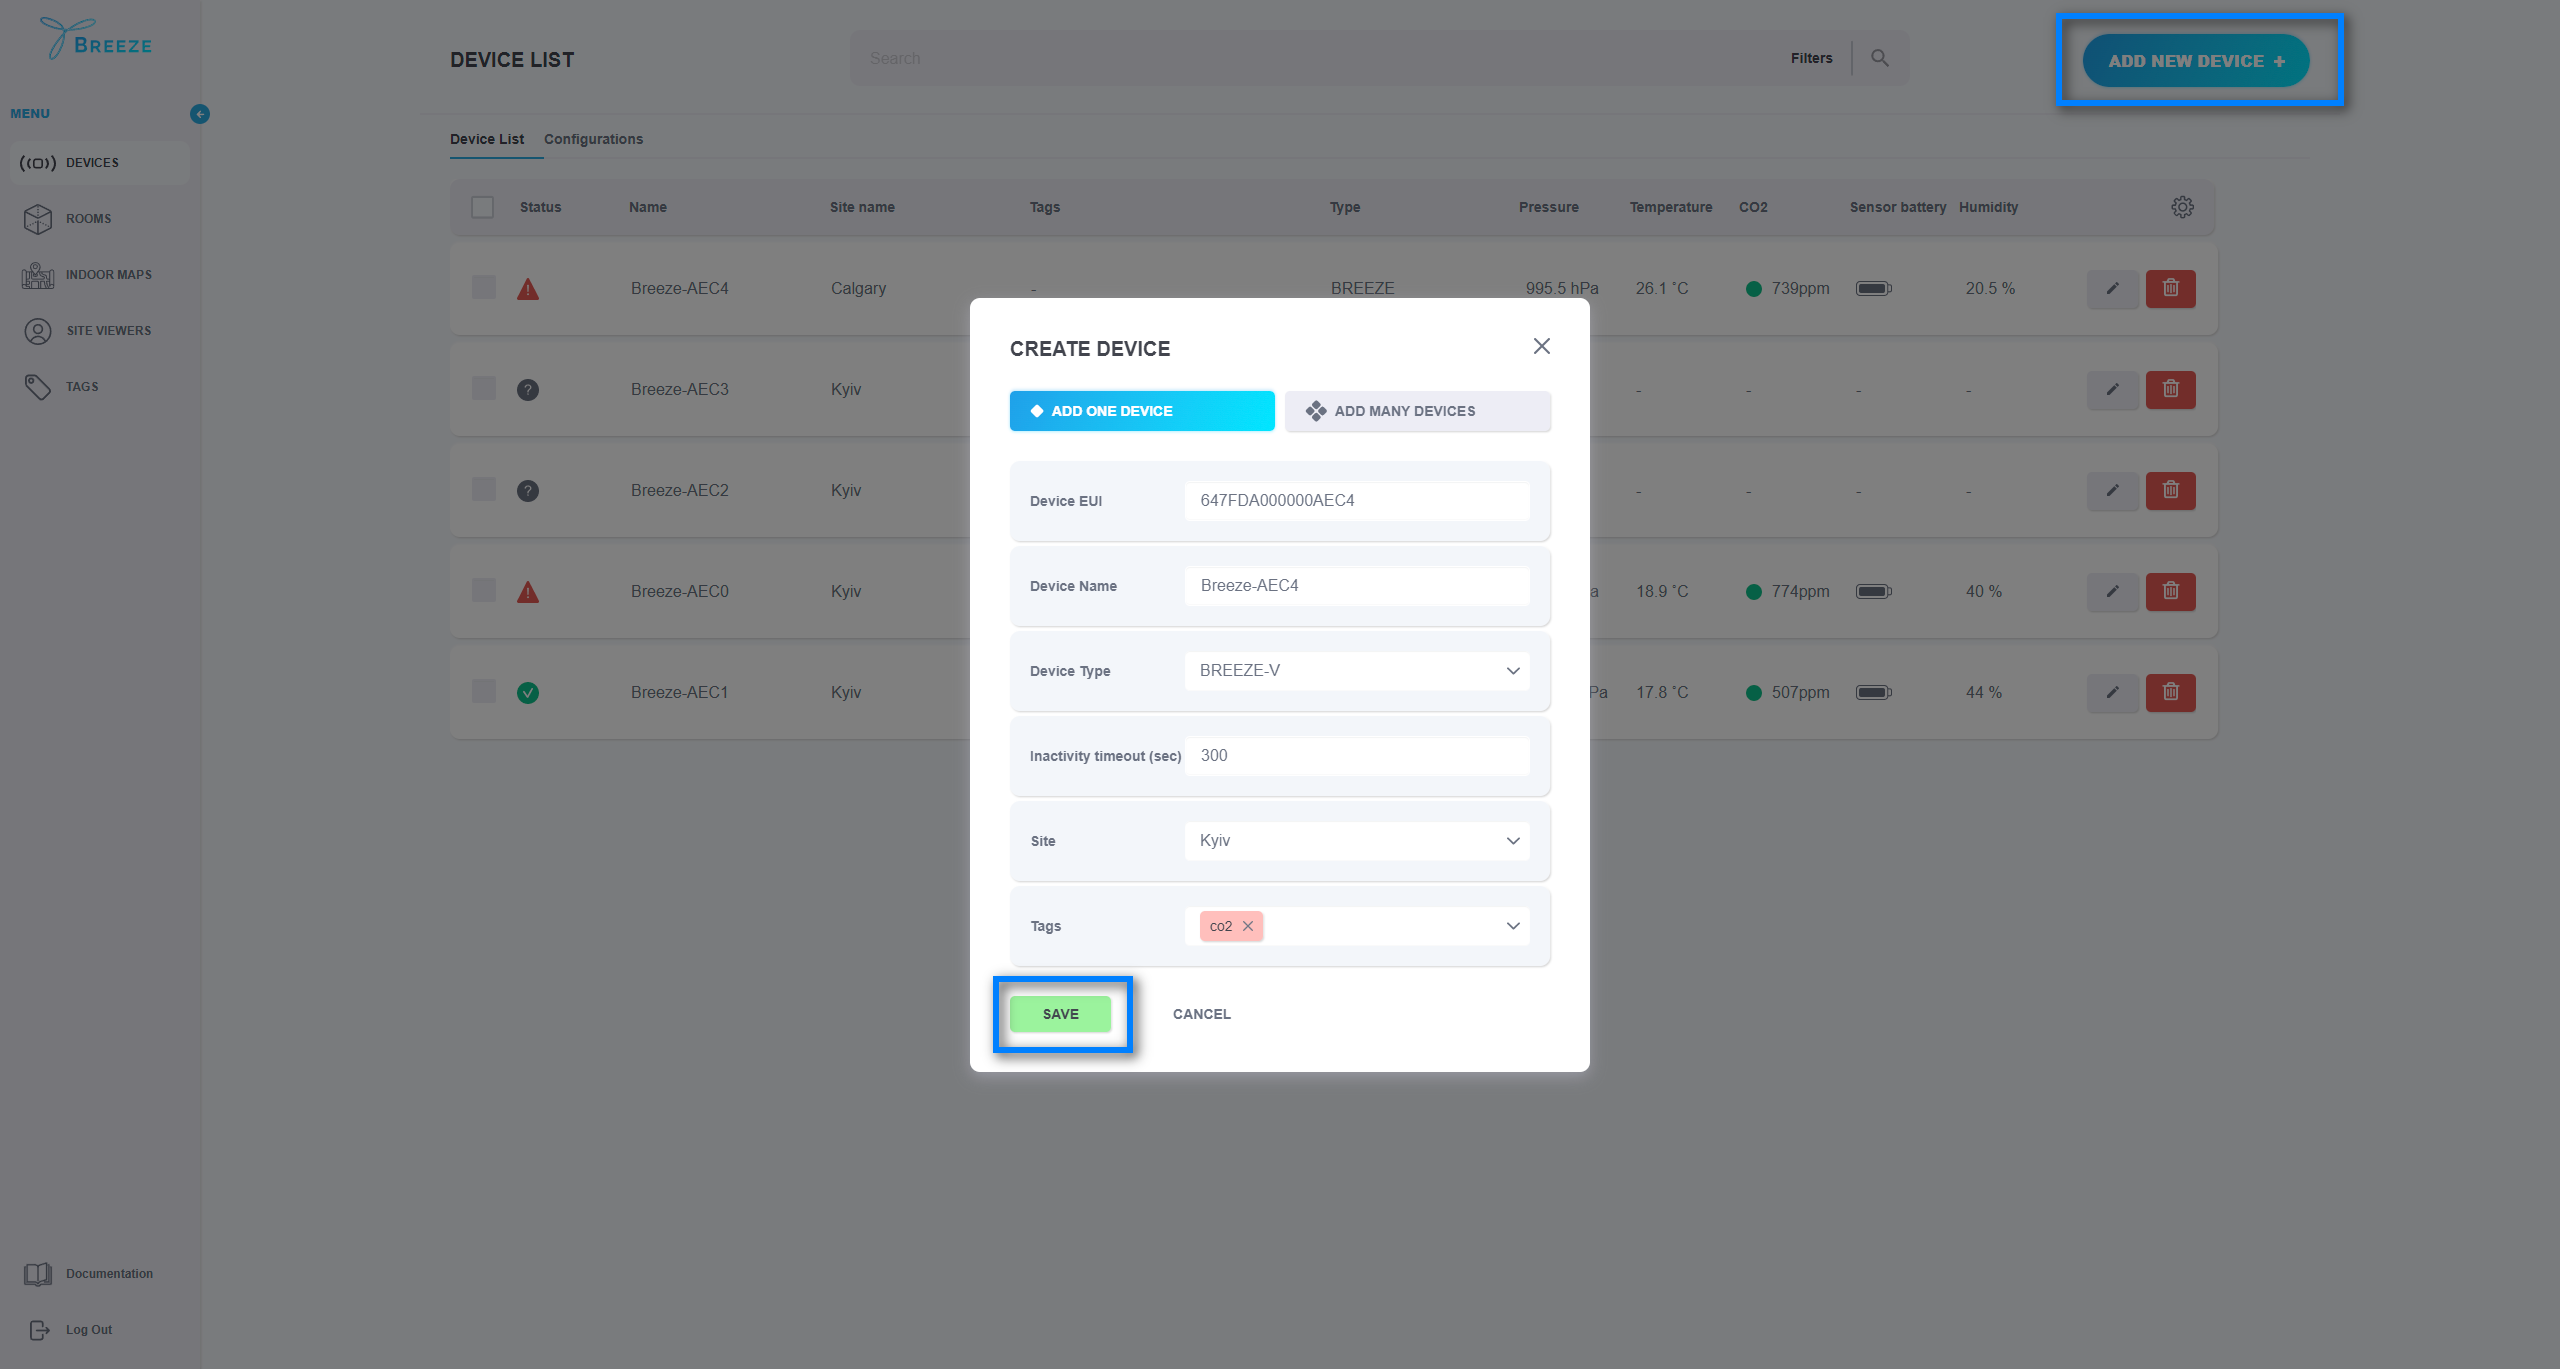
In this step, the user can select how the devices should be added: either one device at a time or many devices at once.
To add one device, fill in the mandatory fields Device EUI, Device name, Device type, and Inactivity timeout.
The Device EUI can be found in the document provided by TEKTELIC or by scanning the QR code on the sensor. The Device name should be unique within a Site and should be minimum of 3 characters long. The Device type can be BREEZE or BREEZE-V. Inactivity Timeout (sec) - can be only a positive number and higher than 0. By default, the system sets 300 seconds.
To add many devices at once, select the corresponding option and download and fill in the suggested .CSV template. Once done, upload the document to the application and click on the “SUBMIT” button. The system automatically checks the submitted information and once the devices are added successfully, you can close the window. In case some errors occur, you can update your document and upload it again.
If you want to add multiple tags to a device, make sure the Tags are separated by commas.
Once the device(s) is successfully added, it will appear in the list of devices with Pending Connection status.
It may take up to 5 minutes (default report time on the sensor) for the device data to appear in the application. Still, if you cannot see any data within 5 minutes, please submit a ticket at the TEKTELIC Support portal.
To update or delete a device that already exists, simply select the corresponding option next to the item you would like to edit or delete.
To add a new configuration, click “ADD NEW CONFIG +":
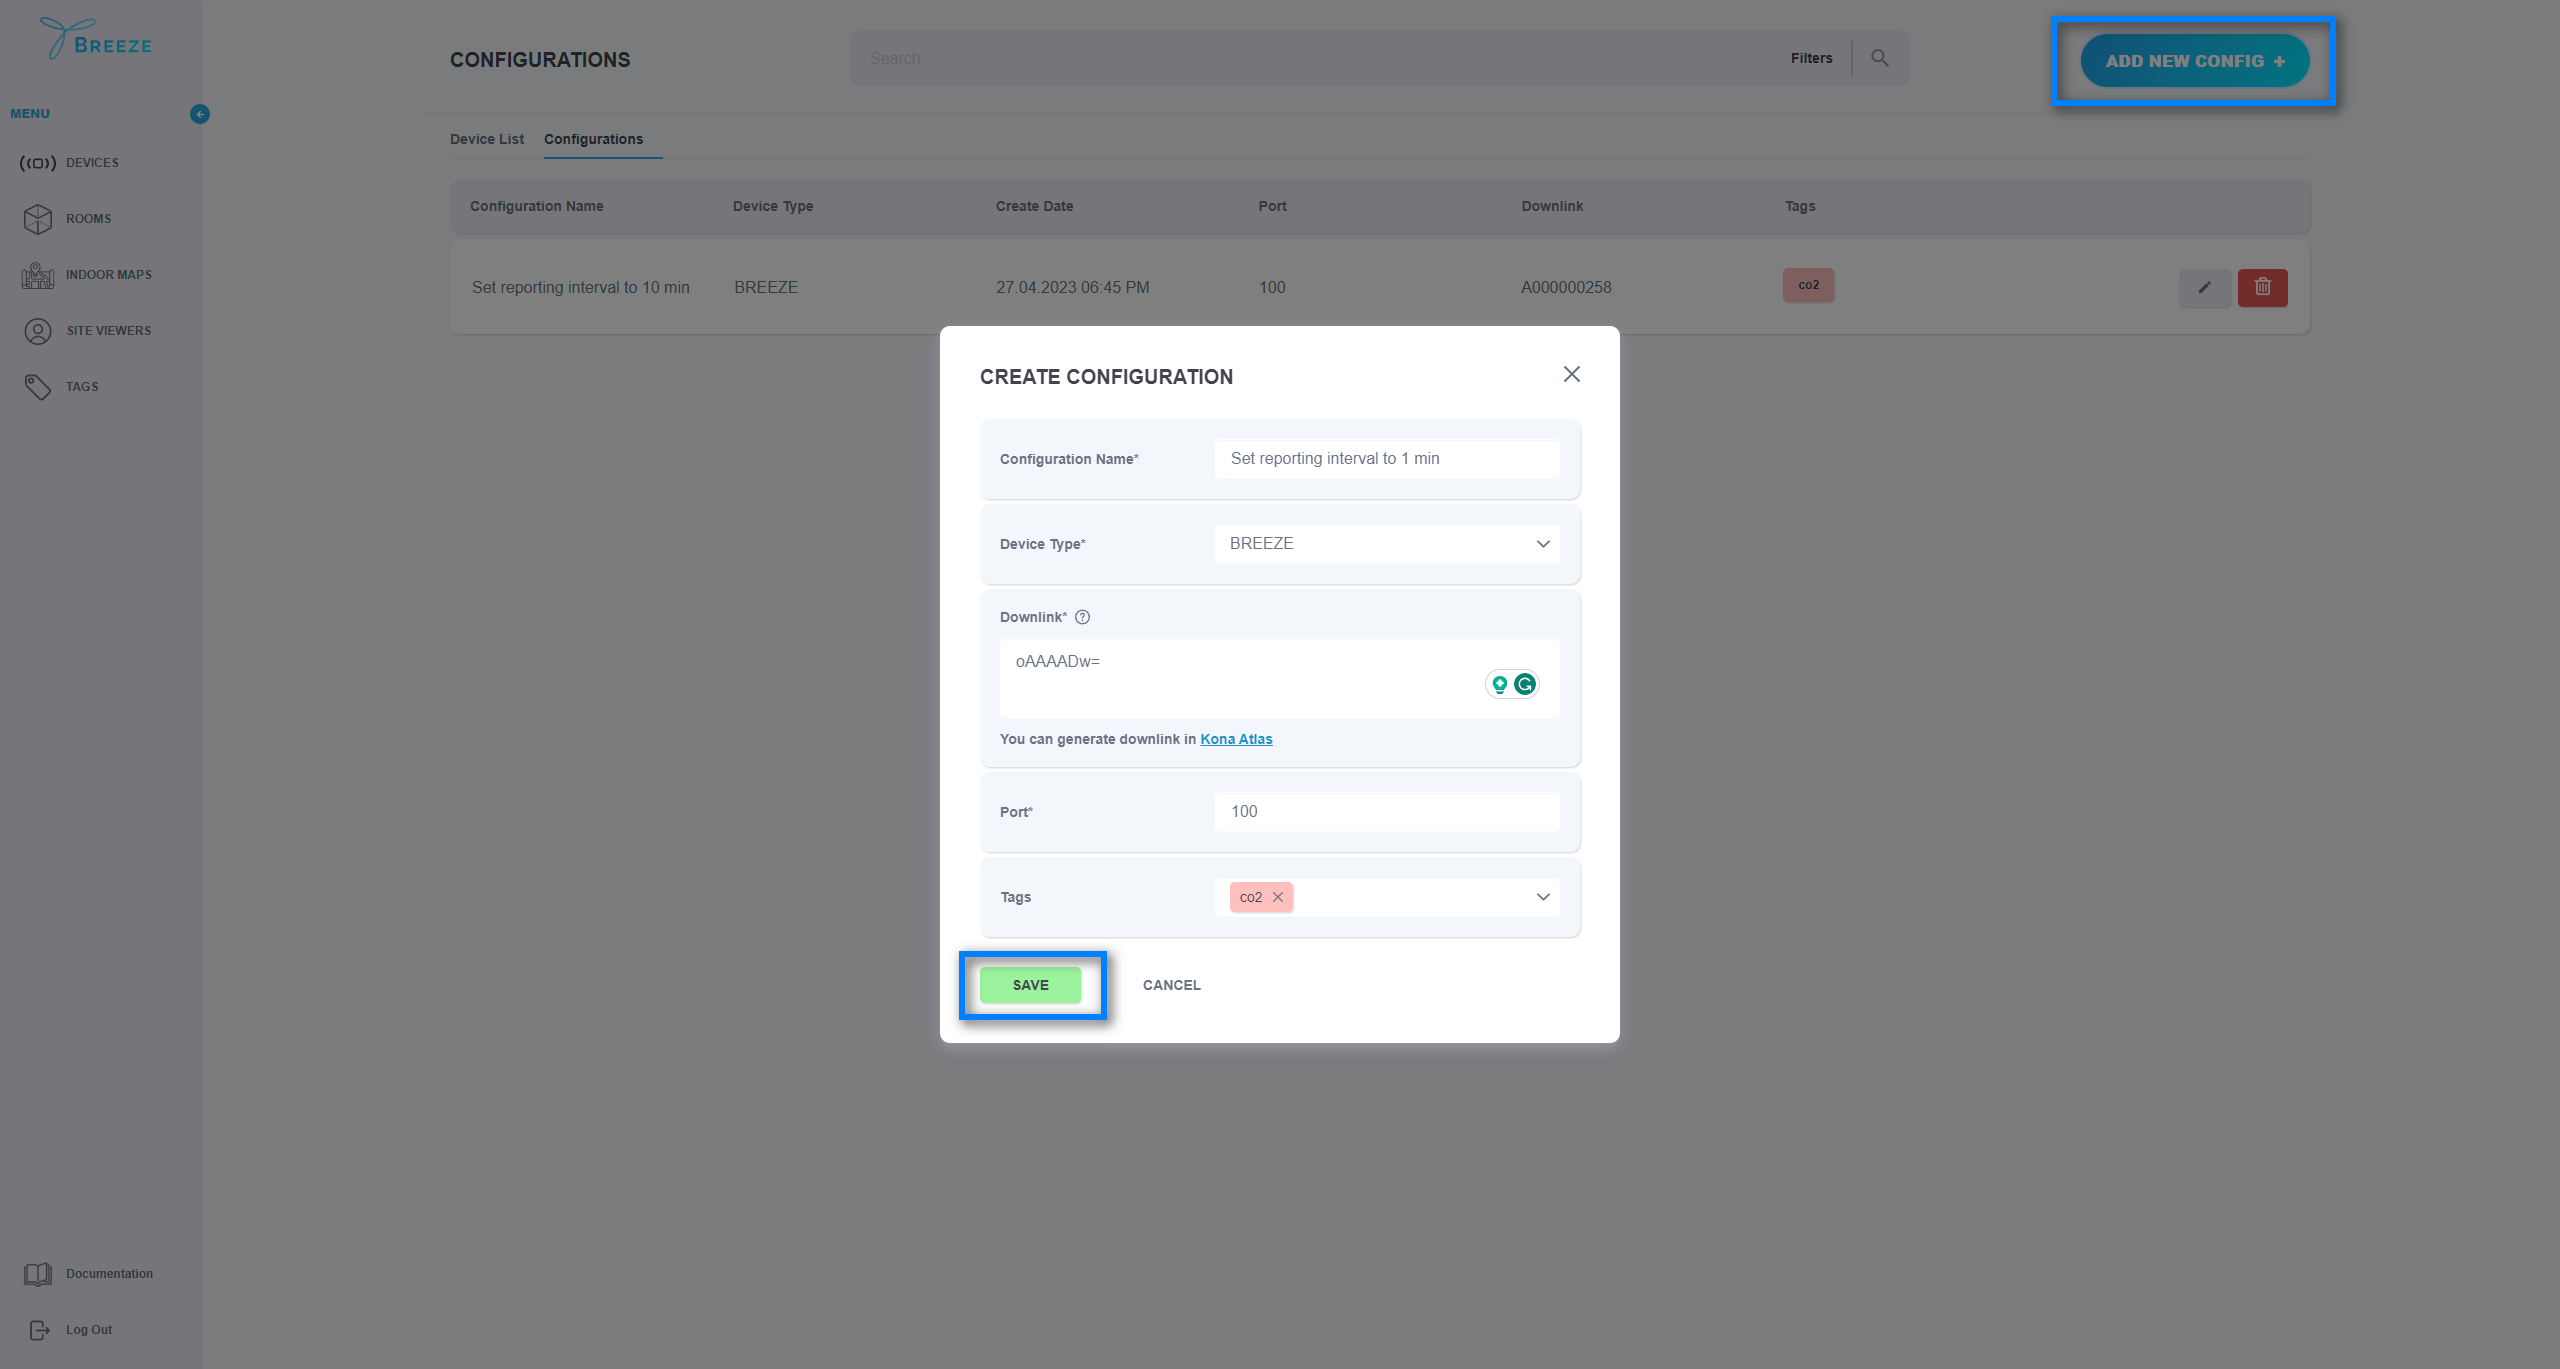
To add one device, fill in the mandatory fields Configuration name, Device type, Downlink and Port.
The Configuration name should be unique within a Site and should be minimum of 3 characters long. The Device type can be BREEZE or BREEZE-V. The Downlink - messages from network to end-device to read or change sensor configuration. The BREEZE Application assepts HEX or Base64 formats. The Port - field to distinguish between different types of messages according to the LoRaWAN specification
Once the configuration(s) is successfully added, it will appear in the list of configurations.
To update or delete a device that already exists, simply select the corresponding option next to the item you would like to edit or delete.
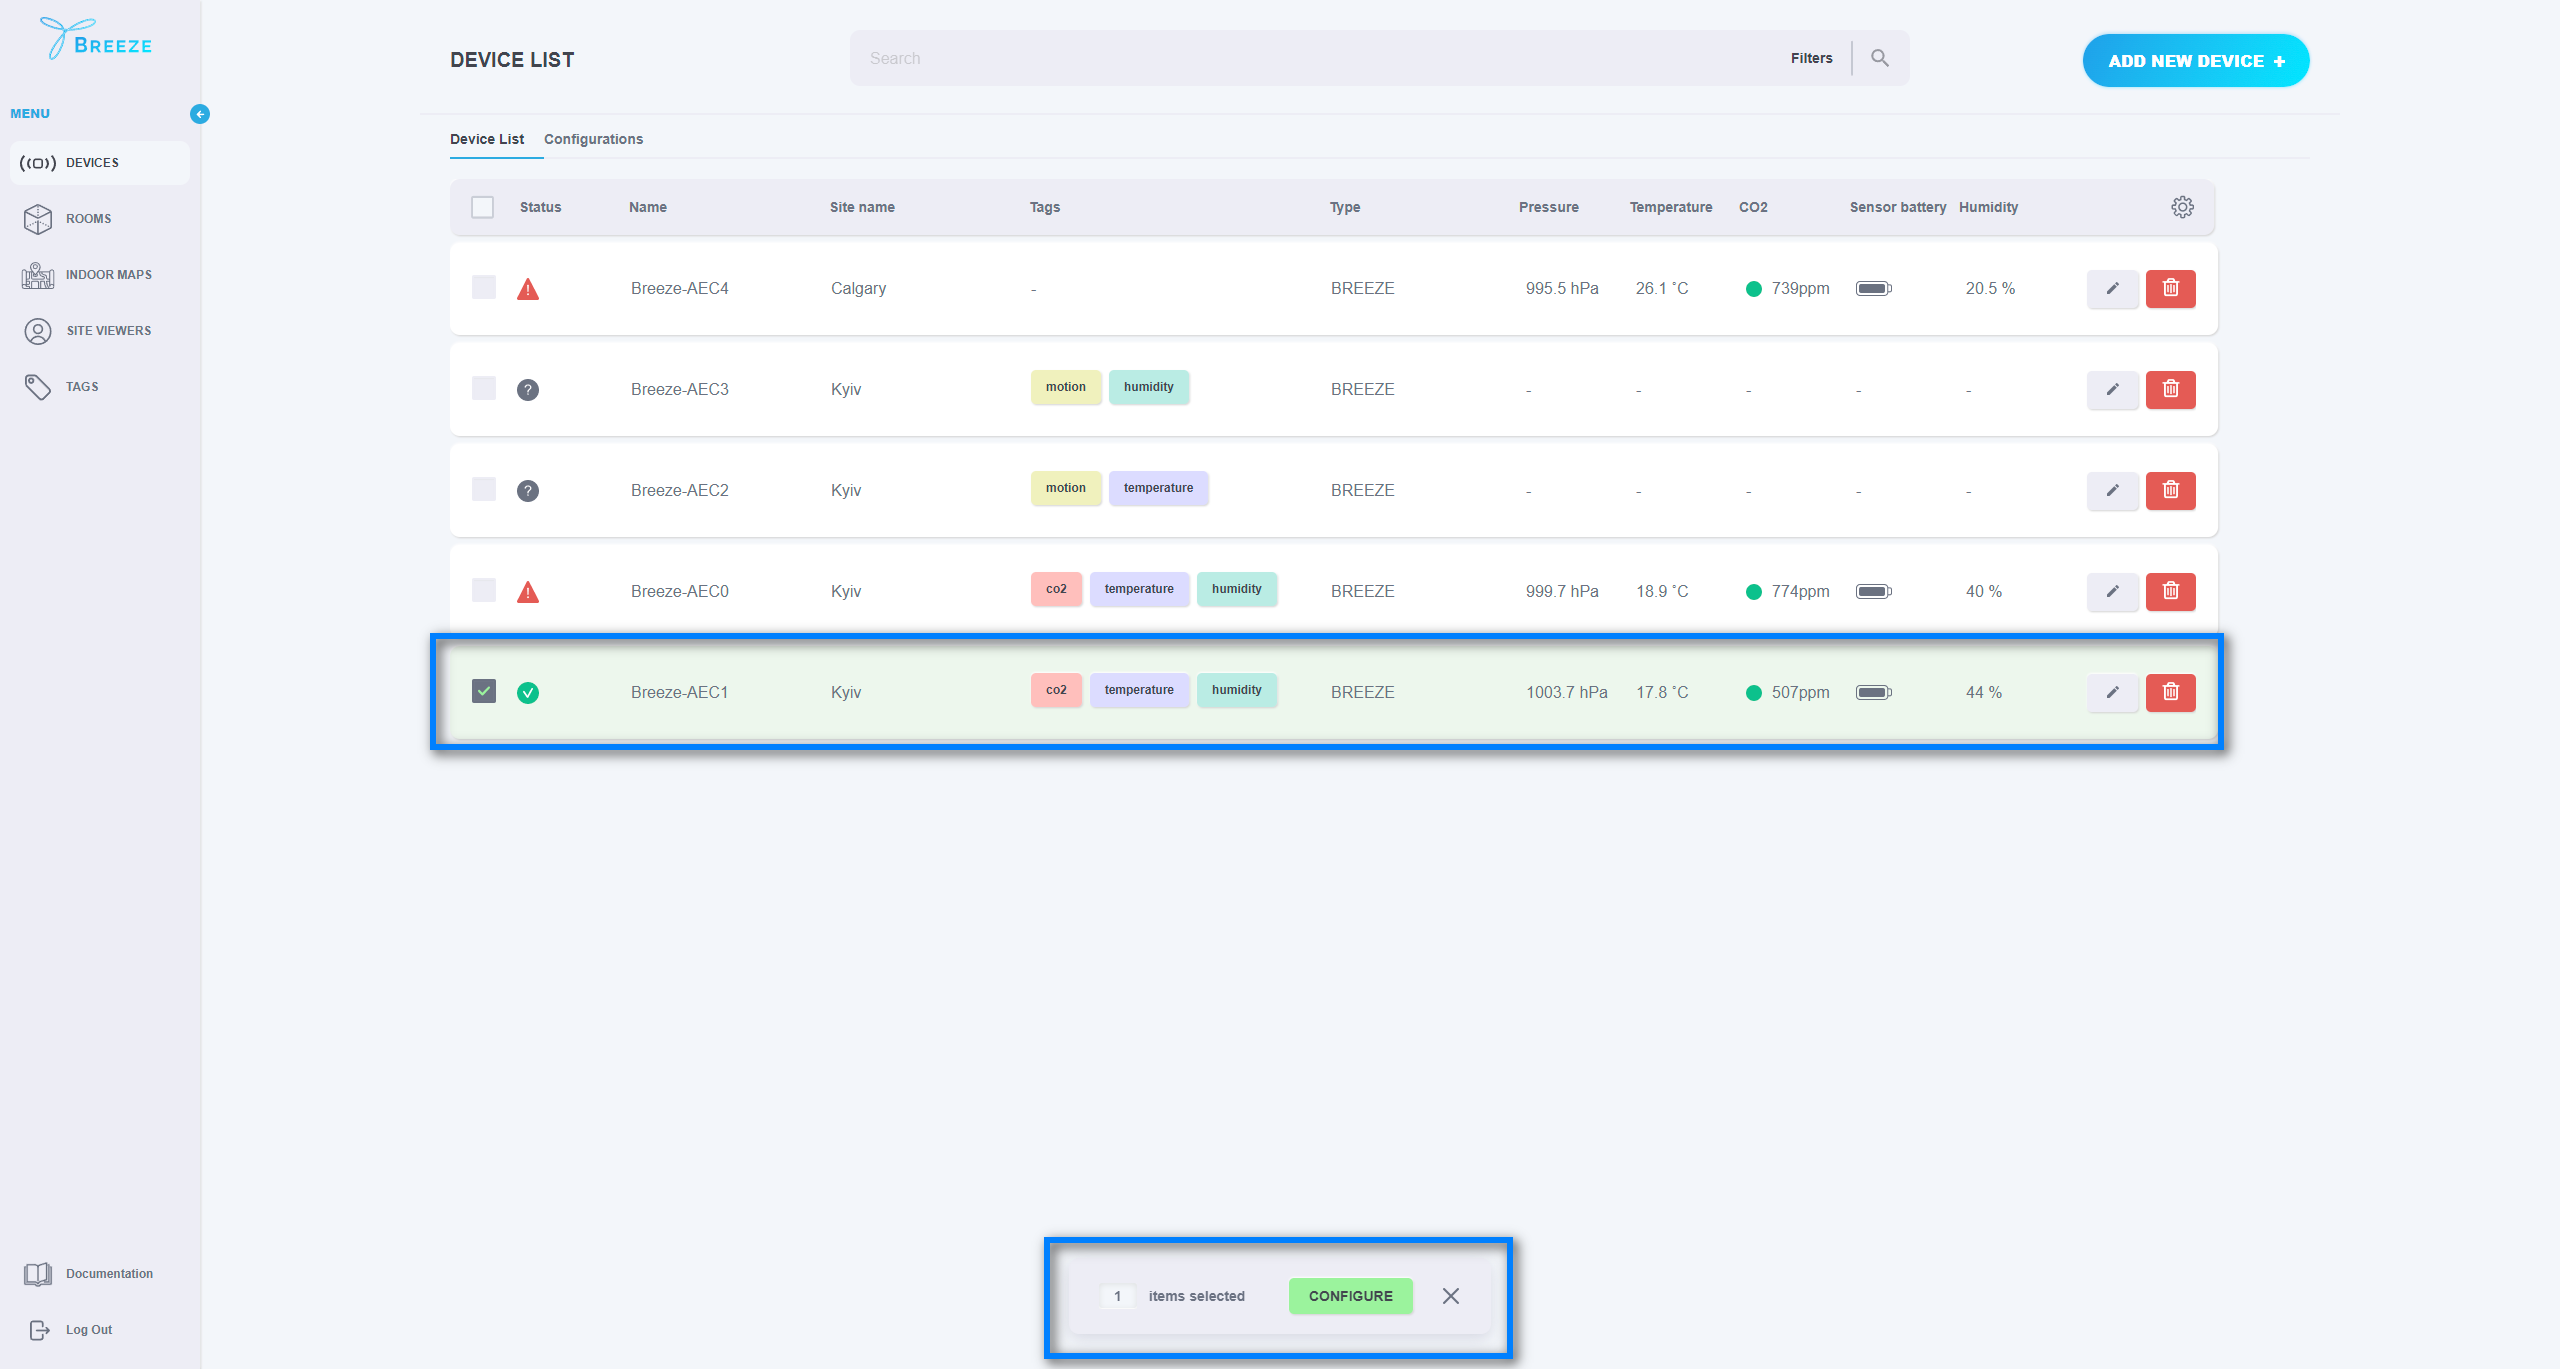
Once Devices and Configurations were added to the application, there are two ways to apply the configuration to the device.
Open the “DEVICES” page, select the device(s) by checking the boxes next to the desired devices, and click the “CONFIGURE” button. In the opened window, specify which configuration should be applied to the devices, make sure that all the required devices are in the list, and then click the “SAVE” button.
The second way is to open the page of the corresponding device and click the “CONFIGURE DEVICE” button. In the opened window, specify which configuration should be applied to the device, and then click the “SAVE” button.
The Device pin allows the user to set the device position on a map. To do this, open “DEVICES” and select the required device by clicking it. On the new page select “ADD PIN”:
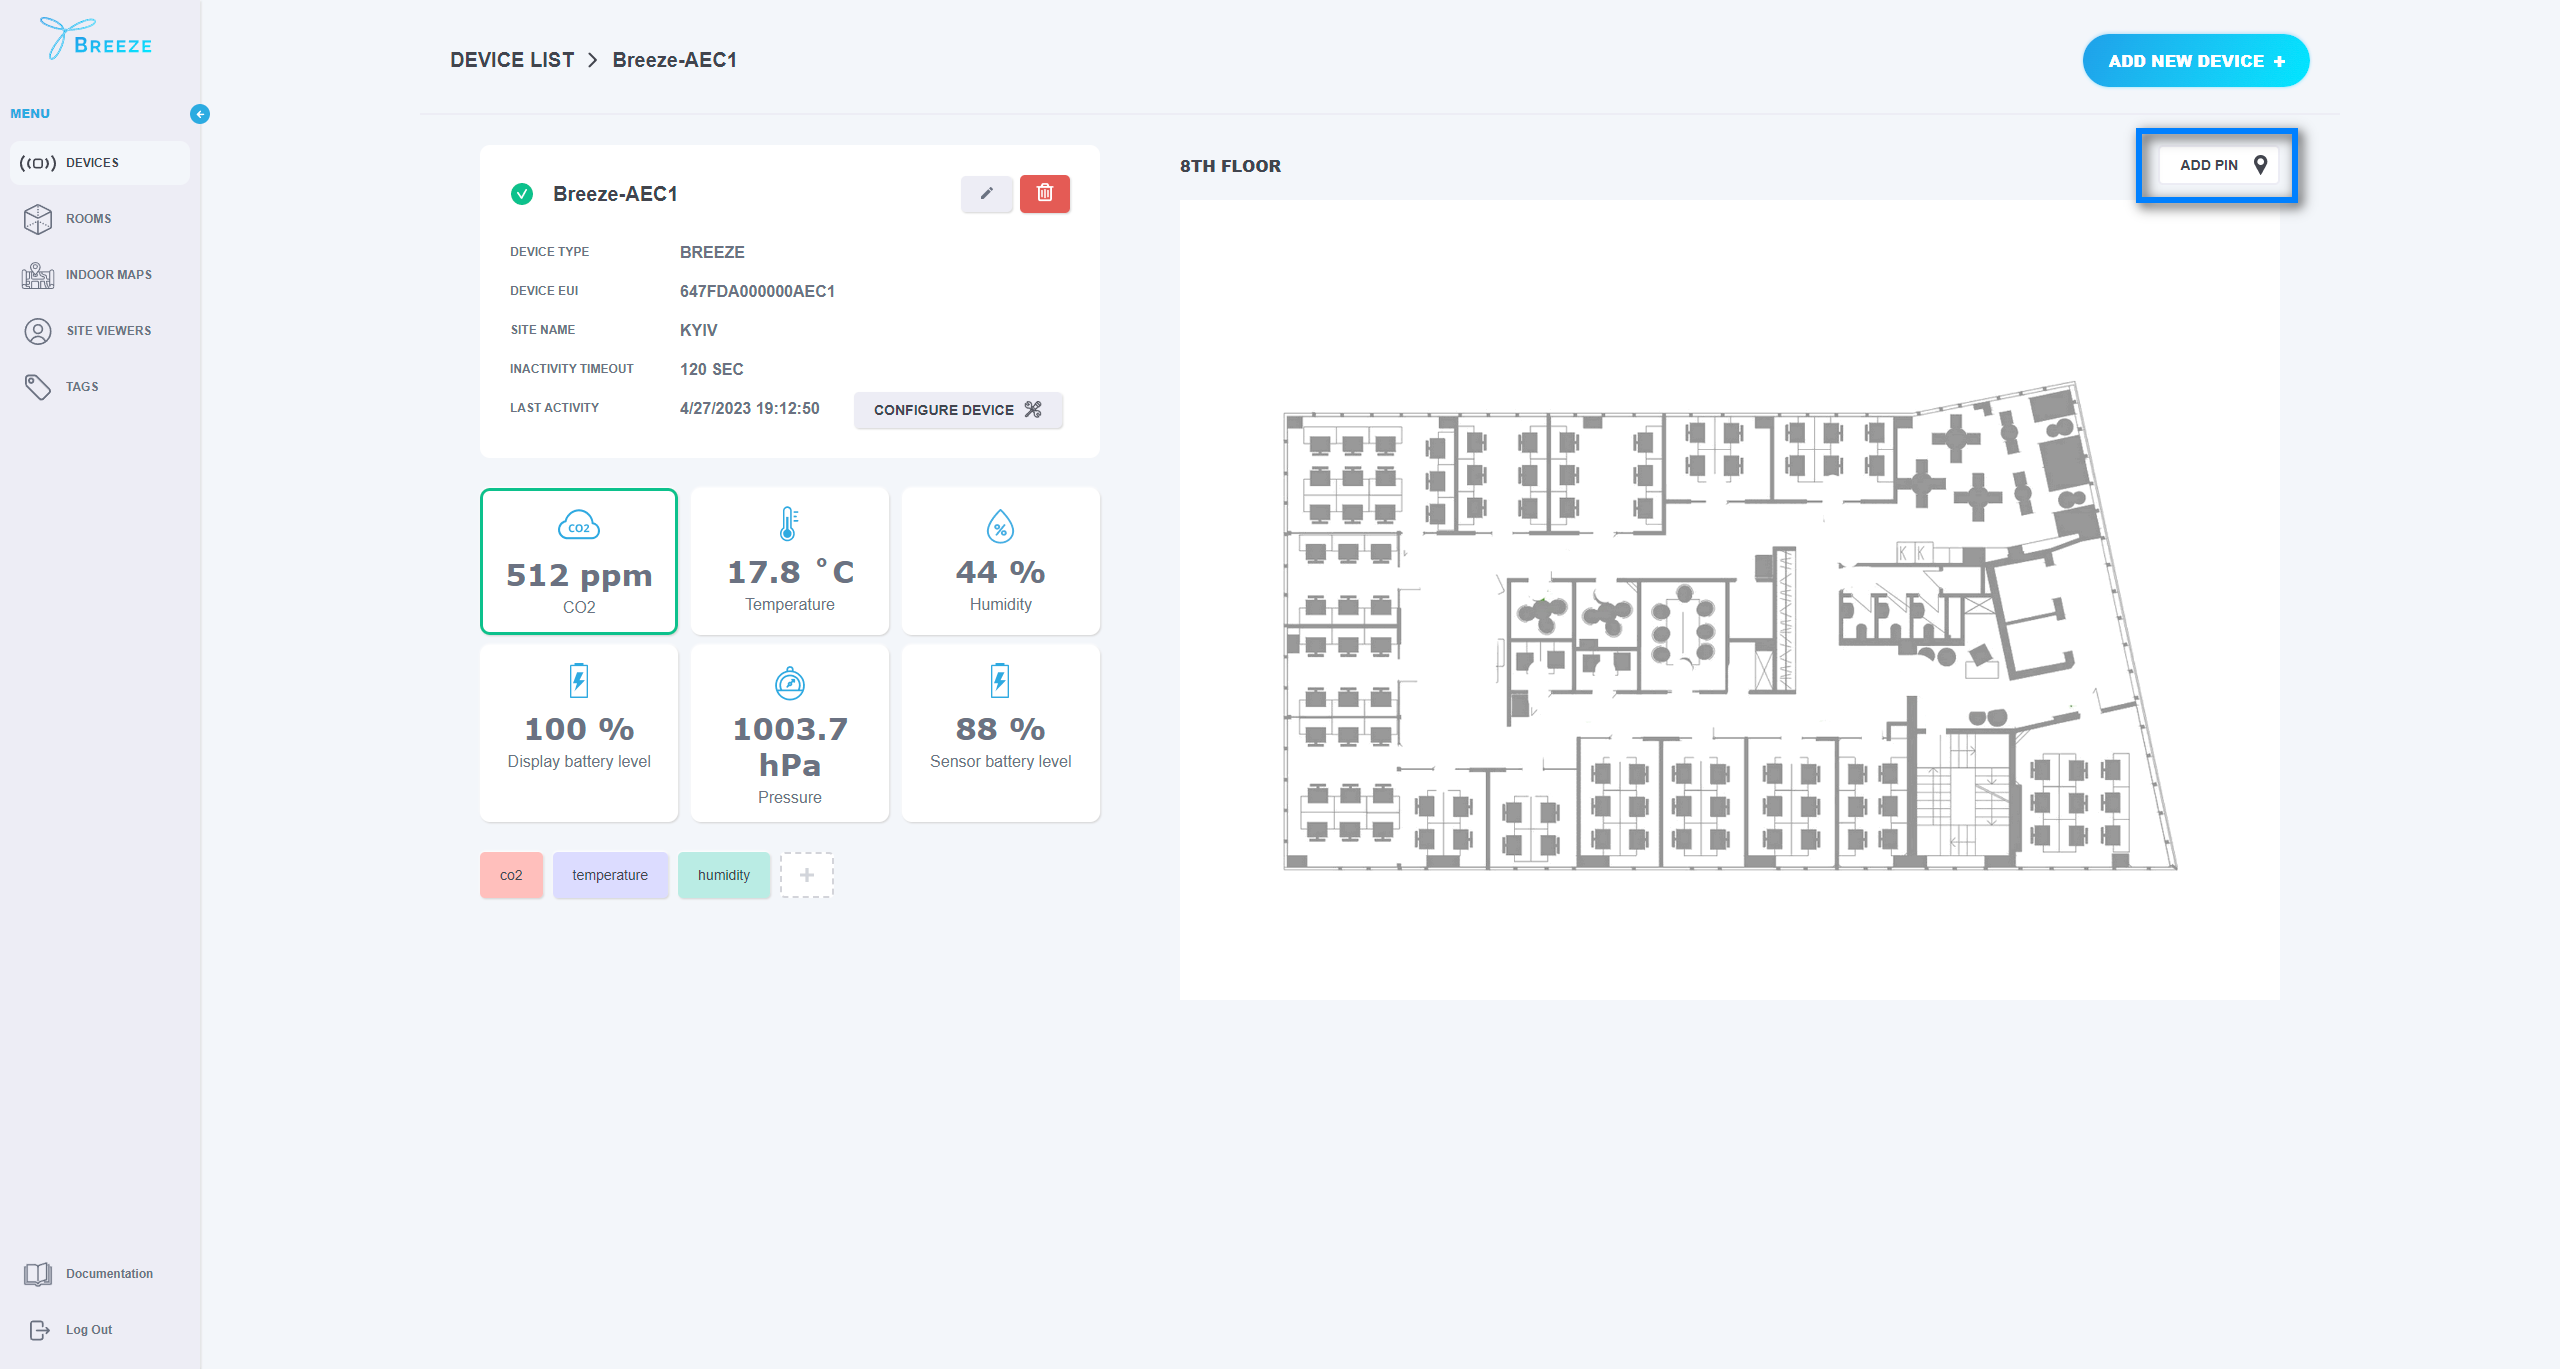
Before setting up the device pin, please make sure your Device is assigned to a Room and the Room is assigned to an Indoor map.
In the edit mode, pin the device position by clicking the corresponding area on a map and click “SAVE”.
The system automatically updates all the related maps with the specified device position. To update the device position or remove it completely, simply navigate to the detailed view of the required device and select “EDIT PIN”. To remove the device pin from the room simply click on the “UNPIN” button.
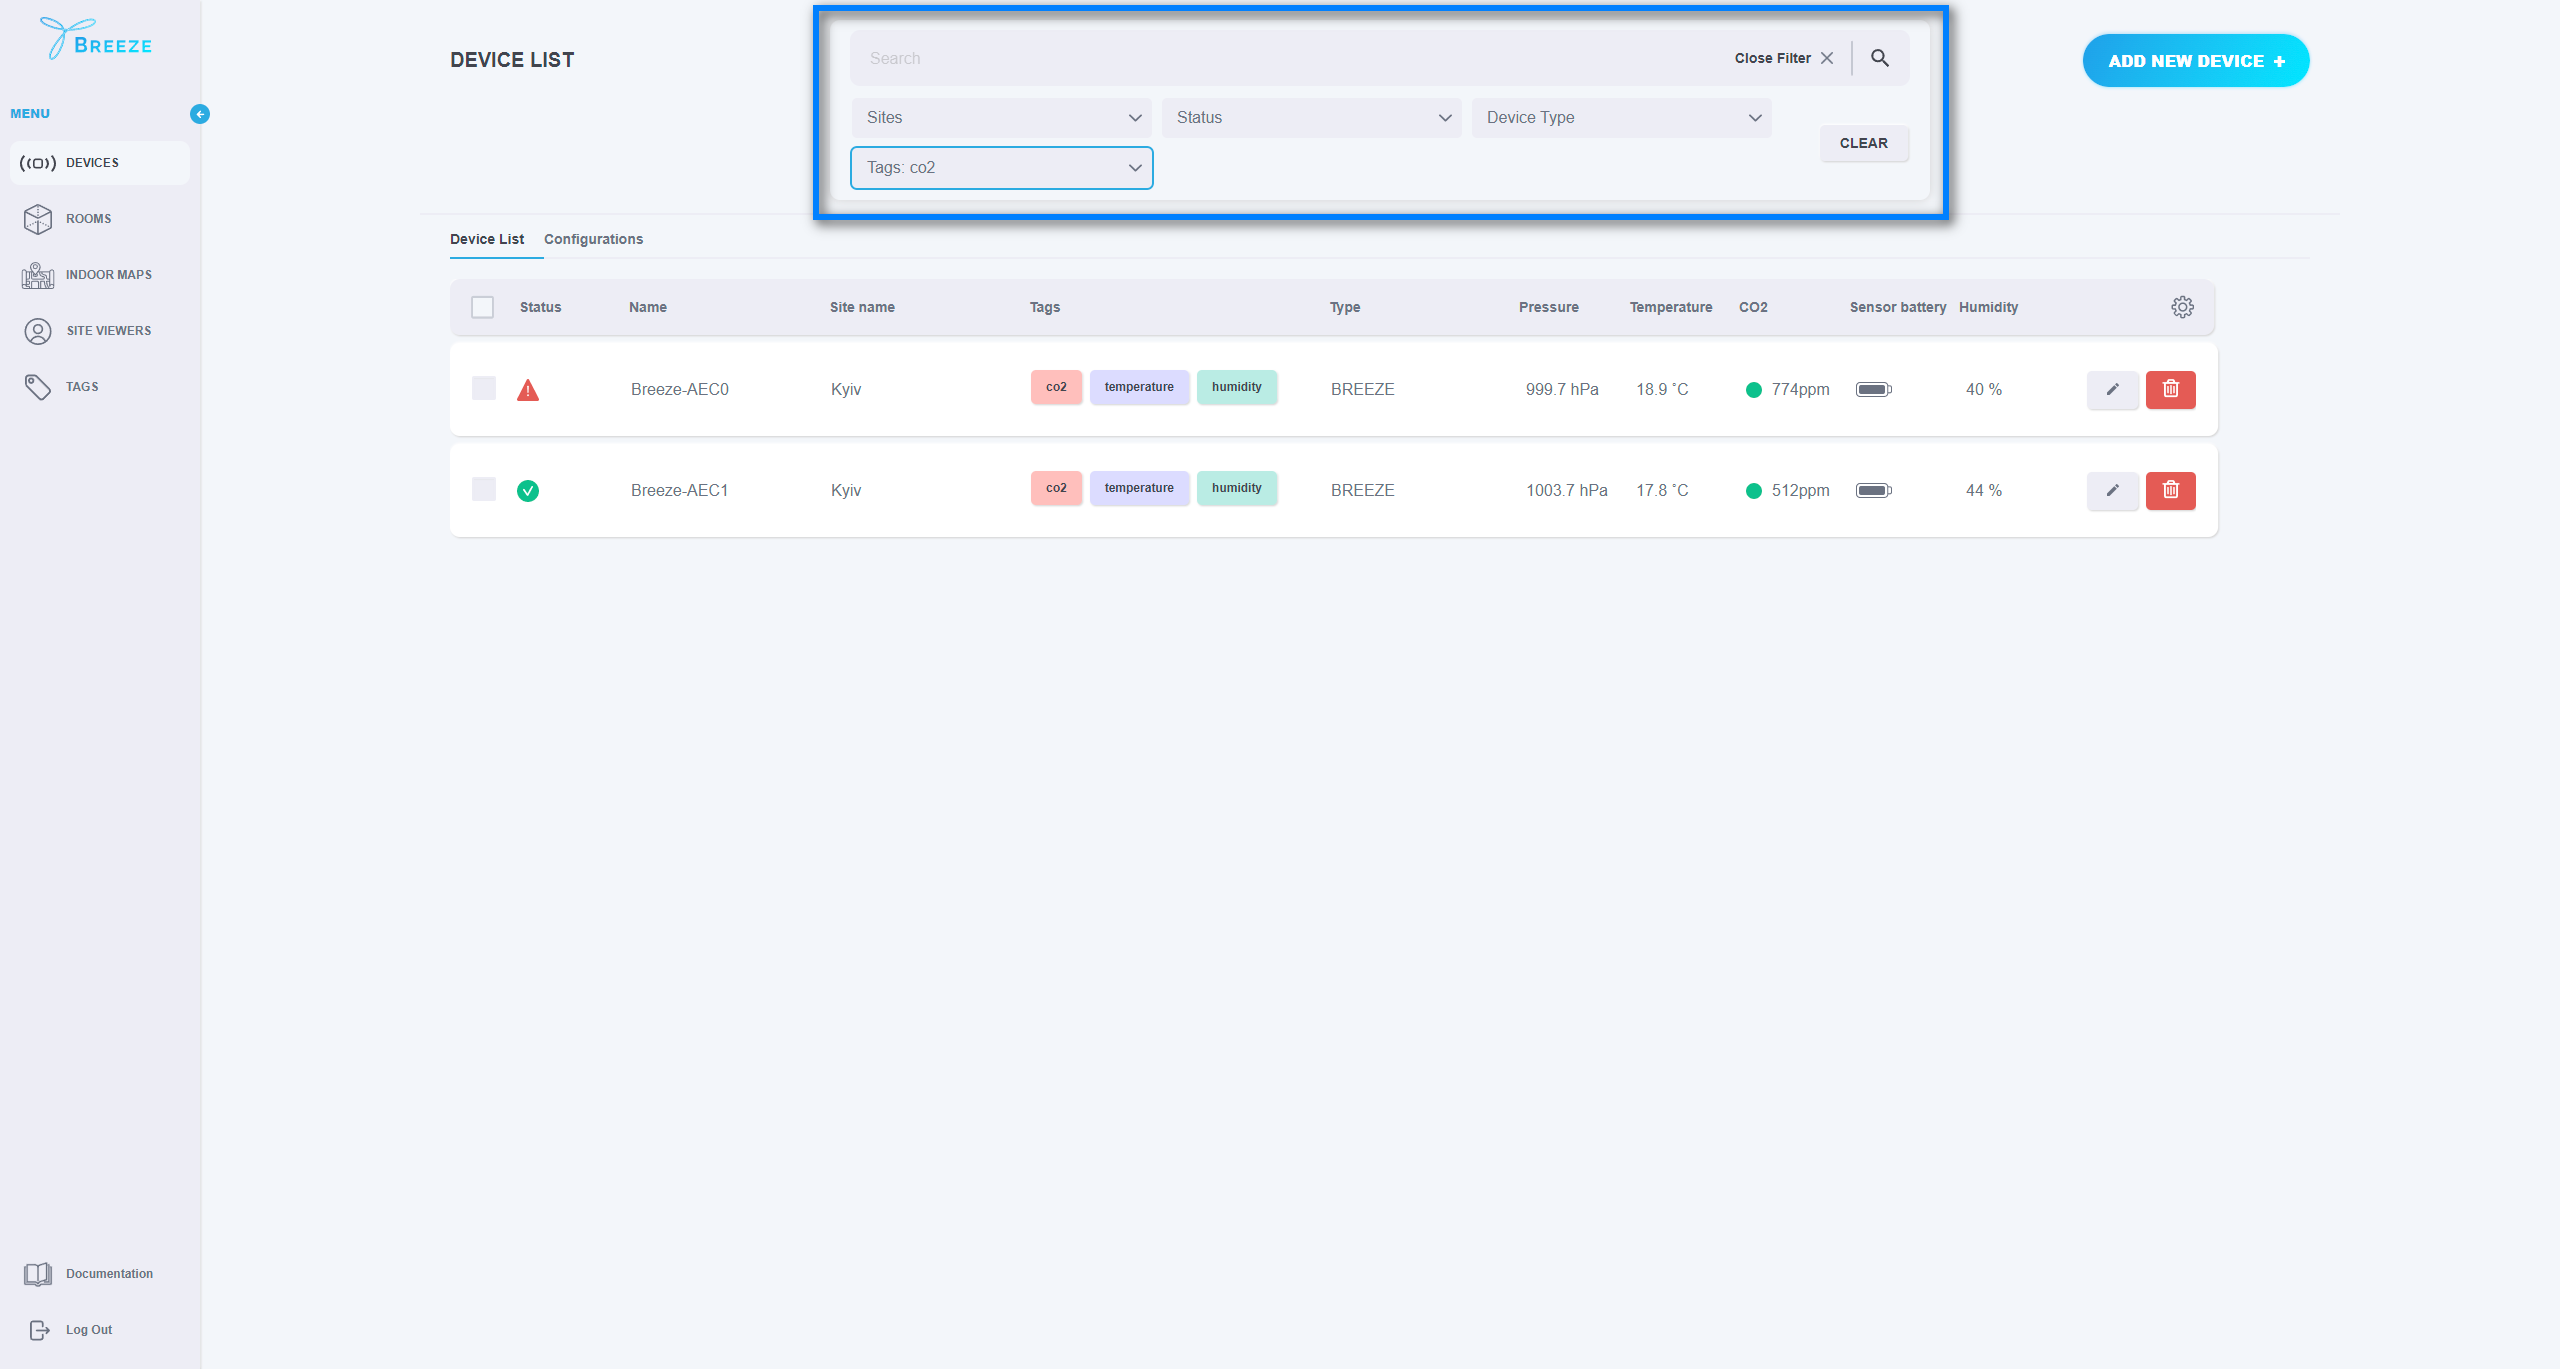
Once Devices have been added to the application, they can be searched by Device name, Device EUI, Device type, Tags, or Site name. Also, they can be filtered by Sites, Statuses, Device types, and Tags.
Once Configurations have been added to the application, they can be searched by Configuration name, Device type, Tags, or Site name. Also, they can be filtered by Sites, Device types, and Tags.