LoRa Cloud™/Locus authentication token Flow Guide
The main goal of this guide is to describe the complete flow of Semtech’s LoRa Cloud/Locus authentication token account setup with further launch of the HTTP server and integration between it and the TEKTELIC Network Server.
1.The TEKTELIC LoRaWAN® gateway that is onboarded on the TEKTELIC Network Server and is online.
2.The TEKTELIC LoRaWAN® device, STORK or CHICKADEE, that is onboarded on the TEKTELIC Network Server and is online.
3.The user’s HTTP server is available via a public network.
4.The Docker application is installed on the user’s HTTP server.
5.“key.pem” file with the public key of the user’s HTTP server is available.
Please use this this link to manually download the service`s docker image: https://hub.docker.com/r/tektelicdocker/decrypting-application-server
Semtech LoRa Cloud will be deprecated in the nearest time. Locus authentication token solution is used instead.
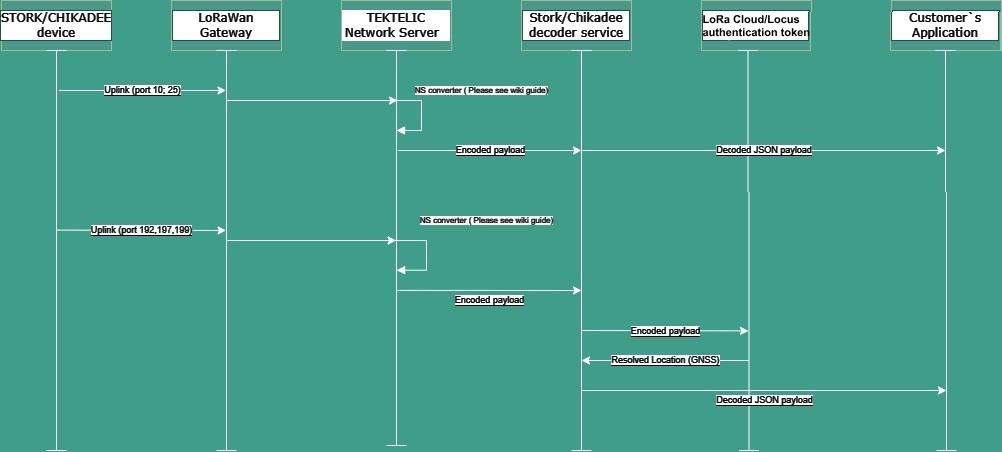
This service is intended to be deployed on the Customer’s side when using the “End-to-End Payload Encryption” feature (External Application Server).
It will decrypt the FRMPayload and pass it to configured the HTTP server (for decoding sensor data and futher processing).
Decryption is performed using the AppSKeyEncrypted field + the known KEK (Key Encryption Key).
To obtain Locus authentication token key, please contact TEKTELIC support
In the directory, where docker image was pulled, create an example.env file.
Put following content inside the example.env file:
AS_KEK_LABEL=as-kek
AS_KEK=AAAAAAAAAAABBBBBBBBBBBBCCCCCCCCCC
UPSTREAM_HOST=http://localhost:8082
NS_HOST=https://lorawan-ns-na.tektelic.com
NS_BASE_PATH=/api/v2/integration/http/069ba6b3c2514e299ec23a8c0c23468c42f67af6aaa84c5e82f1d766027c34f3
WHERE: AS_KEK_LABEL=as-kek - remain unedited
AS_KEK=AAAAAAAAAAABBBBBBBBBBBBCCCCCCCCCC - Locus authentication token key. Please contact TEKTELIC support to obtain it.
UPSTREAM_HOST: Server address, where decoded data will be delivered.
NS_HOST: TEKTELIC Network Server url.
NS_BASE_PATH: Integration path with the Network Server. (can be found in the Integrations on the Network Server)
Save file.
1.Log in to the user’s HTTP server using the terminal.
2.Execute the following command to run the server:
docker run -p 8080:8080 –env-file ./test.env tektelicdocker/decrypting-application-server
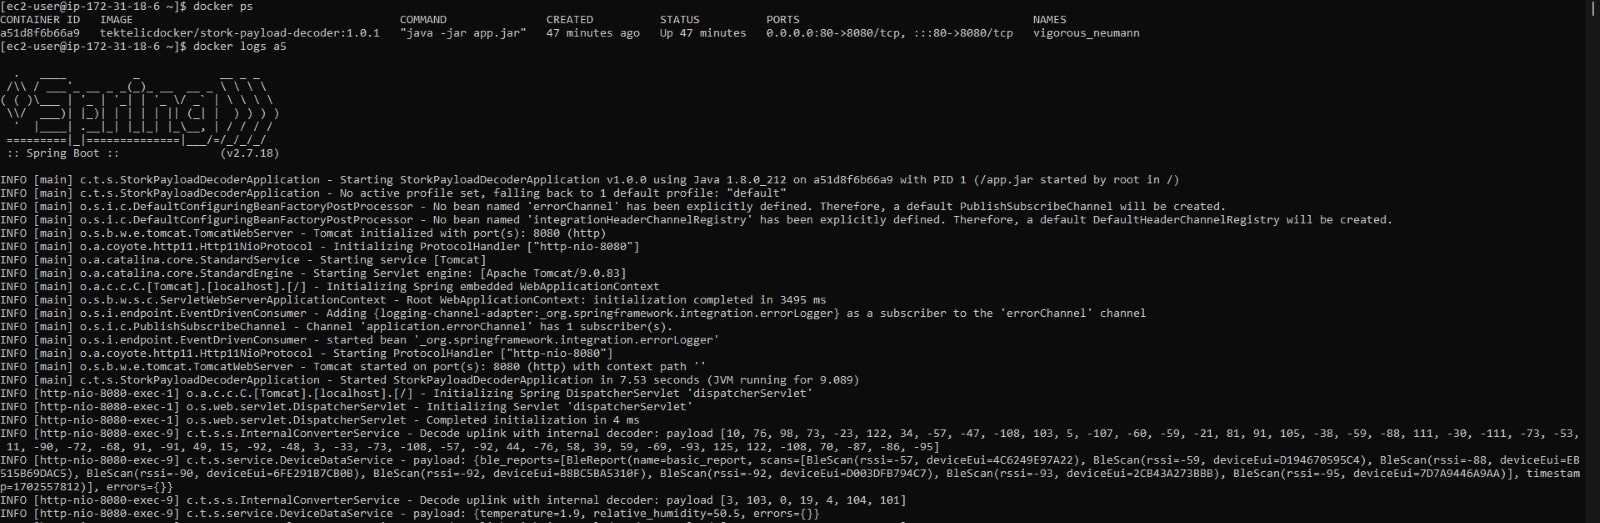
To validate that the server has been successfully booted, execute the following command: docker ps

3.To check the logs from the server, execute the following command:
docker logs XX
where “XX” is the first two ID numbers of the created Docker container
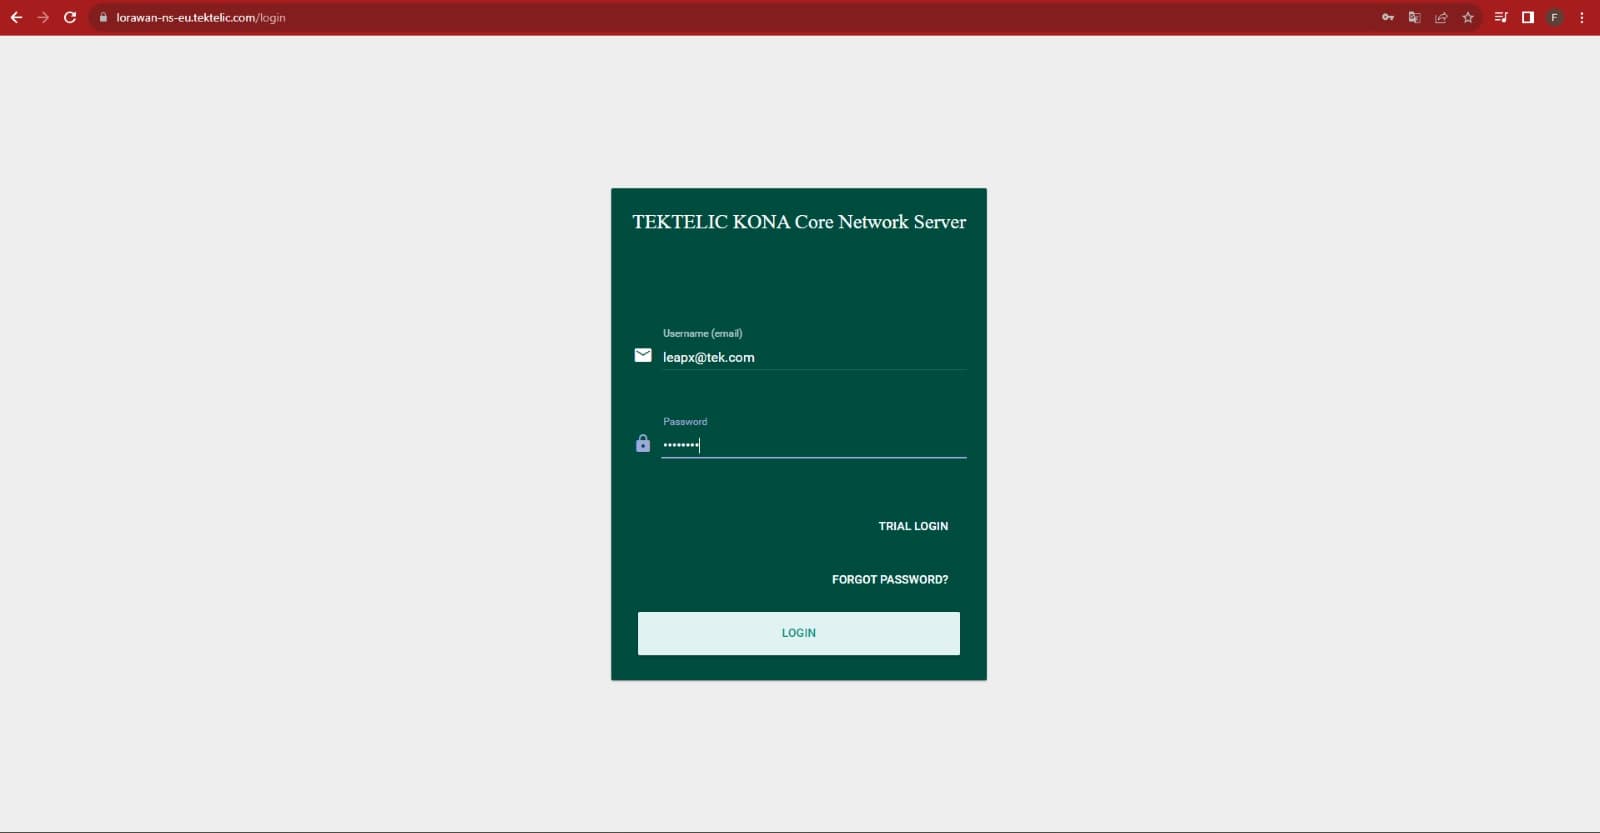
1.Open the TEKTELIC Network Server instance.

2.Log in using the TEKTELIC Network Server credentials.
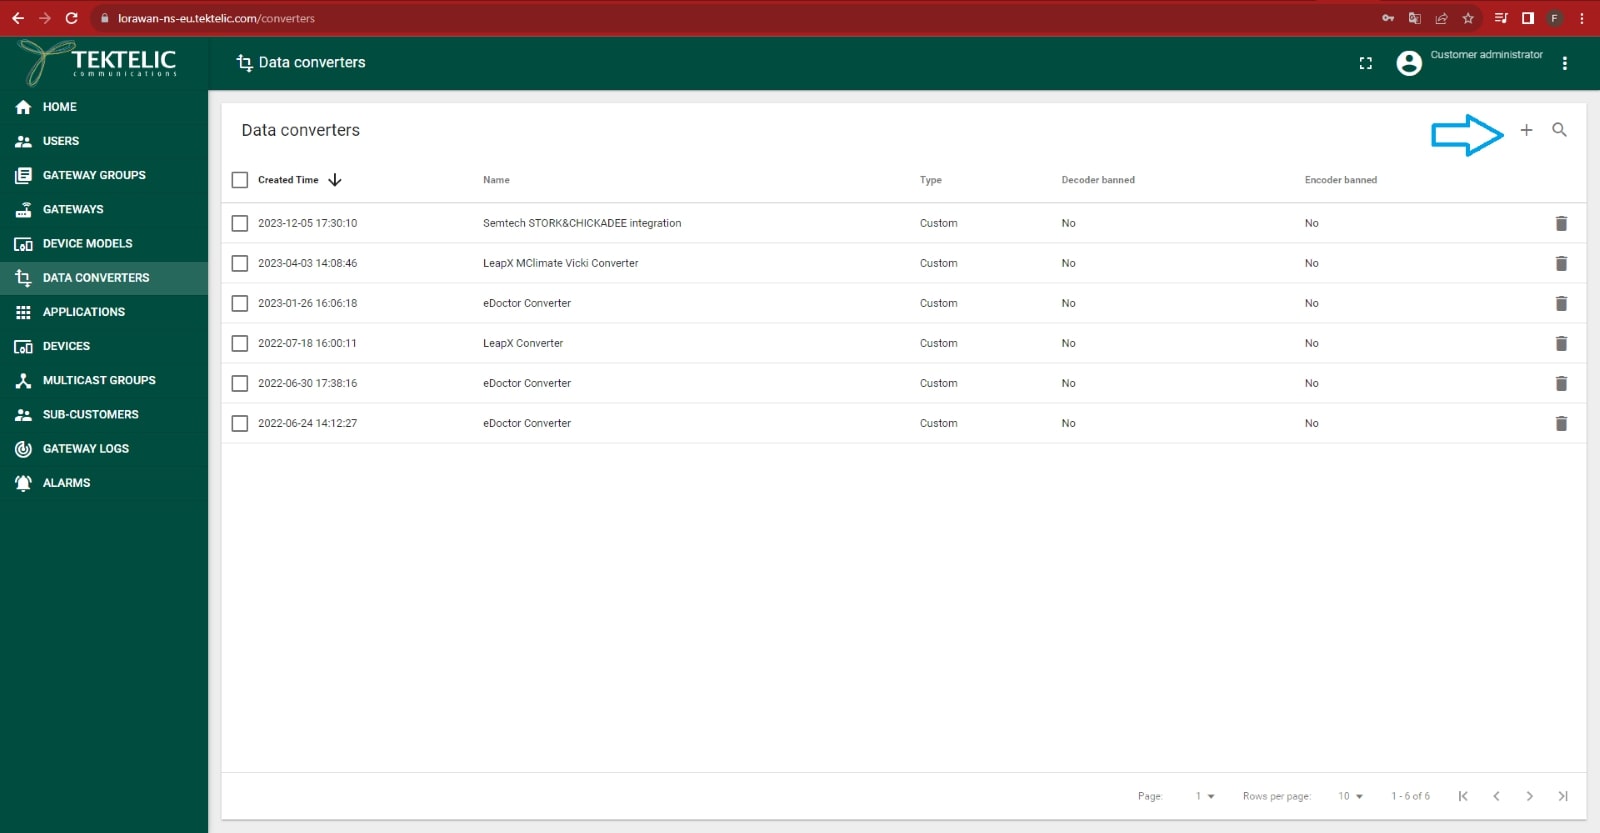
3.Choose the “Data Converters” section.
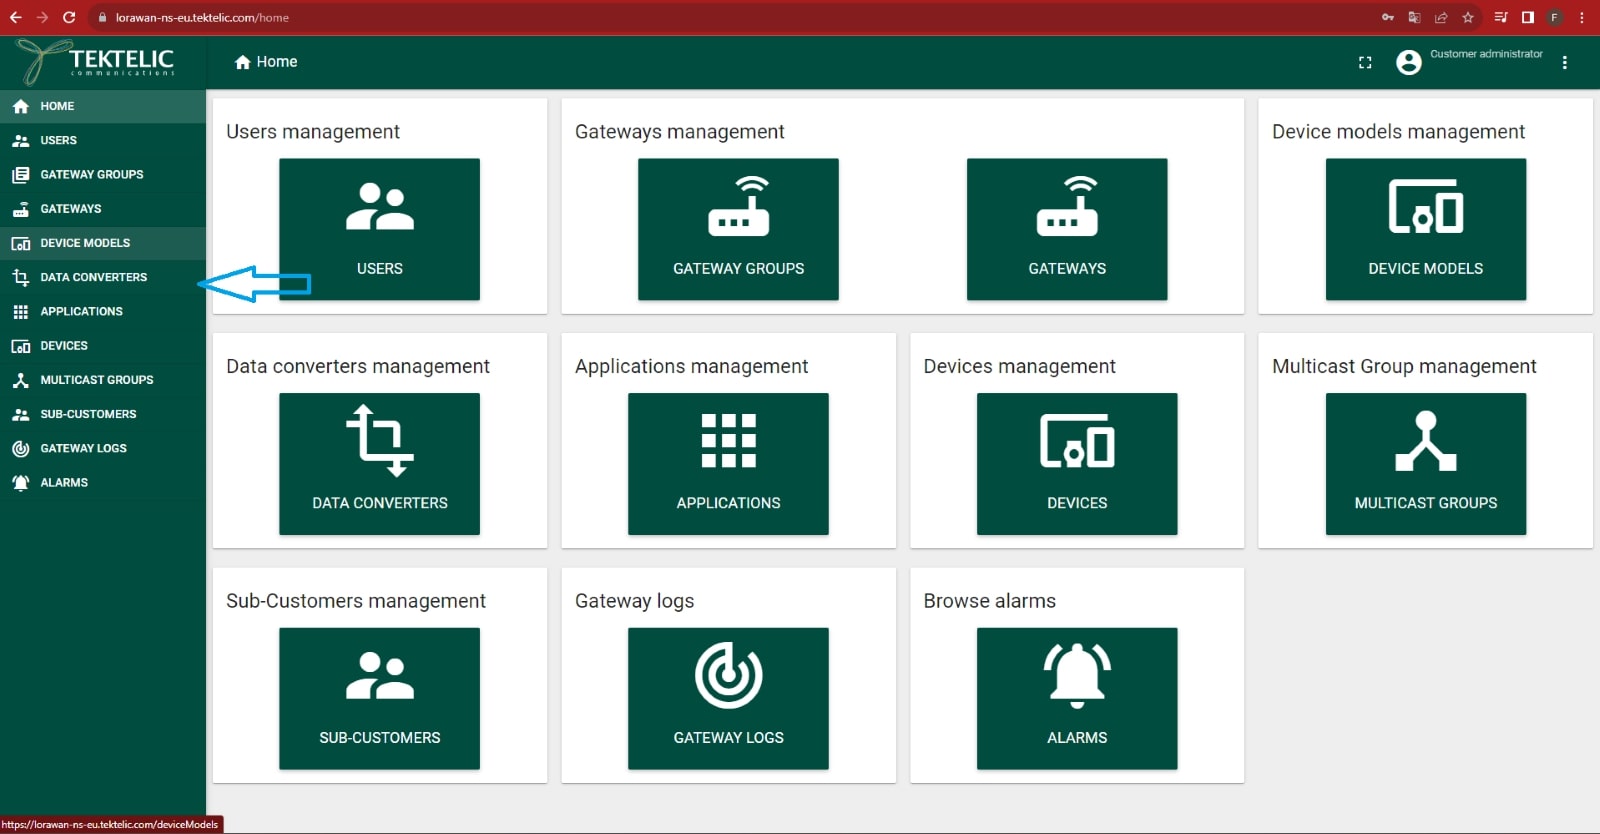
4.Click on the “+” button to add a new data converter.
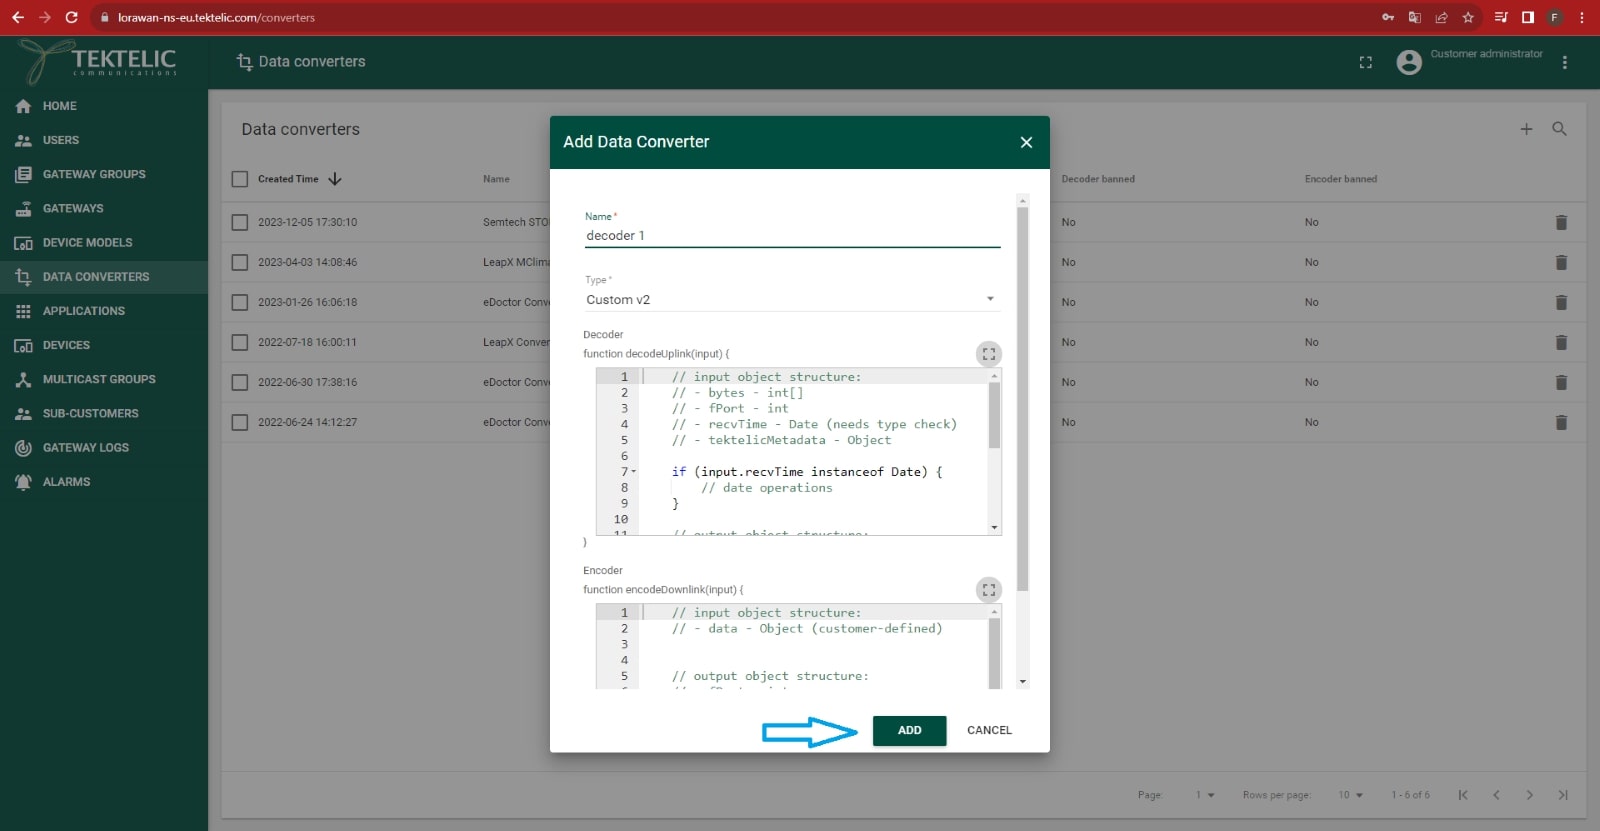
5.Click on the “Type” drop-down list and choose “Custom”. Replace values in the decoder/encoder fields with the values from the “Data converter” guide section .
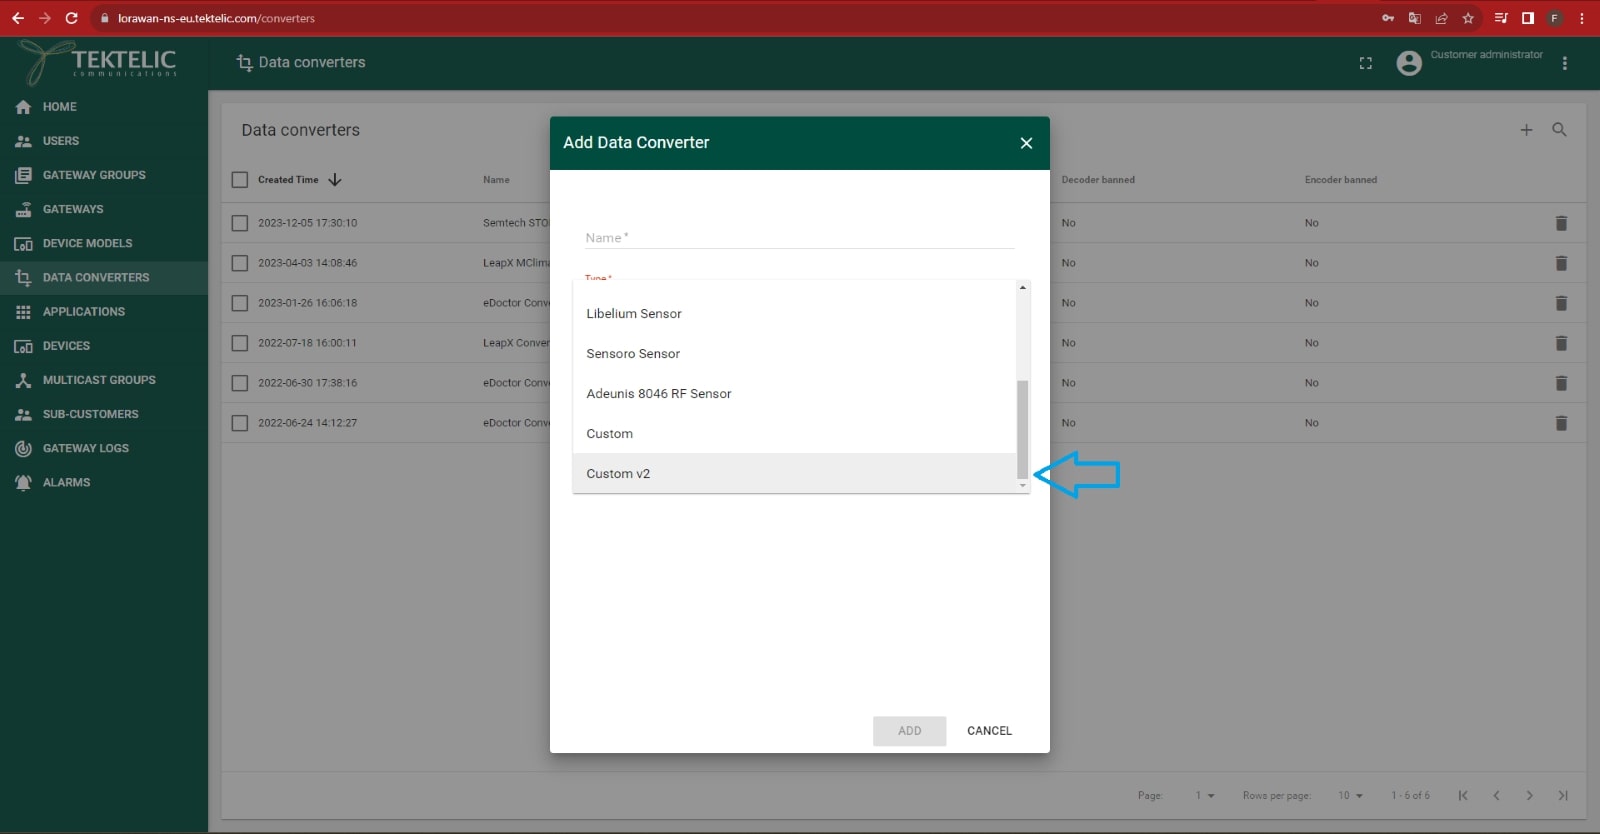
6.Choose the name for this data decoder and further click on the “Add” button.
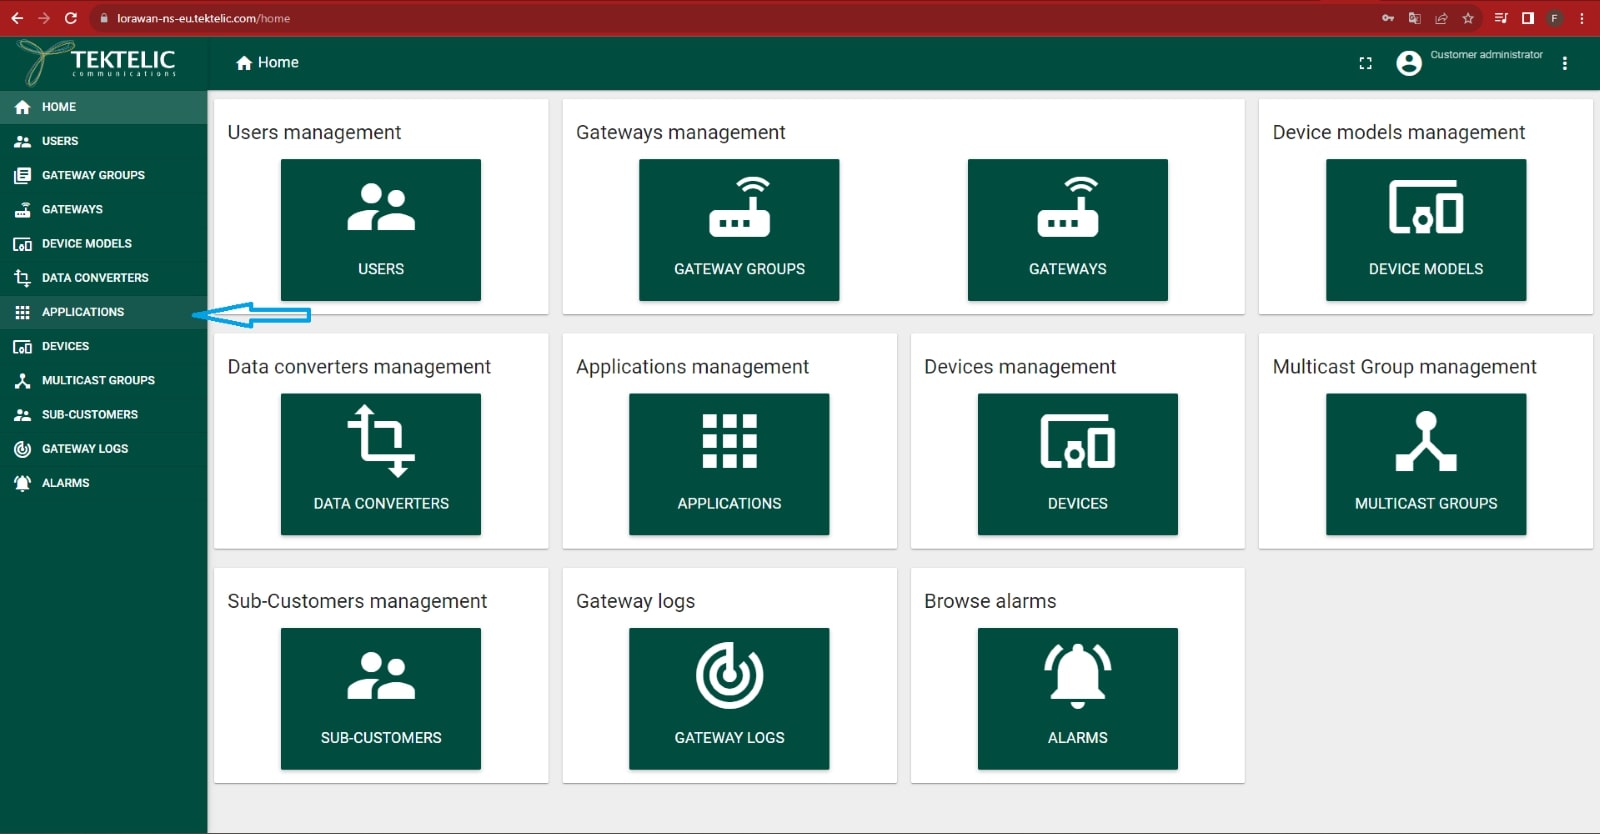
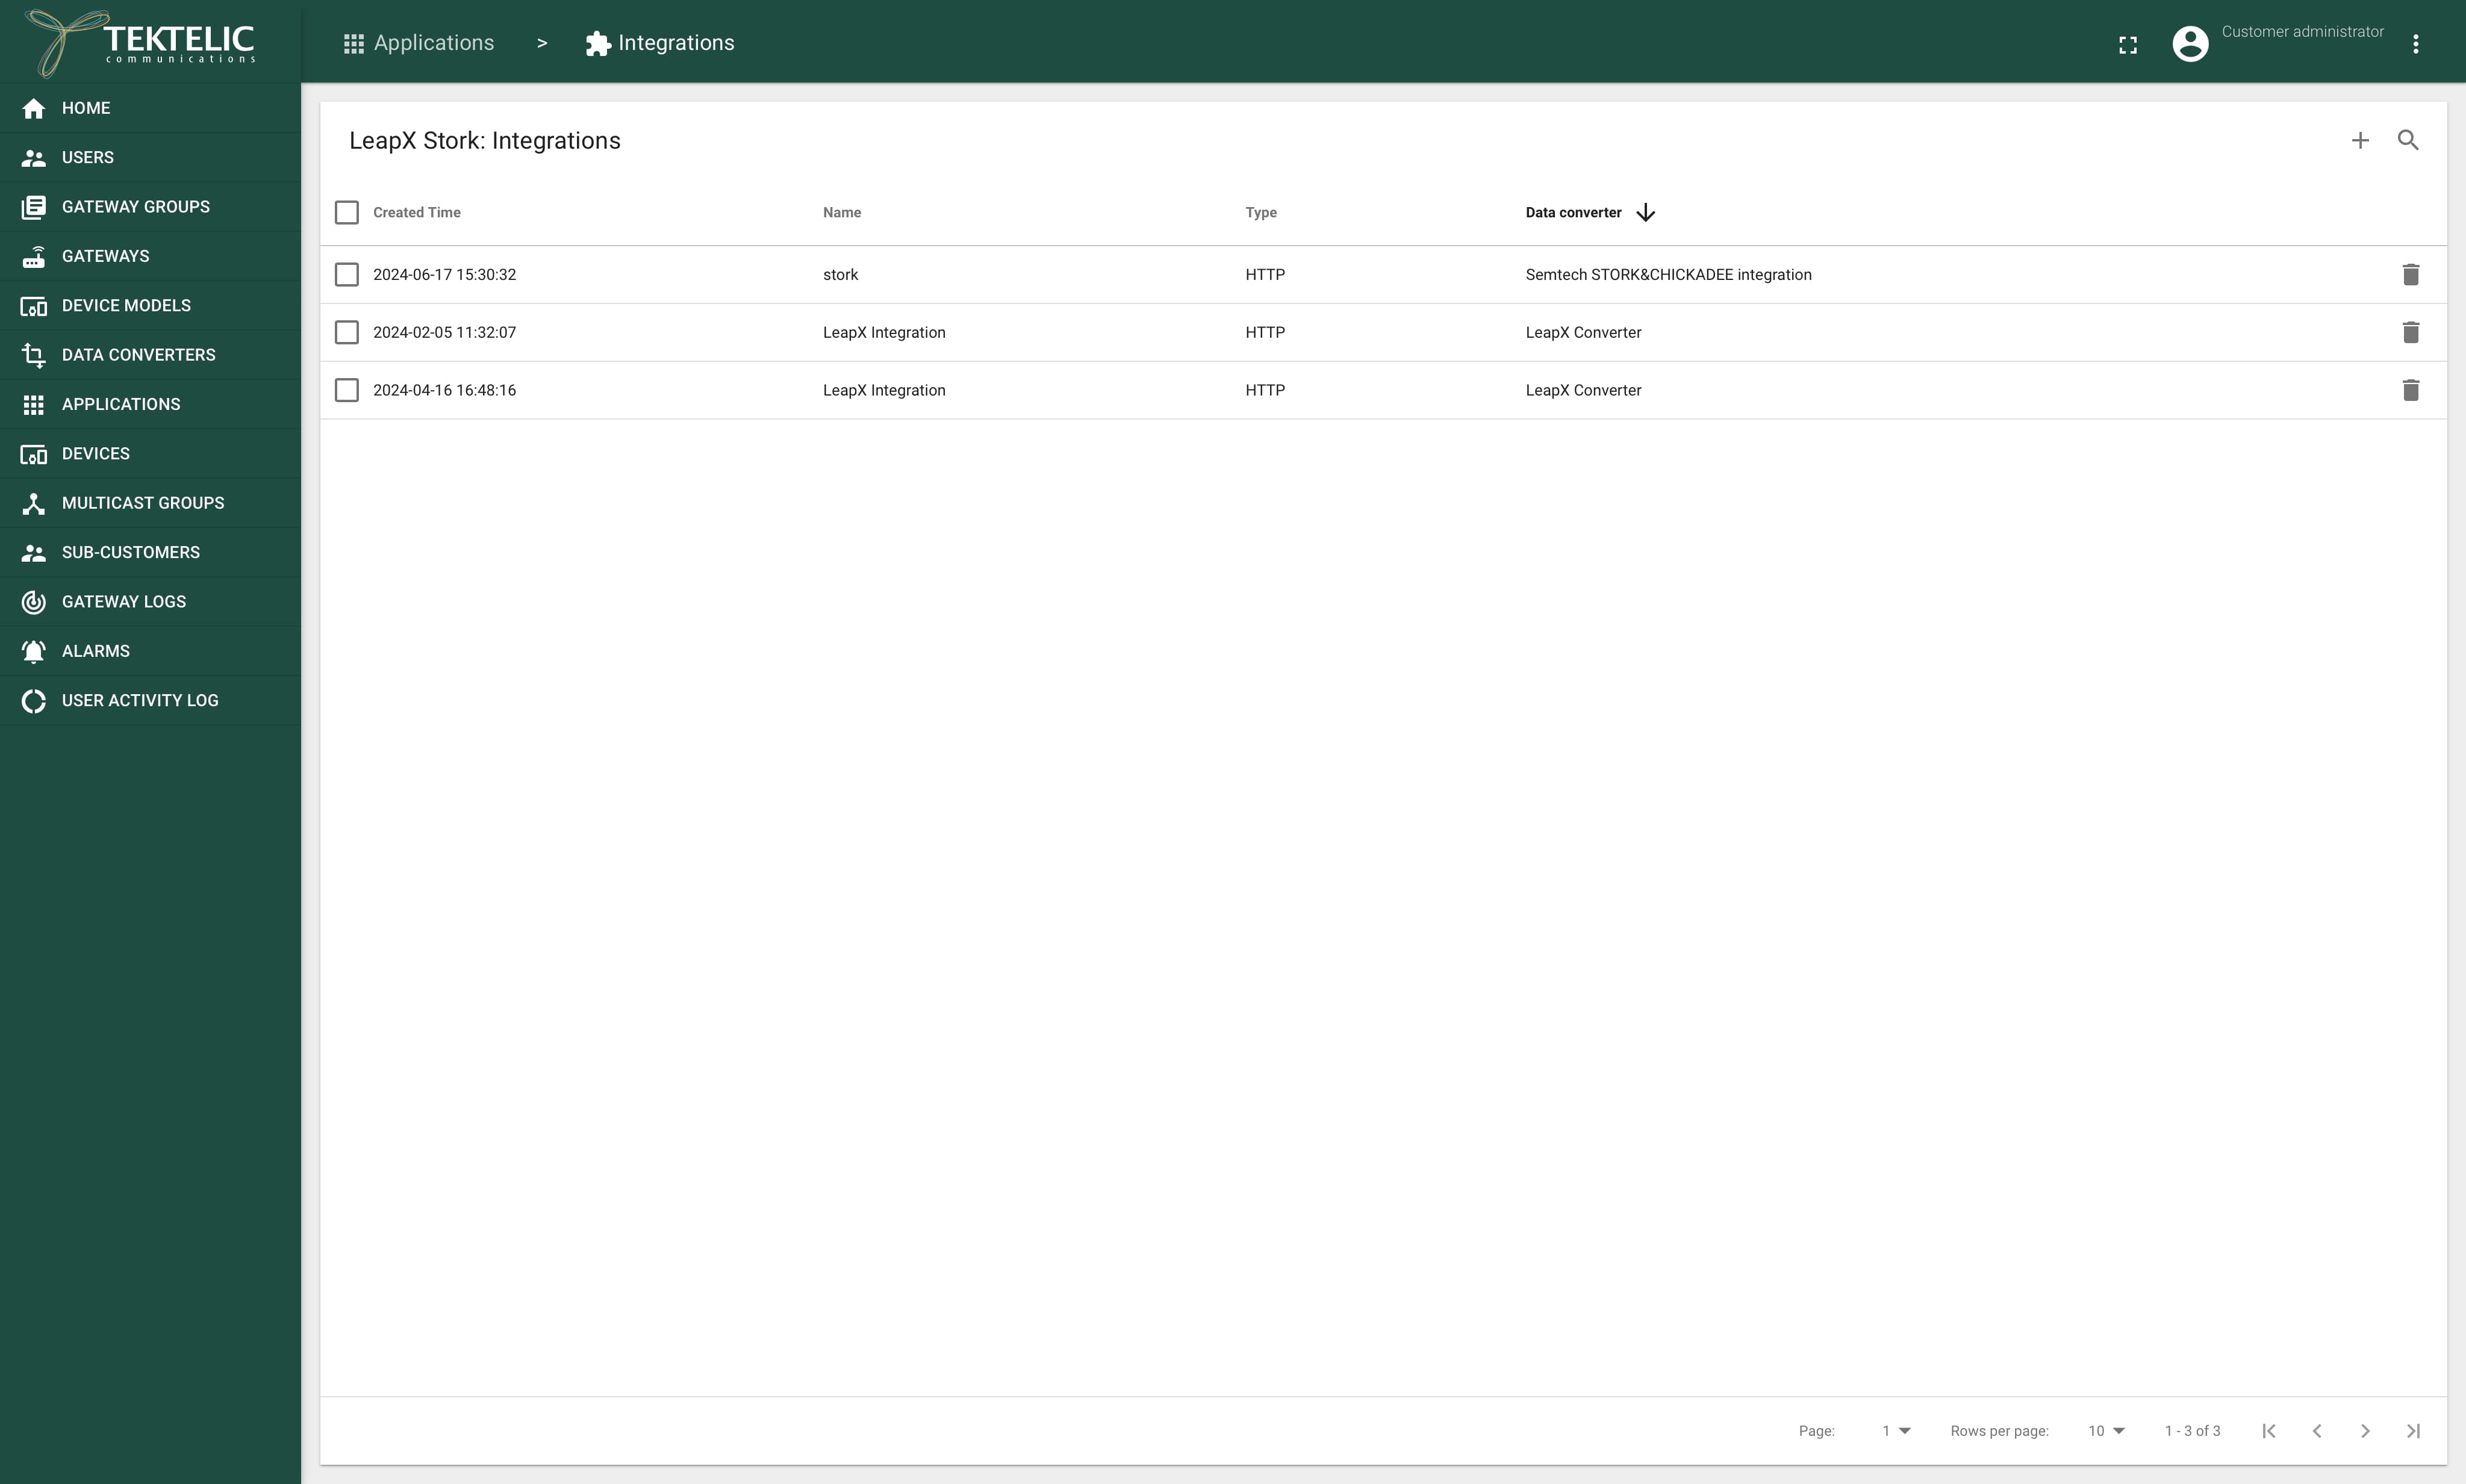
7.Choose the “Applications” section.
8.Click on the application where your STORK or CHICKADEE device is located to open the pop-up menu. Choose “Manage Integrations."

9.Click on the “+” button to add a new integration.
10.Set up the name for the integration;
“Type”: “HTTP”;
“Data Converter”: choose the data converter created beforehand;
“Application Address”: use the address of the HTTP server with the Docker container;
“Port”: 443;
“Base Path”: /;
“Enable HTTPS”: checked.
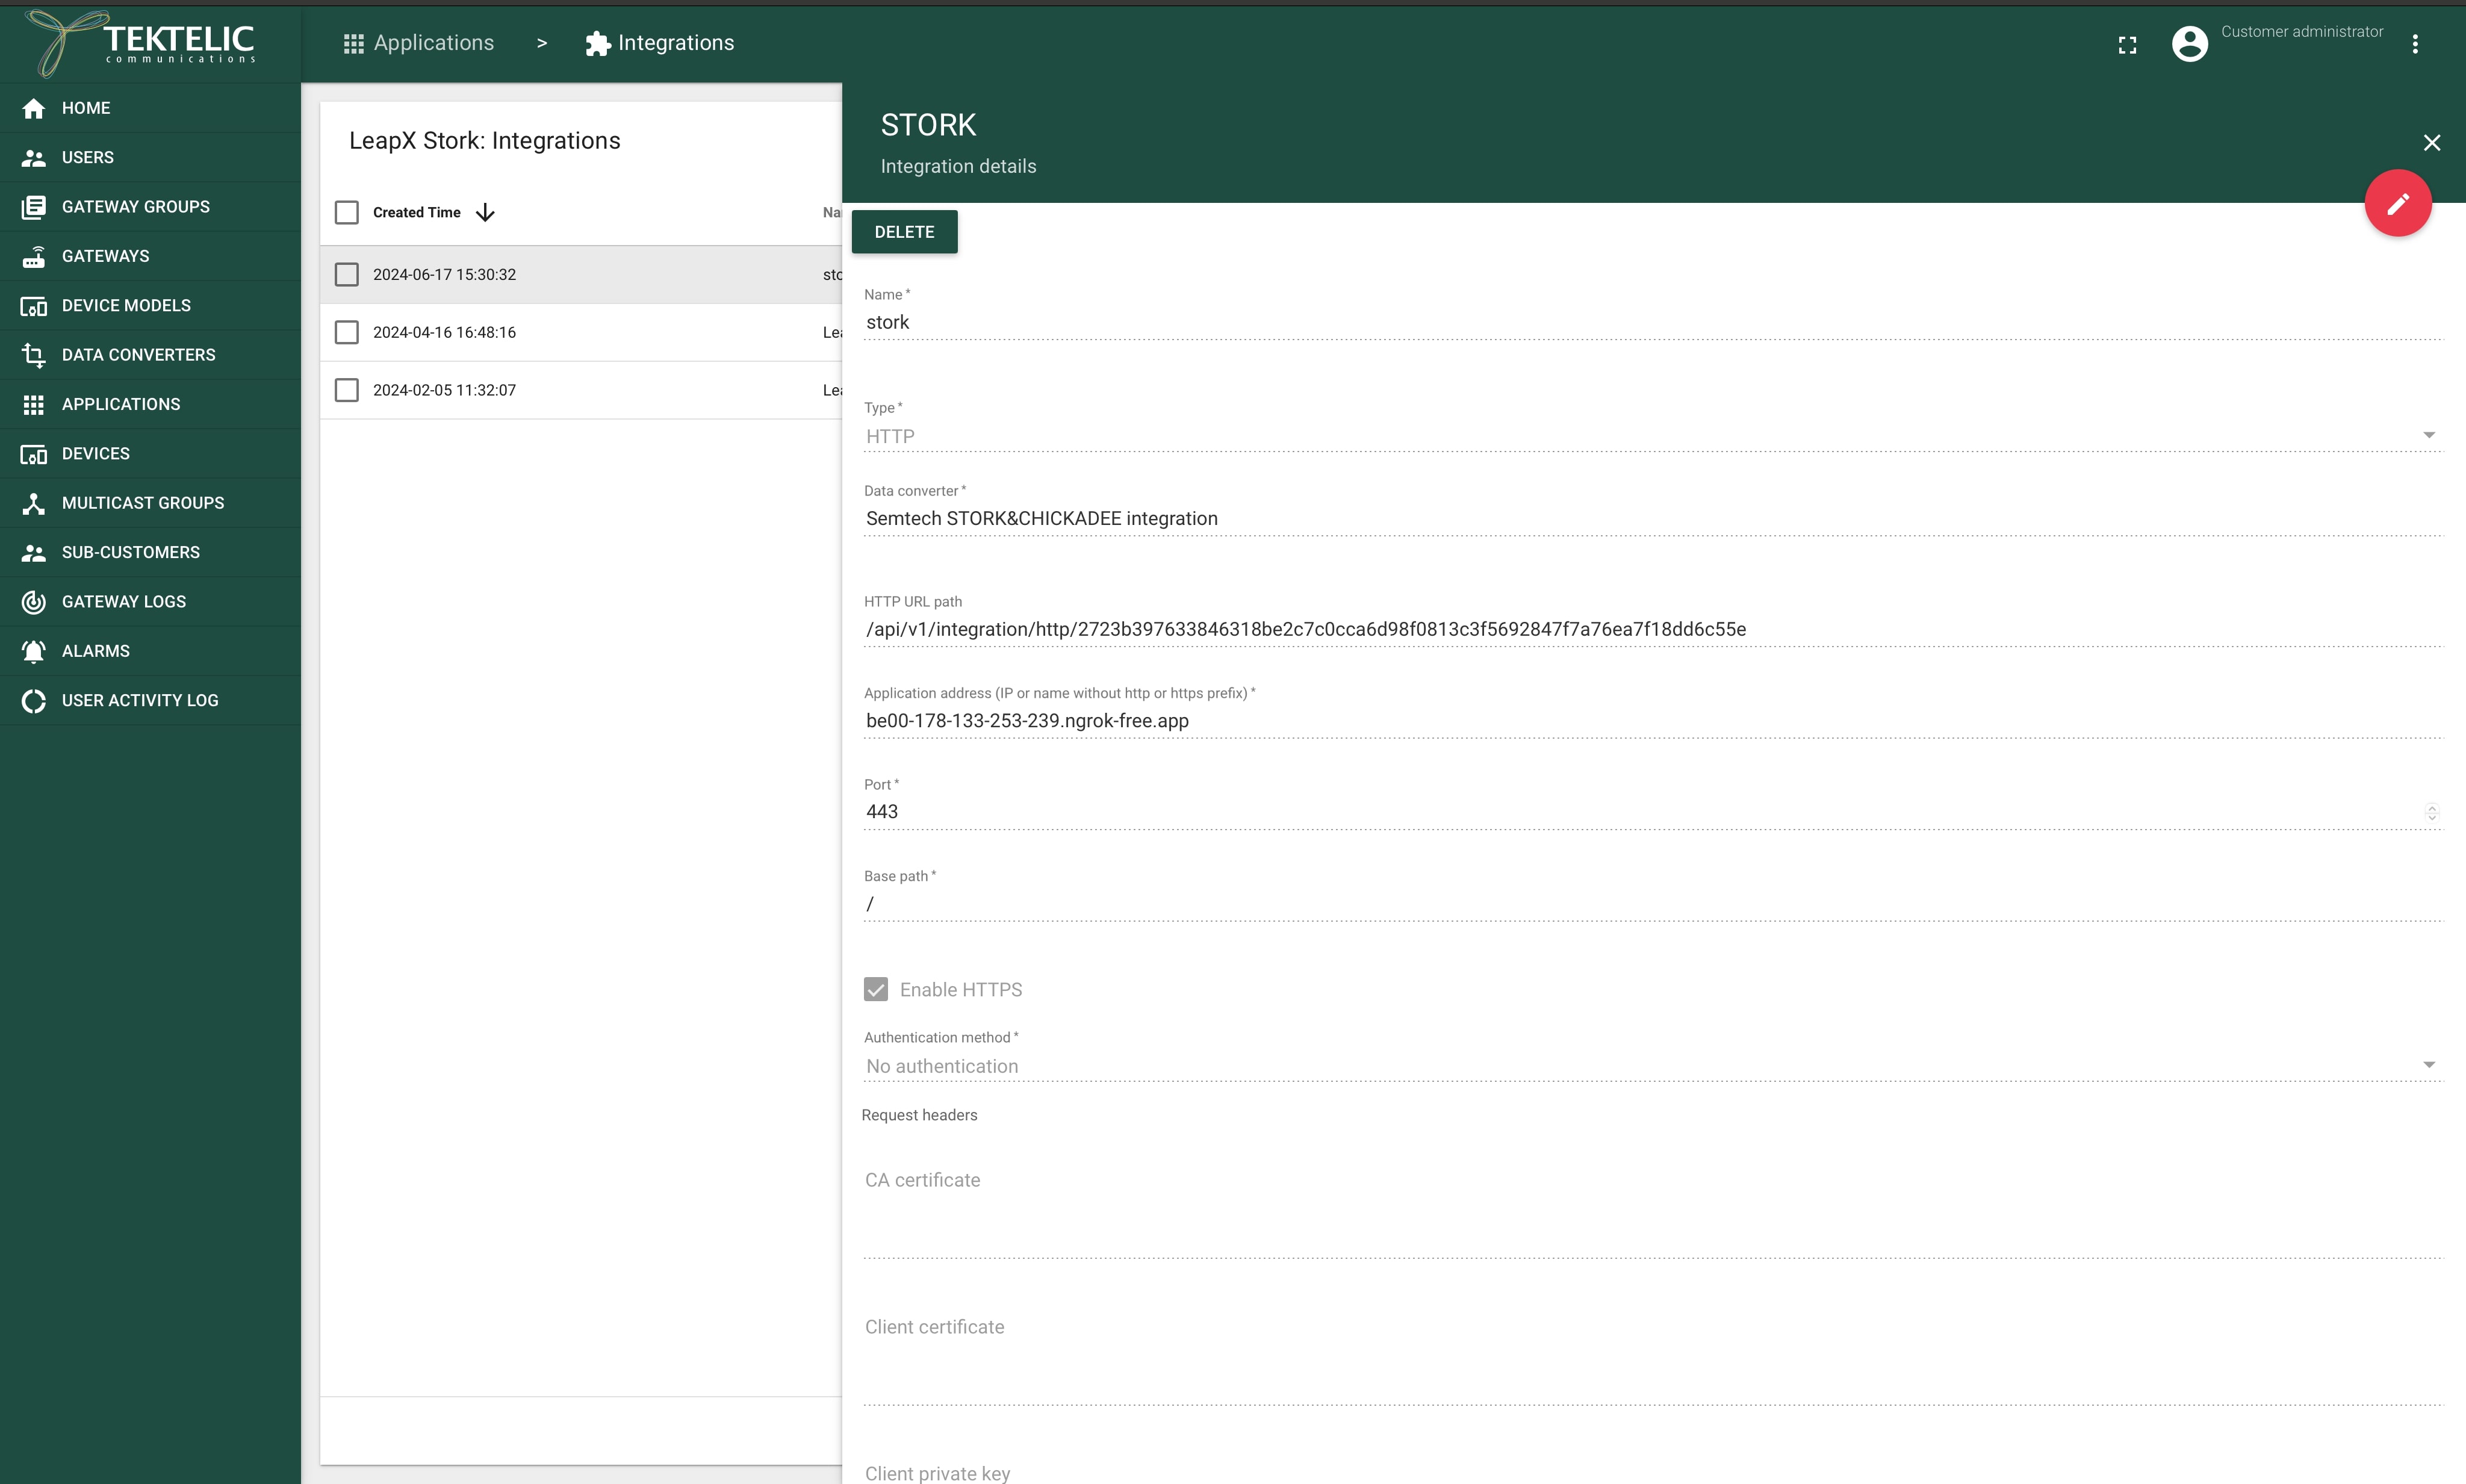
11.Click on the “Add” button to create an integration.
Decoder:
function decodeUplink(input) {
    return {
        "data": {
            "bytes": input.bytes
        },
        "errors": [],
        "warnings": [],
        "tektelicMetadata": input.tektelicMetadata
    };
}
Encoder:
function encodeDownlink(input) {
    return {
        "fPort": input.data.fPort,
        "bytes": input.data.bytes,
        "errors": [],
        "warnings": []
    };
}