Connect to The Things Stack (TTN) via LoRa Basics™ Station
TEKTELIC KONA Gateways can connect to The Things Stack (TTN) using the LoRa Basics™ Station protocol through the KONA Link web interface. The LoRa Basics Station Set Up Wizard in KONA Link makes integration simple and secure.
There are two supported connection methods:
- CUPS (Configuration and Update Server) — Recommended. The gateway connects to TTN’s CUPS endpoint, which automatically delivers LNS credentials, certificates, and updates.
- Direct LNS Connection — The gateway connects directly to TTN’s LNS endpoint using manually prepared URI, certificate, and key files.
- Access to the The Things Stack Console
- A TEKTELIC KONA Gateway and access to KONA Link
- The gateway’s EUI (printed on the label or visible in KONA Link)
- Internet access for the gateway
- One or two API keys created in The Things Stack (CUPS and/or LNS)
- Log in to the TTS Console and go to Gateways → + Register Gateway.
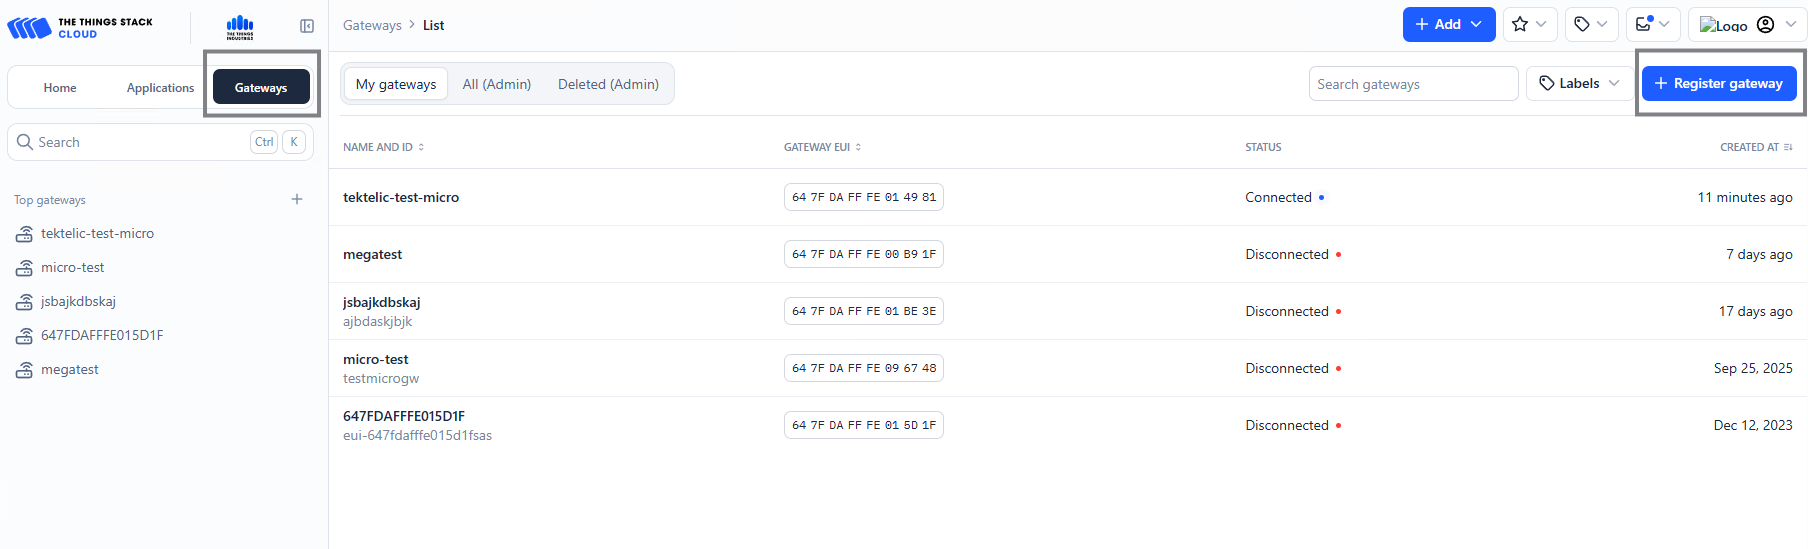
-
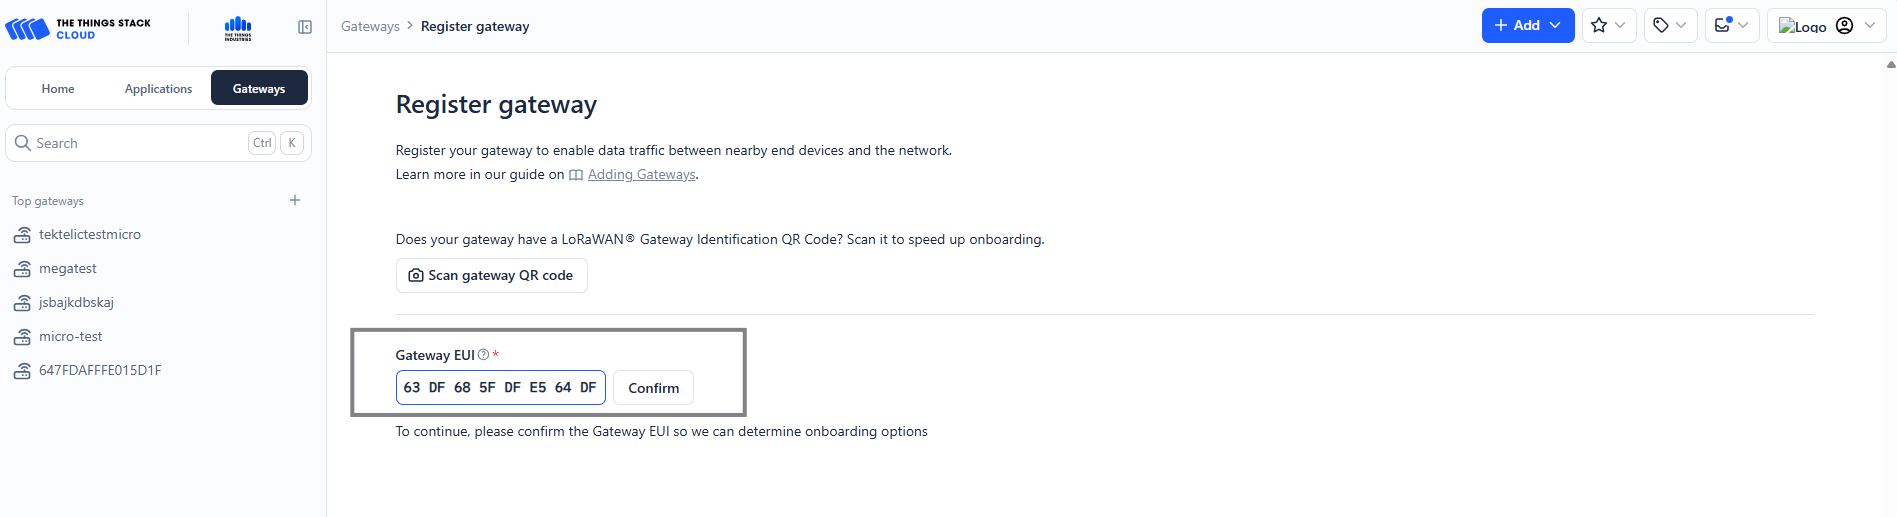
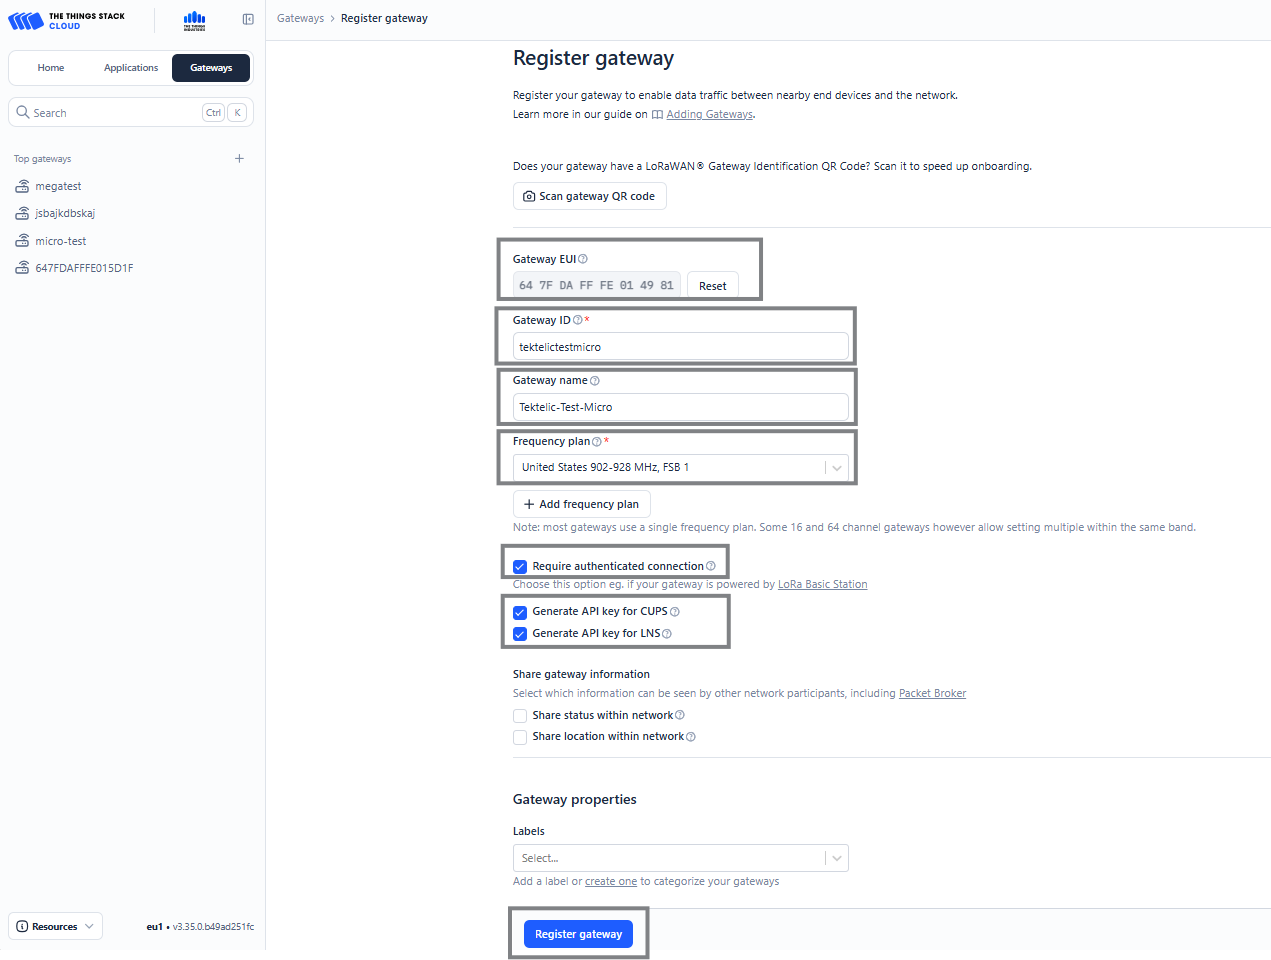
Enter:
- Gateway EUI – from the label or KONA Link General page
- Gateway ID – lowercase, ≤36 characters
- Frequency Plan – e.g., EU868, US915
- Enable Require authenticated connection
- Click Register Gateway.
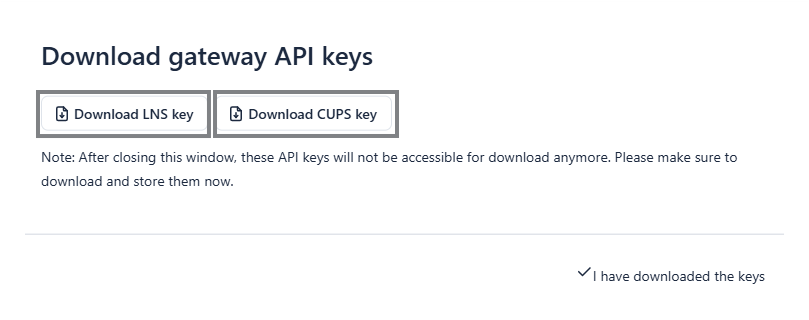
- Under your gateway’s page, open API Keys → Add API Key and create:
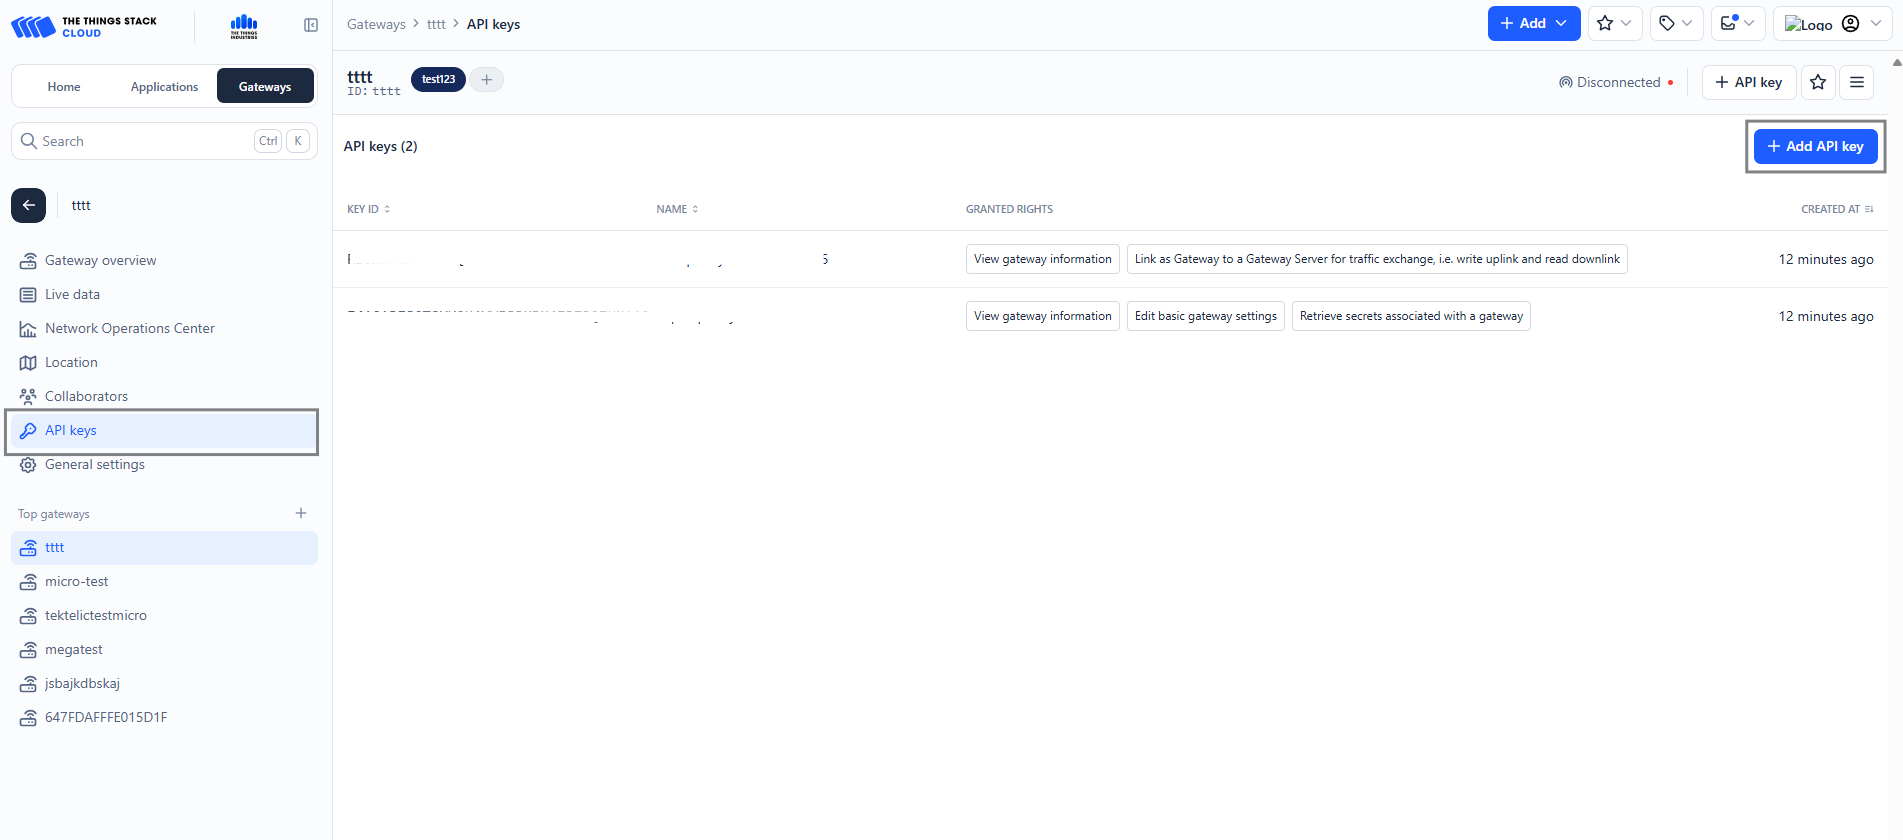
- CUPS API Key – rights: View gateway info, Edit settings, Retrieve secrets associated with a gateway

- LNS API Key – rights: Link as Gateway to a Gateway Server for traffic exchange
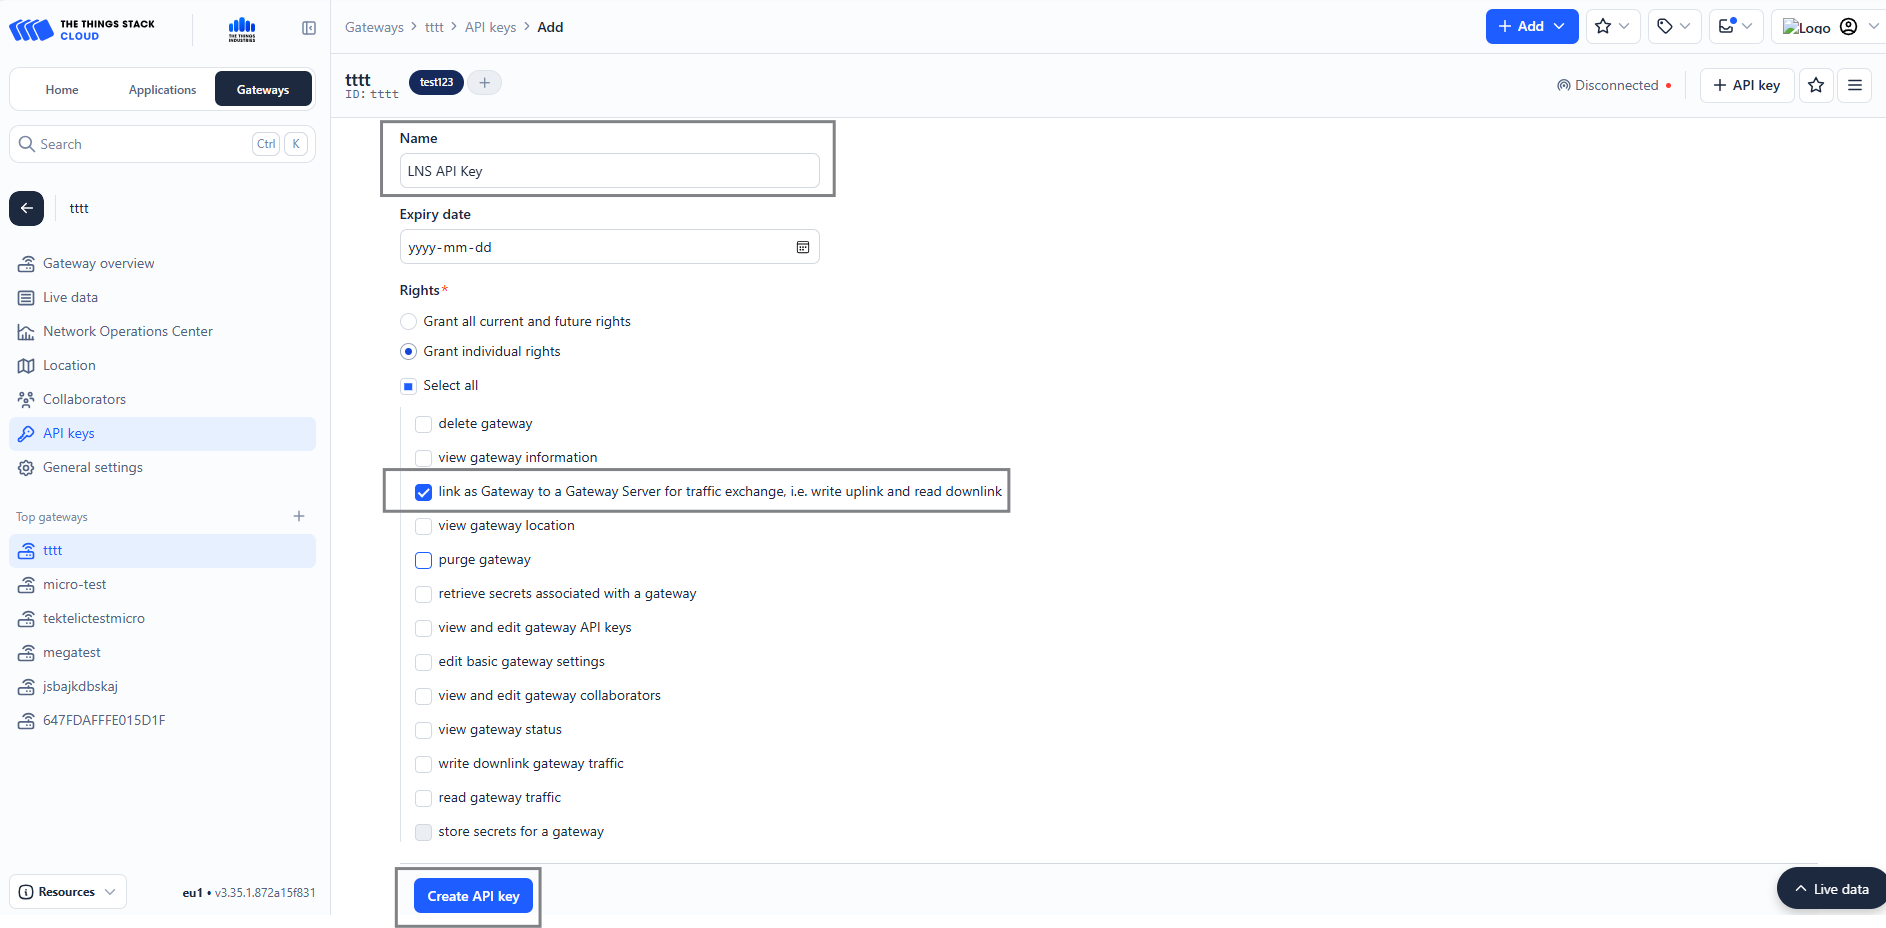
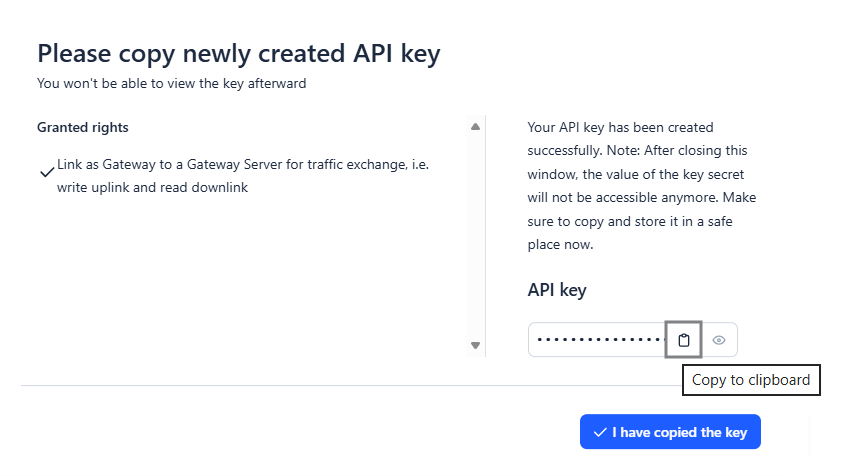
- Copy each key and store securely.
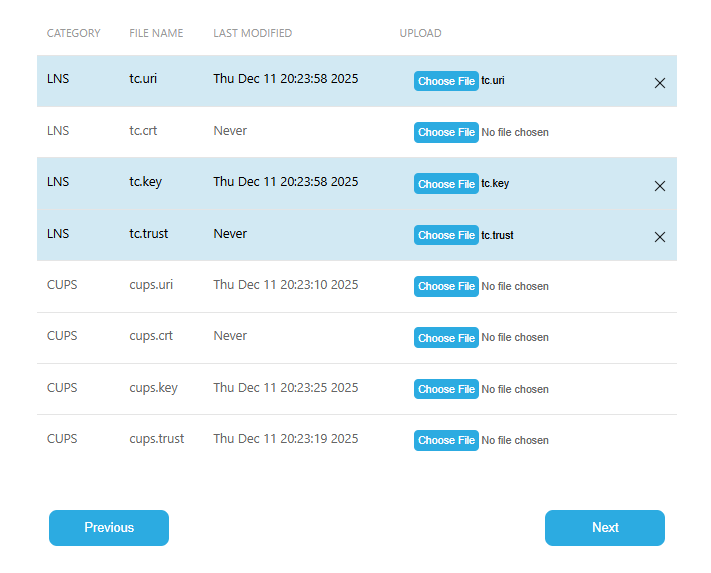
The KONA Link wizard requires uploading URI, Trust, and Key files for both CUPS and LNS. Follow the steps below to prepare each file.
Instead of a single root certificate, download the complete CA certificate list. This ensures compatibility with all certificate authorities trusted by The Things Stack.
Run the following command on your PC or workstation:
curl https://curl.haxx.se/ca/cacert.pem --output cups.trust -L
Then make a copy for LNS:
cp cups.trust tc.trust
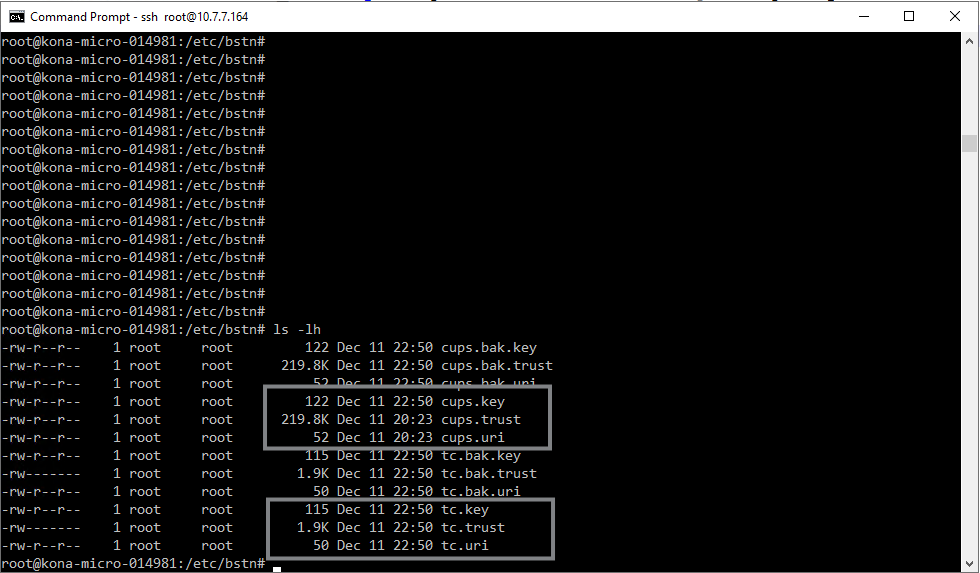
You will now have two identical trust files:
| Use | Required Filename | Description |
|---|---|---|
| CUPS | cups.trust |
Full CA certificate bundle |
| LNS | tc.trust |
Full CA certificate bundle |
Each connection type requires its server address stored in a .uri file.
| Use | File Name | Example Contents |
|---|---|---|
| CUPS | cups.uri |
https://nam1.cloud.thethings.network:443 |
| LNS | tc.uri |
wss://nam1.cloud.thethings.network:8887 |
Create the files as plain text and replace region with your TTN cluster (e.g., eu1, nam1, au1).
Create a file named cups.key containing your CUPS API key:
Authorization: Bearer <your-cups-api-key>
Ensure CRLF (\r\n) line endings.
Example for Linux/macOS:
CUPS_KEY="your-cups-api-key"
echo "Authorization: Bearer $CUPS_KEY" | perl -p -e 's/\r\n|\n|\r/\r\n/g' > cups.key
Create a file named tc.key containing:
Authorization: Bearer <your-lns-api-key>
Use CRLF line endings as above.
| Connection | File | Contents |
|---|---|---|
| CUPS | cups.uri |
https://<region>.cloud.thethings.network:443 |
cups.trust |
Full CA list (downloaded via curl) |
|
cups.key |
Authorization: Bearer <CUPS-API-key> |
|
| LNS | tc.uri |
wss://<region>.cloud.thethings.network:8887 |
tc.trust |
Full CA list (copied from cups.trust) | |
tc.key |
Authorization: Bearer <LNS-API-key> |
-
Access KONA Link
-
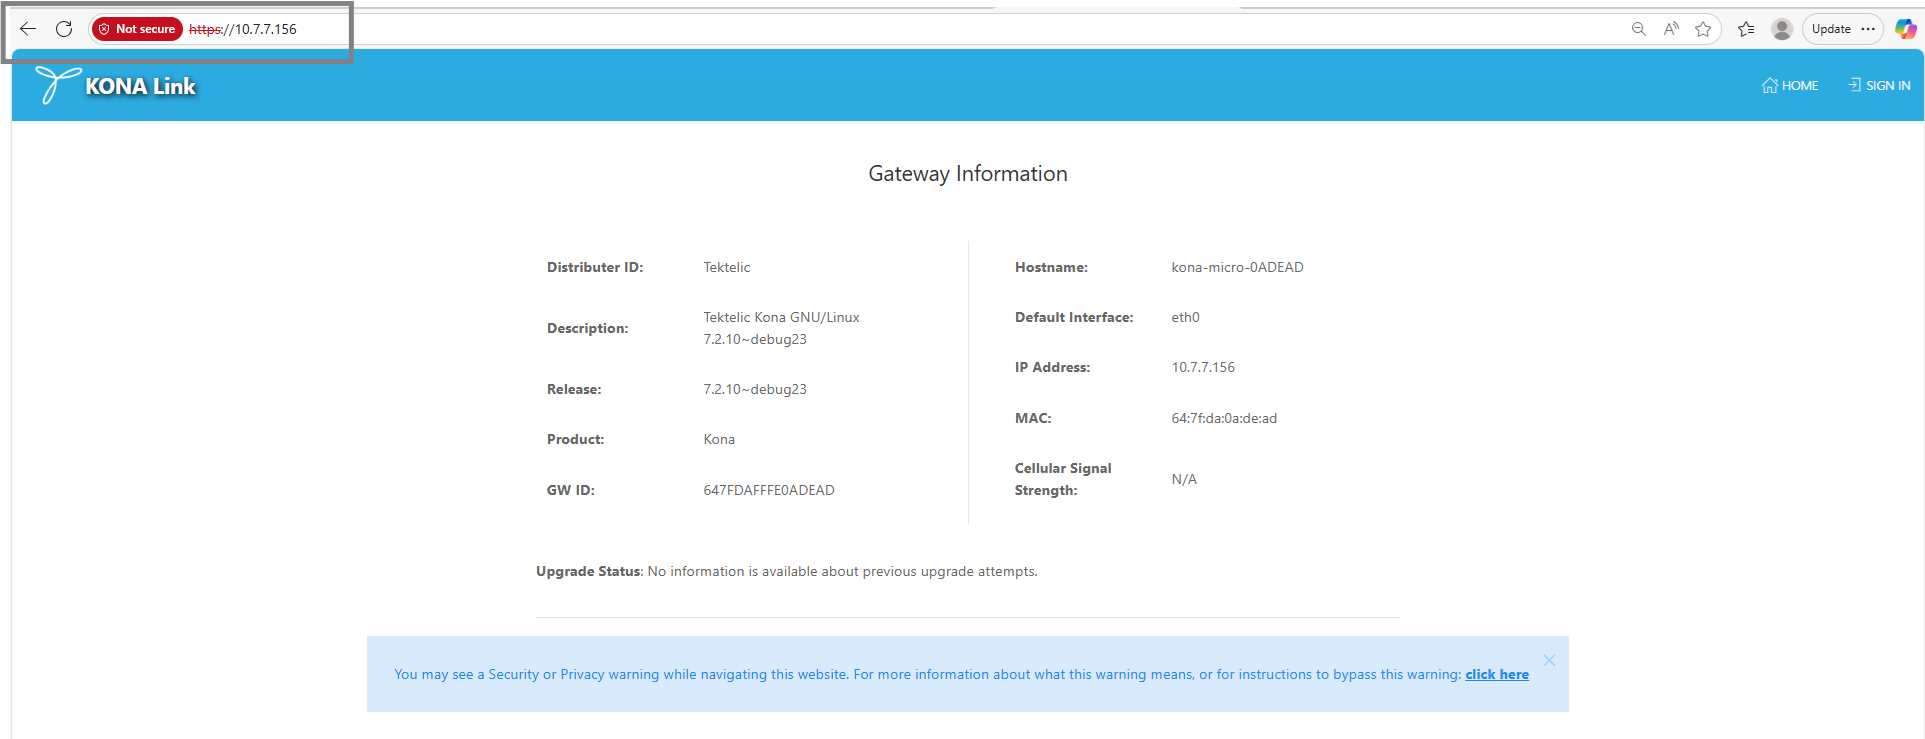
Connect your PC to the same LAN as the gateway (or directly via Ethernet).
-
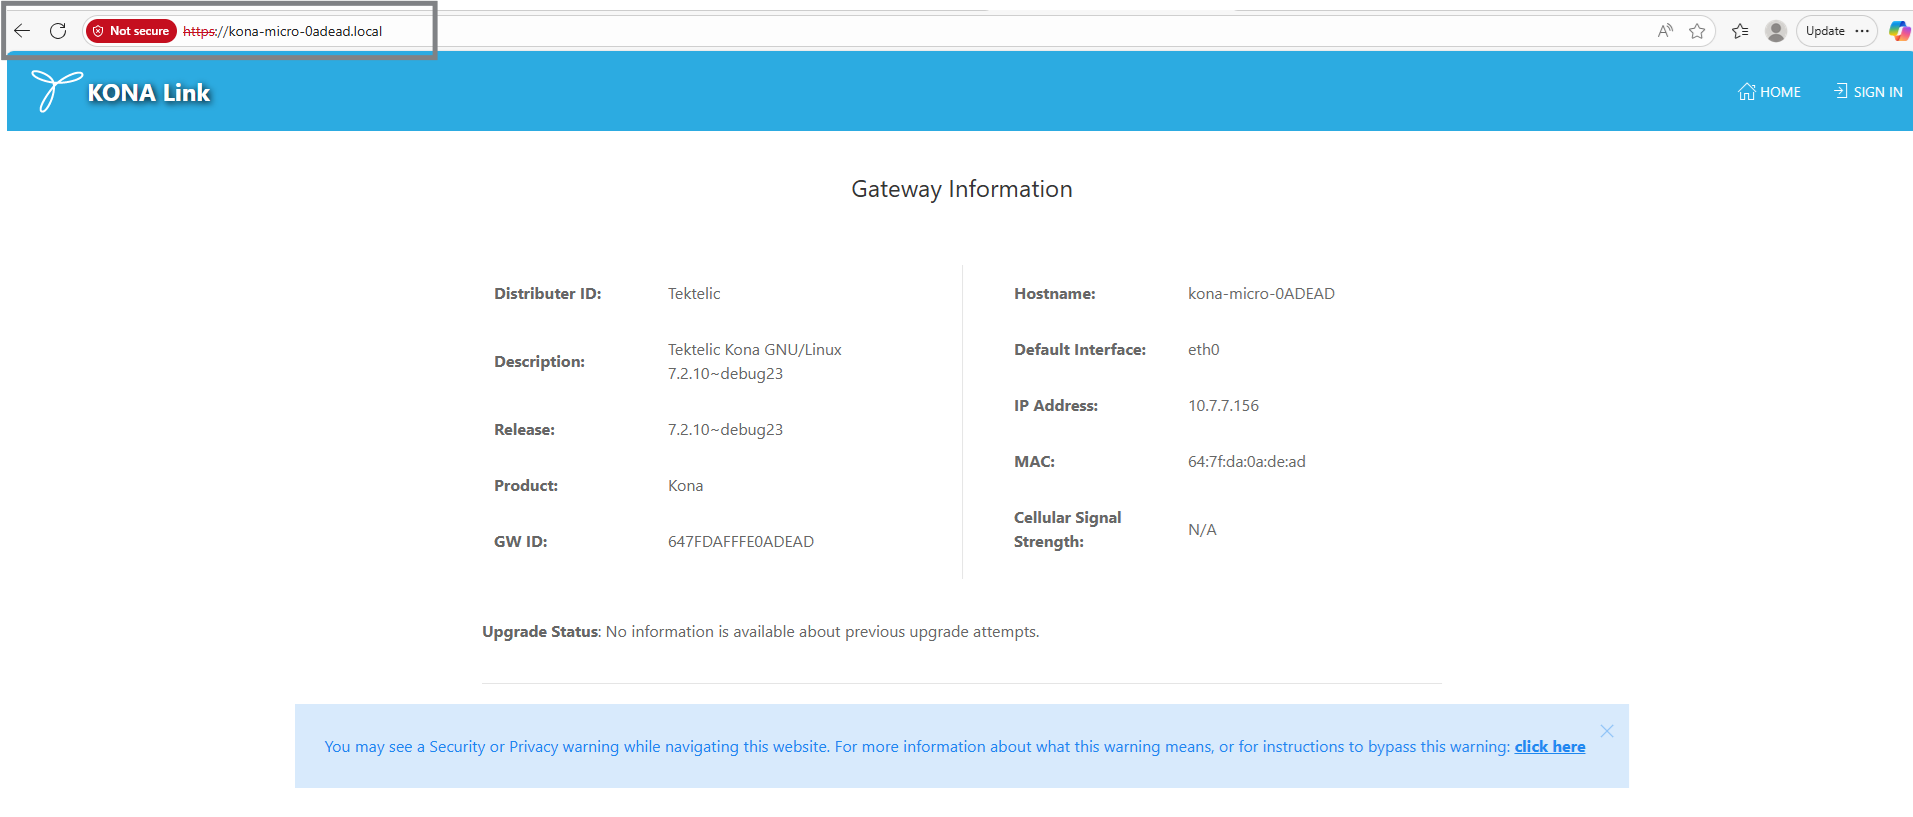
Open a browser and go to:
http://kona-<gw-variant>-<last-6-of-gw-id>.local/(e.g.,
http://kona-micro-0011ab.local/) -
Log in with the Basic Webpassword printed on the Test Summary Certificate.
-
-
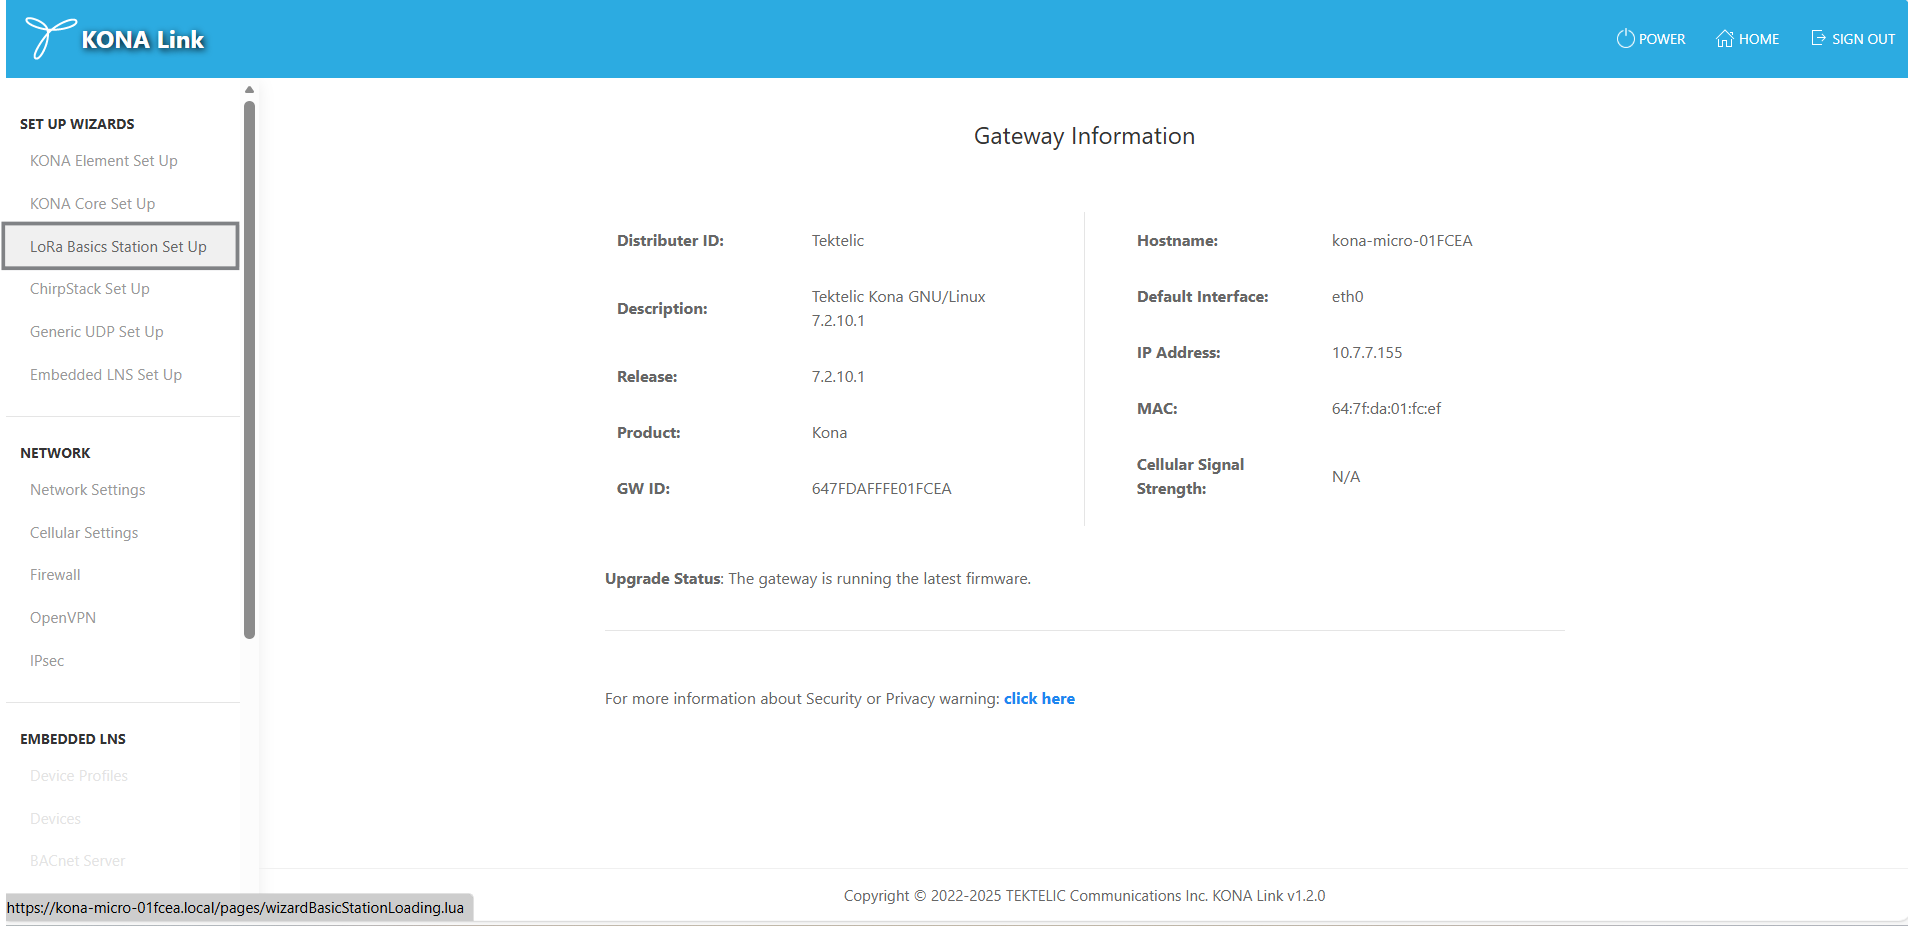
Open the LoRa Basics Station Wizard
- From the KONA Link home page, choose LoRa Basics Station Set Up.
- If connected to KONA Core, disconnect when prompted and click Next.
-
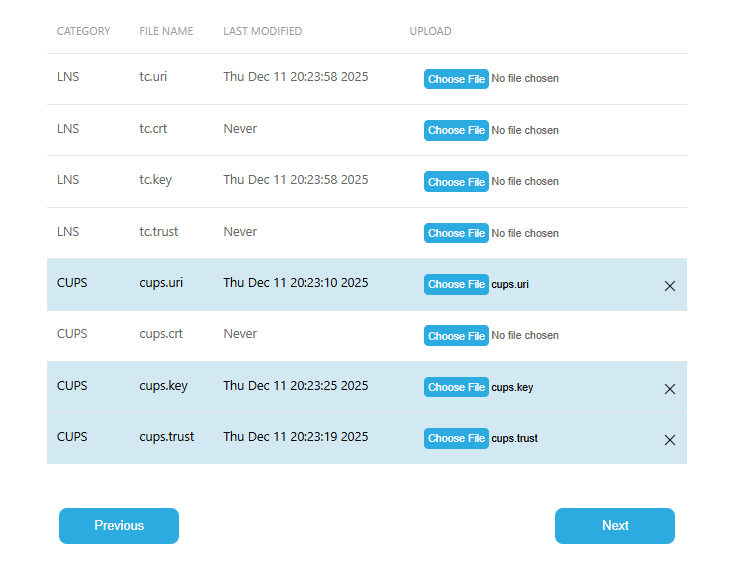
In the CUPS section, upload:
- URI File:
cups.uri - CA File:
cups.trust - Client Key File:
cups.key
- URI File:
-
Click Apply, then Done.
-
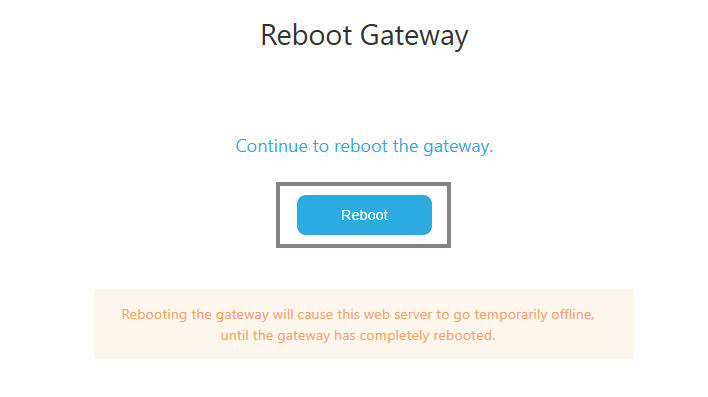
When prompted, reboot the gateway. The reboot takes about two minutes.
After connection, the TTN CUPS server will:
- Verify the gateway using the CUPS API key
- Provide the correct LNS URI, trust, and key
- Keep credentials synchronized automatically
Do not manually configure LNS when using CUPS. The gateway will receive its LNS parameters from the CUPS server after authentication.
If you prefer not to use CUPS, connect directly to the LNS.
-
In the LNS section, upload:
- URI File:
tc.uri - CA File:
tc.trust - Client Key File:
tc.key
- URI File:
-
Click Apply, then Done.
-
Reboot the gateway when prompted.
After rebooting:
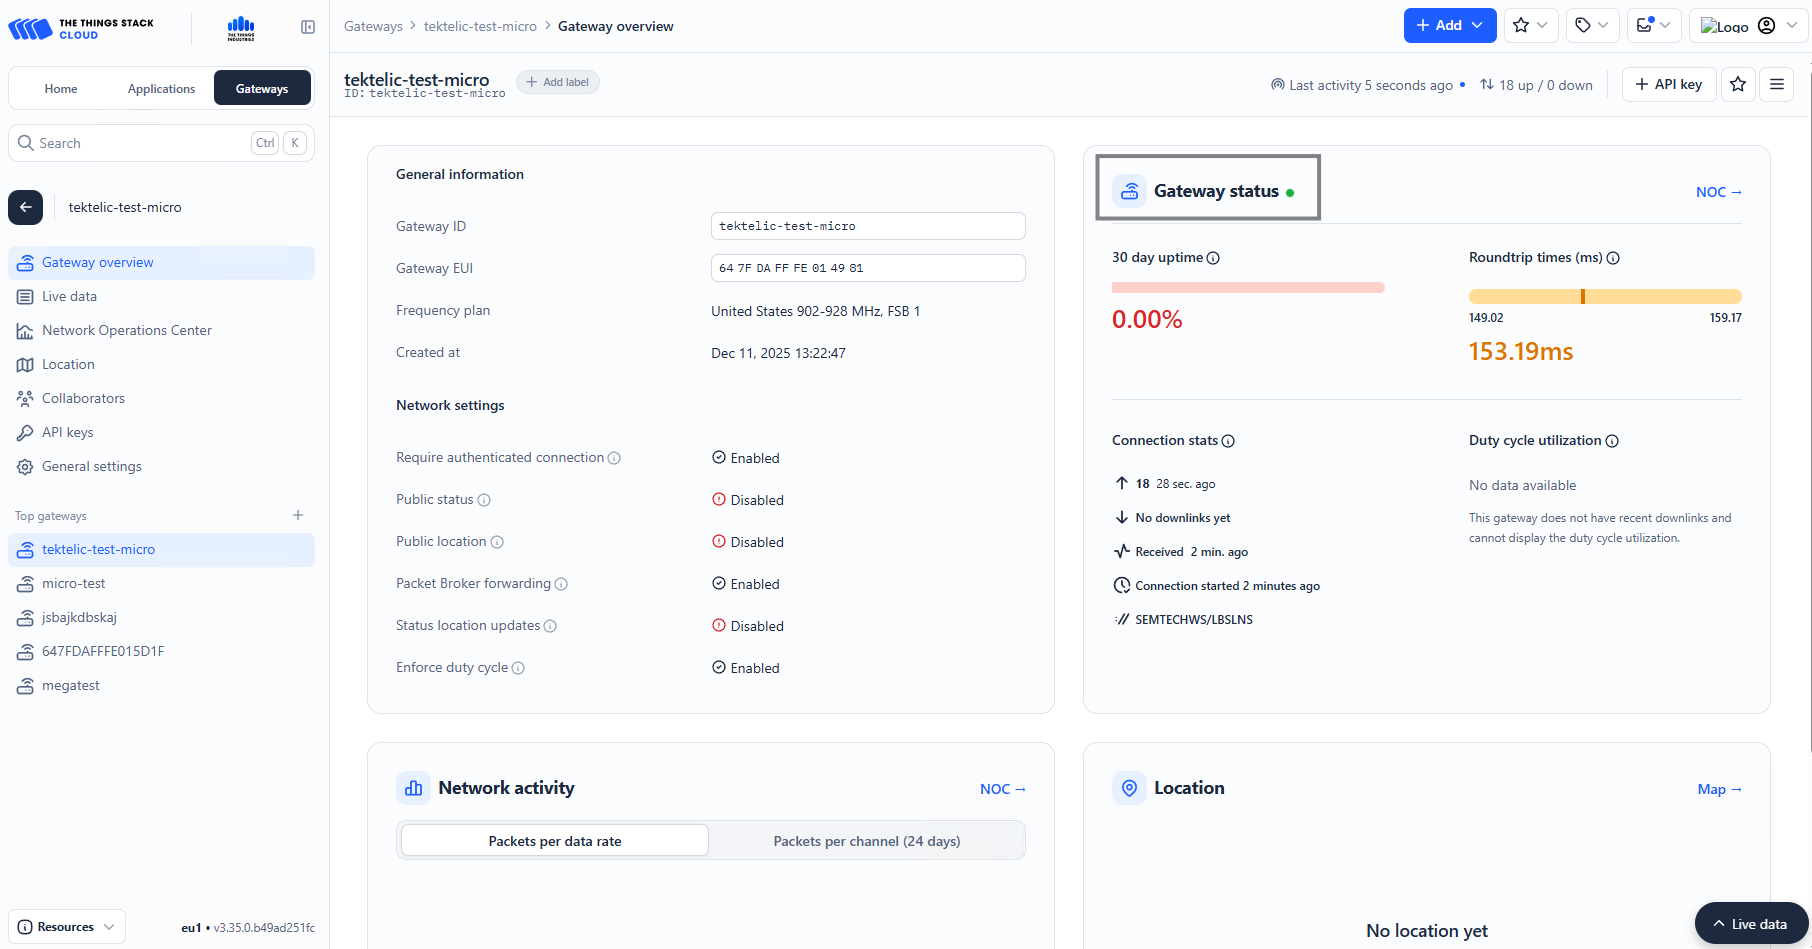
- Go to The Things Stack Console → Gateways.
- Confirm that the gateway shows Online.
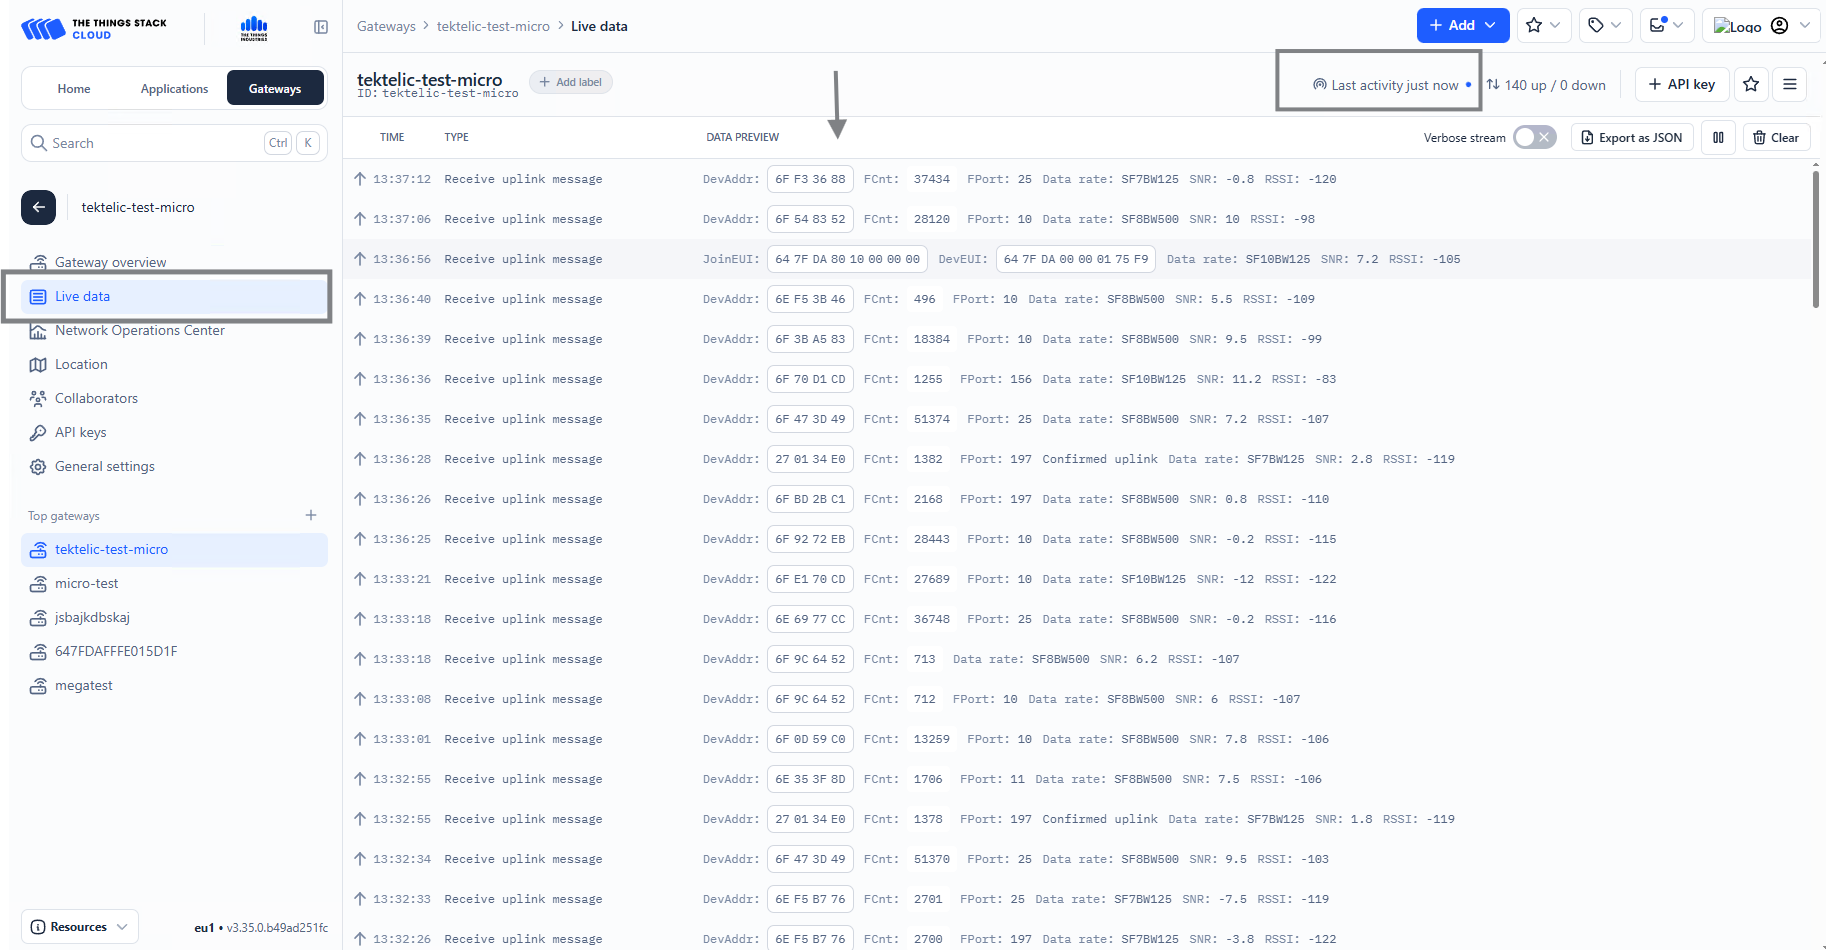
- Open the Live Data tab to verify packet activity.
| Method | File | Example Contents |
|---|---|---|
| CUPS | cups.uri |
https://nam1.cloud.thethings.network:443 |
cups.trust |
Full CA list (downloaded via curl) |
|
cups.key |
Authorization: Bearer NNSXS.CUPS_KEY... |
|
| LNS | tc.uri |
wss://nam1.cloud.thethings.network:8887 |
tc.trust |
Full CA list (copied from cups.trust) | |
lns.key |
Authorization: Bearer NNSXS.LNS_KEY... |
- Gateway Offline: Confirm outbound ports 443 (CUPS) and 8887 (LNS) are open.
- Auth Failure: Ensure
.keyfiles have a single line with CRLF endings. - No Traffic: Verify the frequency plan and subband match your end devices.
- Configuration Not Applied: Always reboot after saving changes.
- CUPS Fails to Redirect: Check that your LNS API key is pasted under LoRa Basics Station LNS Authentication Key in the TTS Console.
- KONA Link LoRa Basics Station wizard and reboot instructions: KONA Link User Guide, Sections 2.2.3 and 2.2.6.
- CUPS and LNS connection workflow: Based on The Things Industries official documentation for LoRa Basics Station CUPS.