ChirpStack – TEKTELIC KONA Gateway Integration
This guide explains how to integrate TEKTELIC KONA Gateways with a ChirpStack Network Server using the KONA Link web interface.
The ChirpStack open-source LoRaWAN® Network Server provides modular components to build and manage private or public LoRaWAN networks. It supports all LoRaWAN classes (A, B, and C) with adaptive data rate, live frame logging, and multi-tenant management.
💡 For ChirpStack installation details, visit the official website: https://www.chirpstack.io
- Any TEKTELIC KONA Gateway (e.g., Micro, Mega, Macro, Enterprise)
- KONA Link version 7.2.x or later
- ChirpStack Network Server (ensure matching frequency band)
- Local or VPN network connectivity between gateway and ChirpStack server
TEKTELIC gateways are configured through KONA Link, a web-based management interface.
You can connect the gateway to ChirpStack using one of two methods:
- KONA Link ChirpStack Setup Wizard (recommended)
- Generic UDP Packet Forwarder
The ChirpStack Setup Wizard in KONA Link automates configuration of the required components.
- Connect the gateway to your local network via Ethernet.
- Ensure your PC and the gateway are on the same subnet.
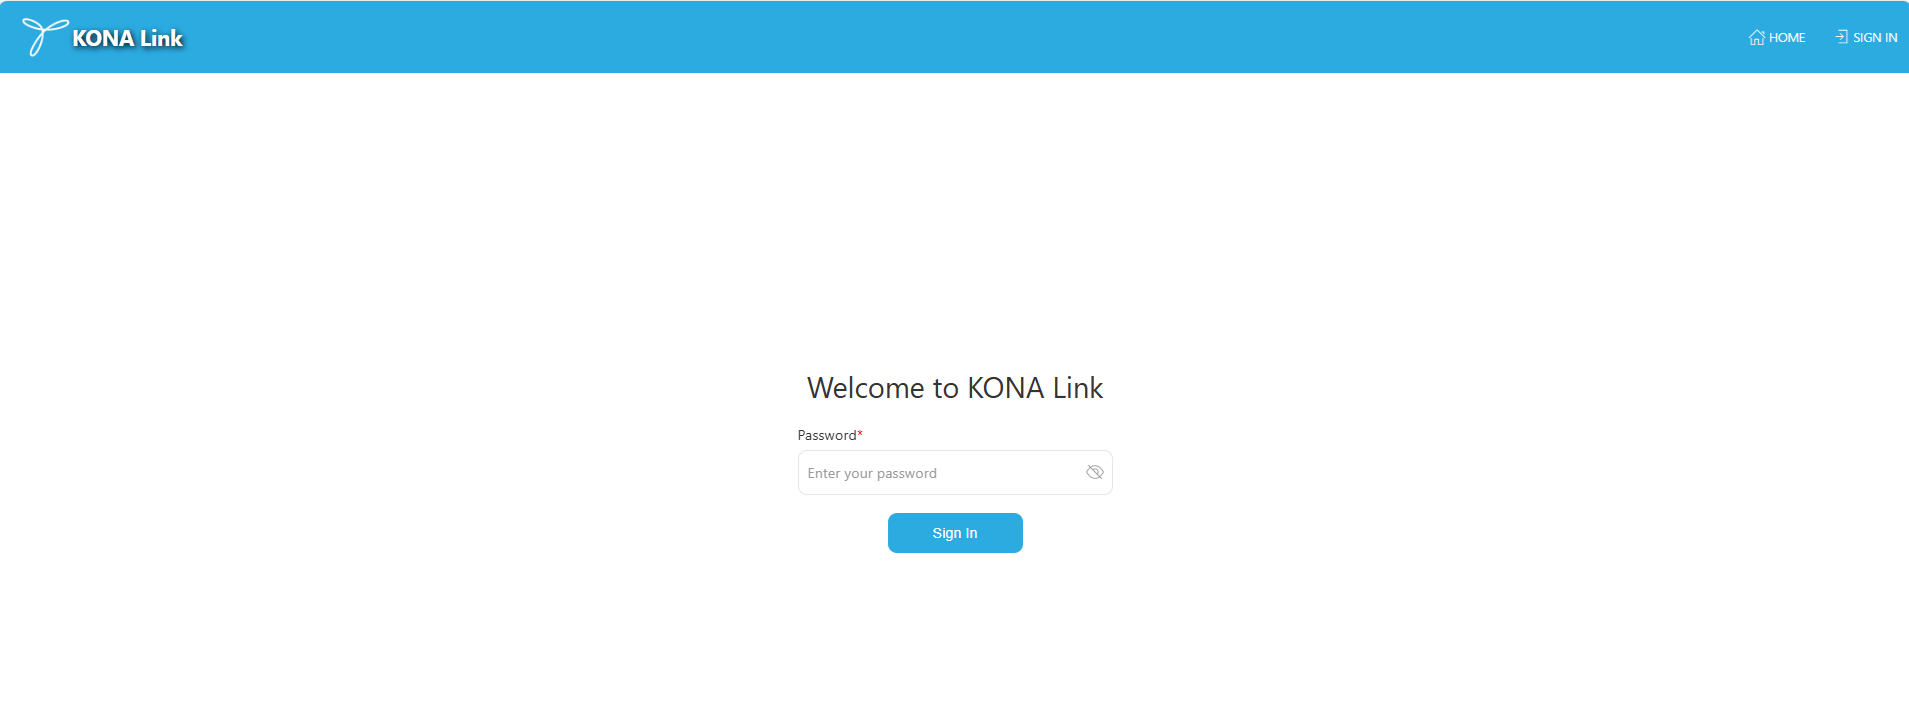
- Open a browser and access the gateway using either:
- Hostname:
Example:http://kona-<GW variant>-<last 6 digits of GW ID>.local/http://kona-micro-0011ab.local/ - IP Address:
Example:http://<gateway_ip_address>/http://192.0.2.111/
- Hostname:
- Log in with the password from the Gateway Test Report.
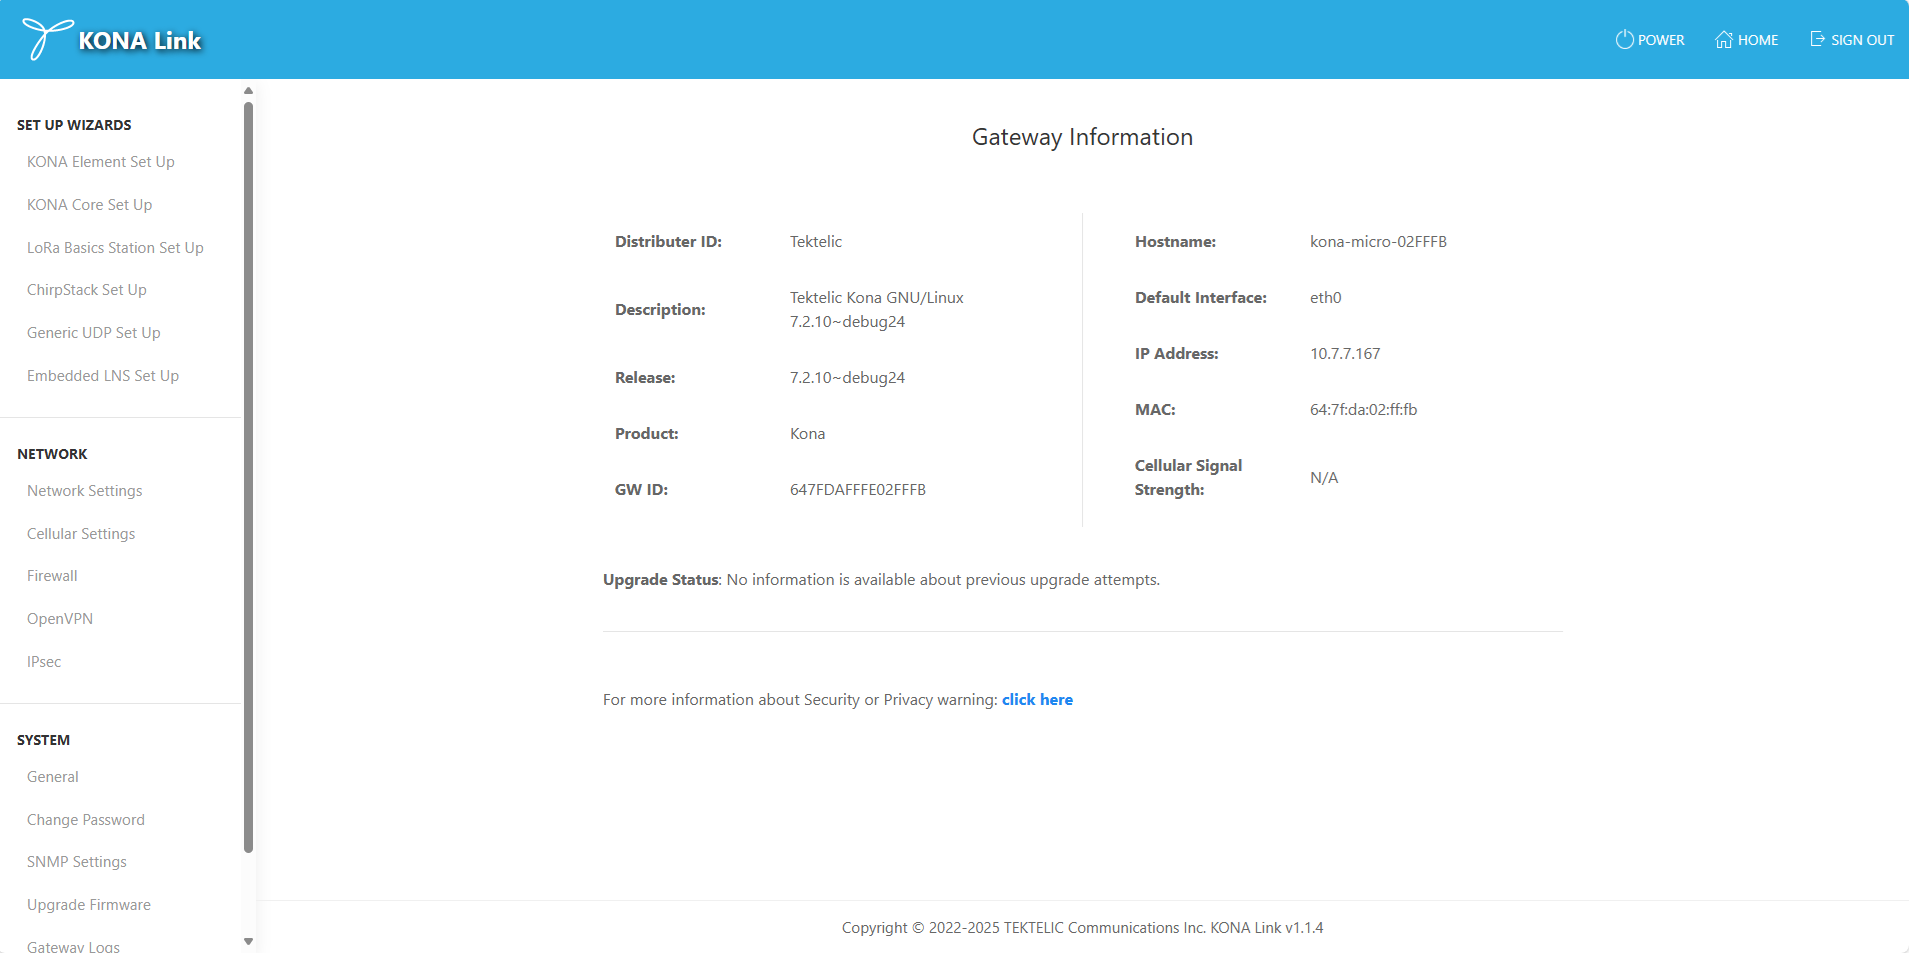
- On the main page, locate the Setup Wizards panel.
- Select ChirpStack Setup.
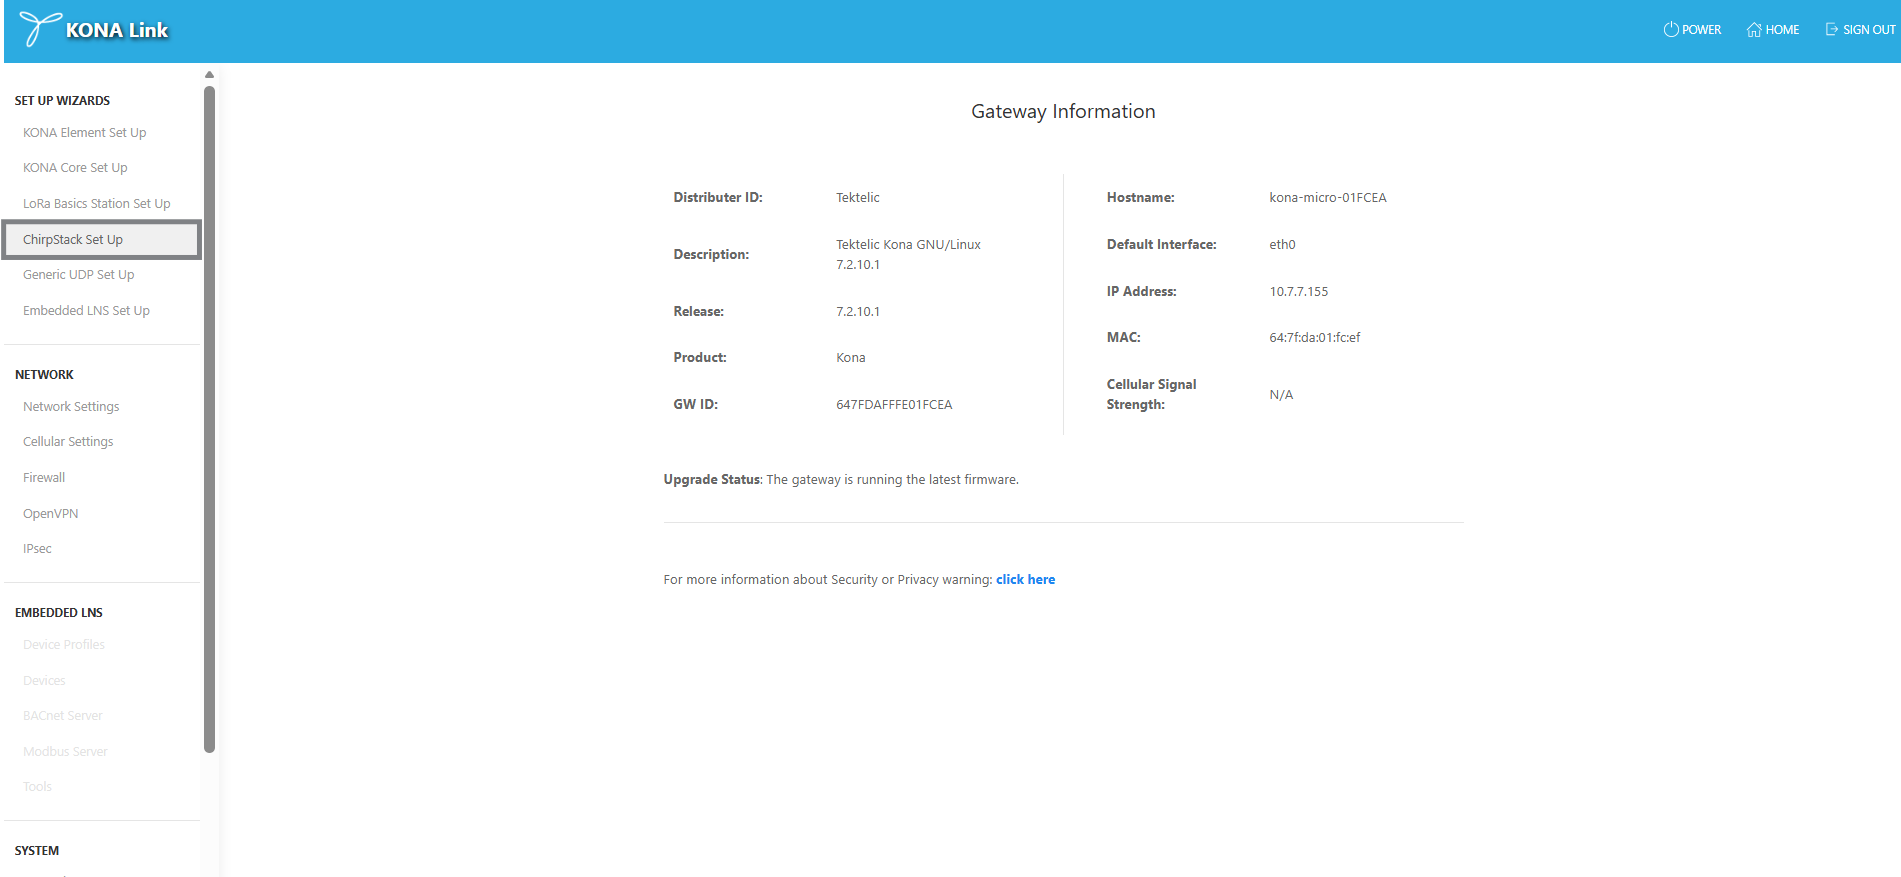
Ensure the following packages are installed:
- ChirpStack Gateway Bridge
- Config Monitor
- ChirpStack Packet Forwarder
If any are missing:
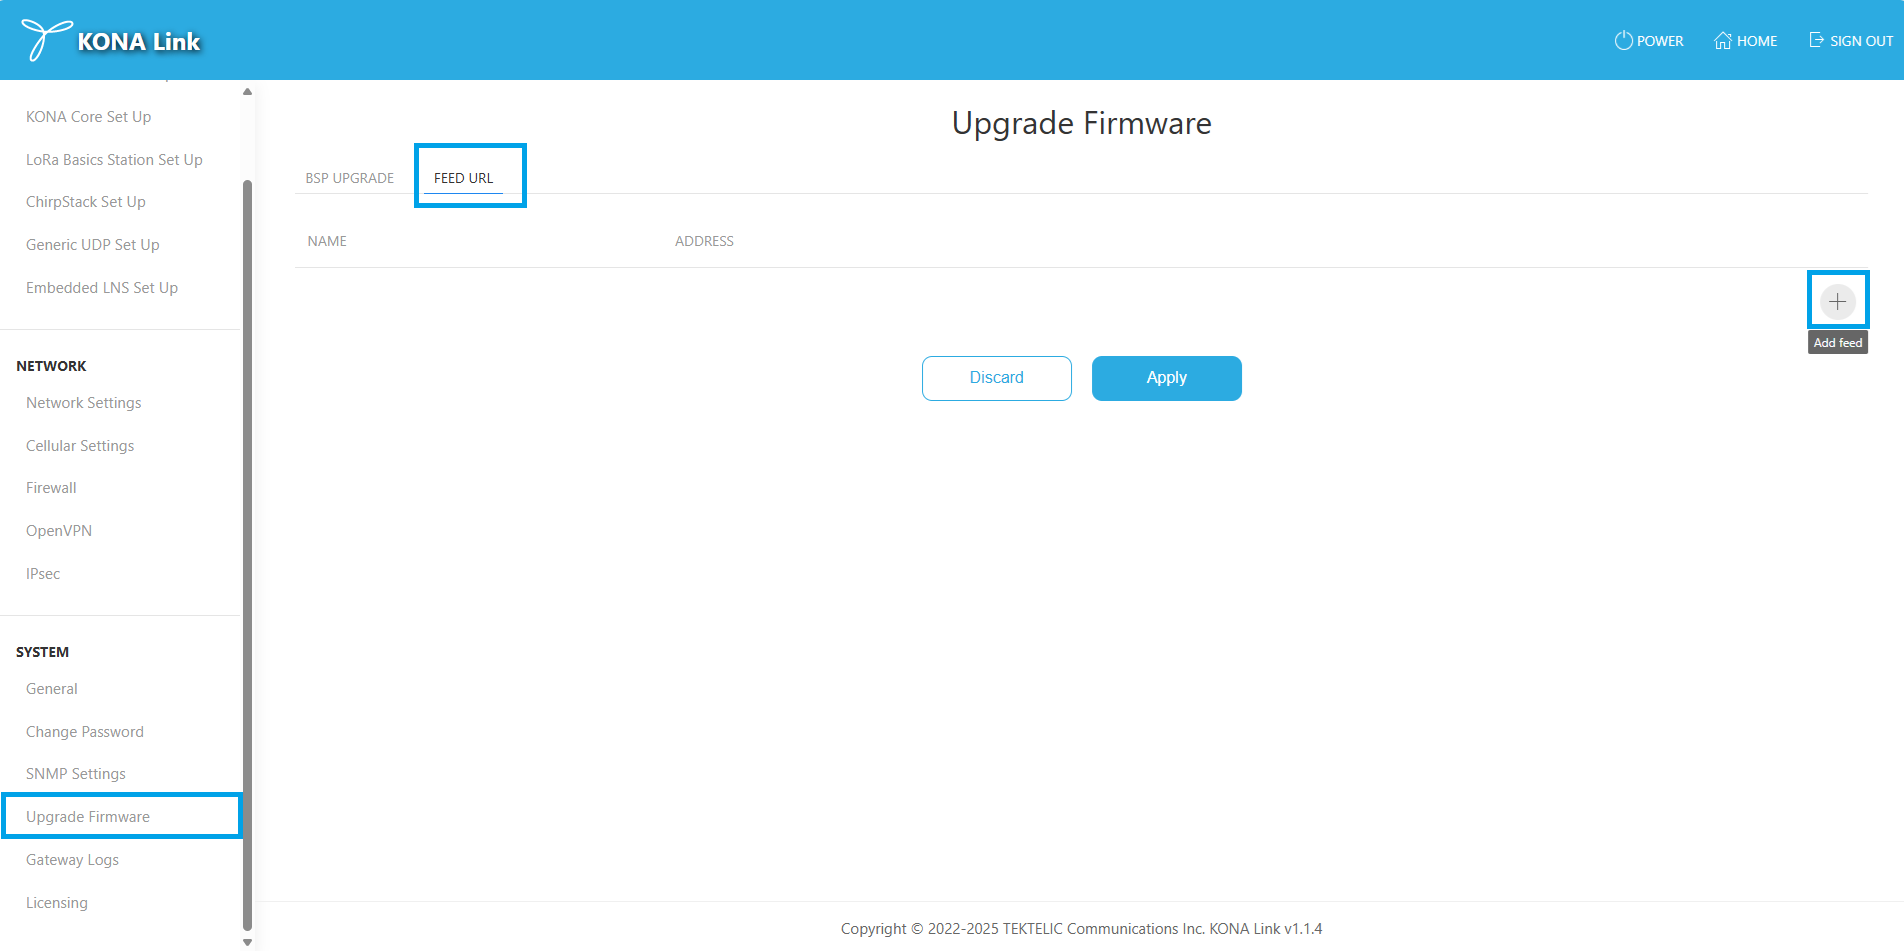
- Go to System → Upgrade Firmware → FEED URL.
- Insert the feed URLs provided by TEKTELIC Support.
- Click Apply to install.
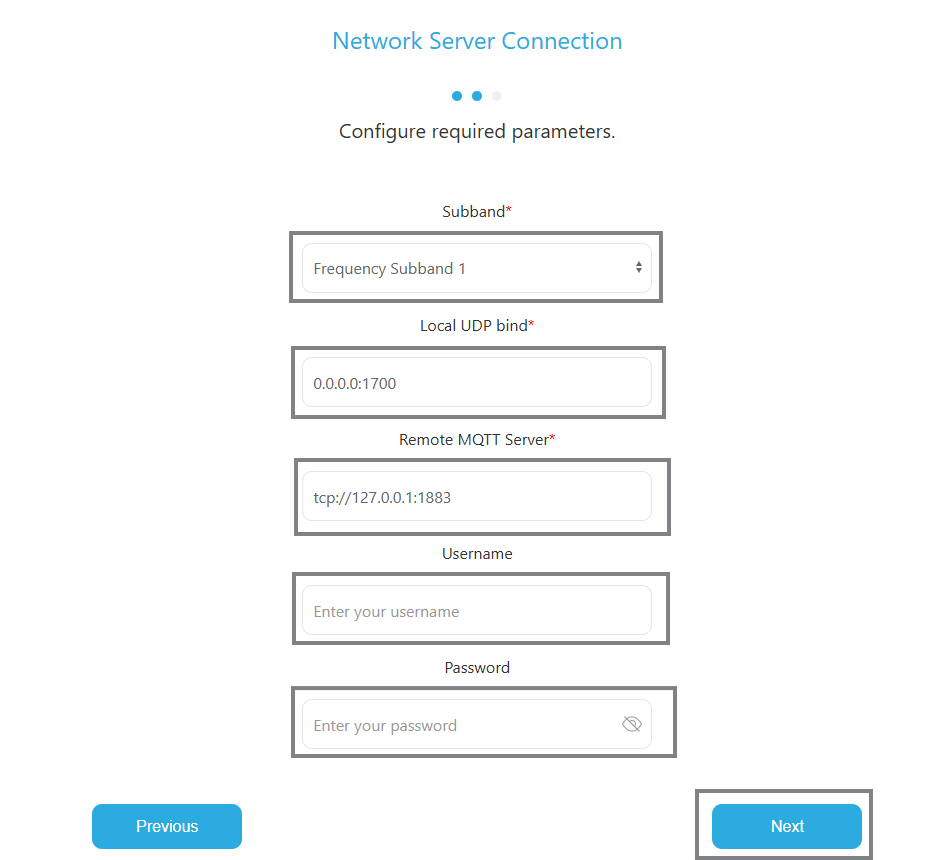
- Choose the Frequency Subband per your LNS documentation.
- Set Local UDP Bind to
127.0.0.1:1700. - Enter the Remote MQTT Server Address, e.g.: tcp://192.168.45.211:1883
- Provide valid username and password for ChirpStack MQTT authentication.
- Click Next, then Done to apply.
Note: If the gateway is connected to KONA Core, KONA Link will automatically disconnect it to enable ChirpStack connectivity.
Once setup is complete:
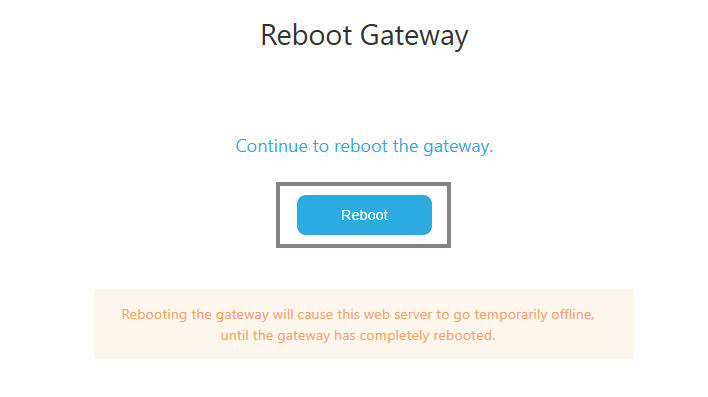
- Go to Power
- Click Reboot.
- Confirm the reboot on the next page.
- Wait ~2 minutes for the gateway to restart.
For legacy integrations or lightweight setups, KONA Link supports the Semtech UDP Packet Forwarder.
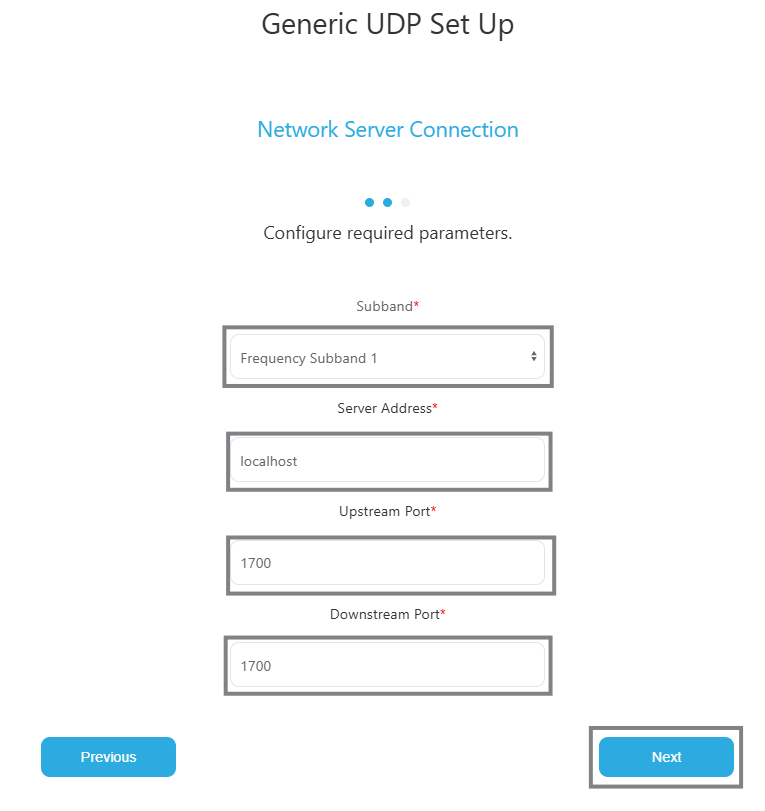
- From Setup Wizards, choose Generic UDP Setup.
- Click Next.
- Choose the Frequency Subband per your LNS documentation.
- Set:
- Server Address: ChirpStack UDP listener IP
- Port Up: 1700
- Port Down: 1700
- Click Next, then Done to save.
Once setup is complete:
- Go to Power
- Click Reboot.
- Confirm the reboot on the next page.
- Wait ~2 minutes for the gateway to restart.
After the gateway is configured, add it to your ChirpStack instance.
- Open the ChirpStack Dashboard.
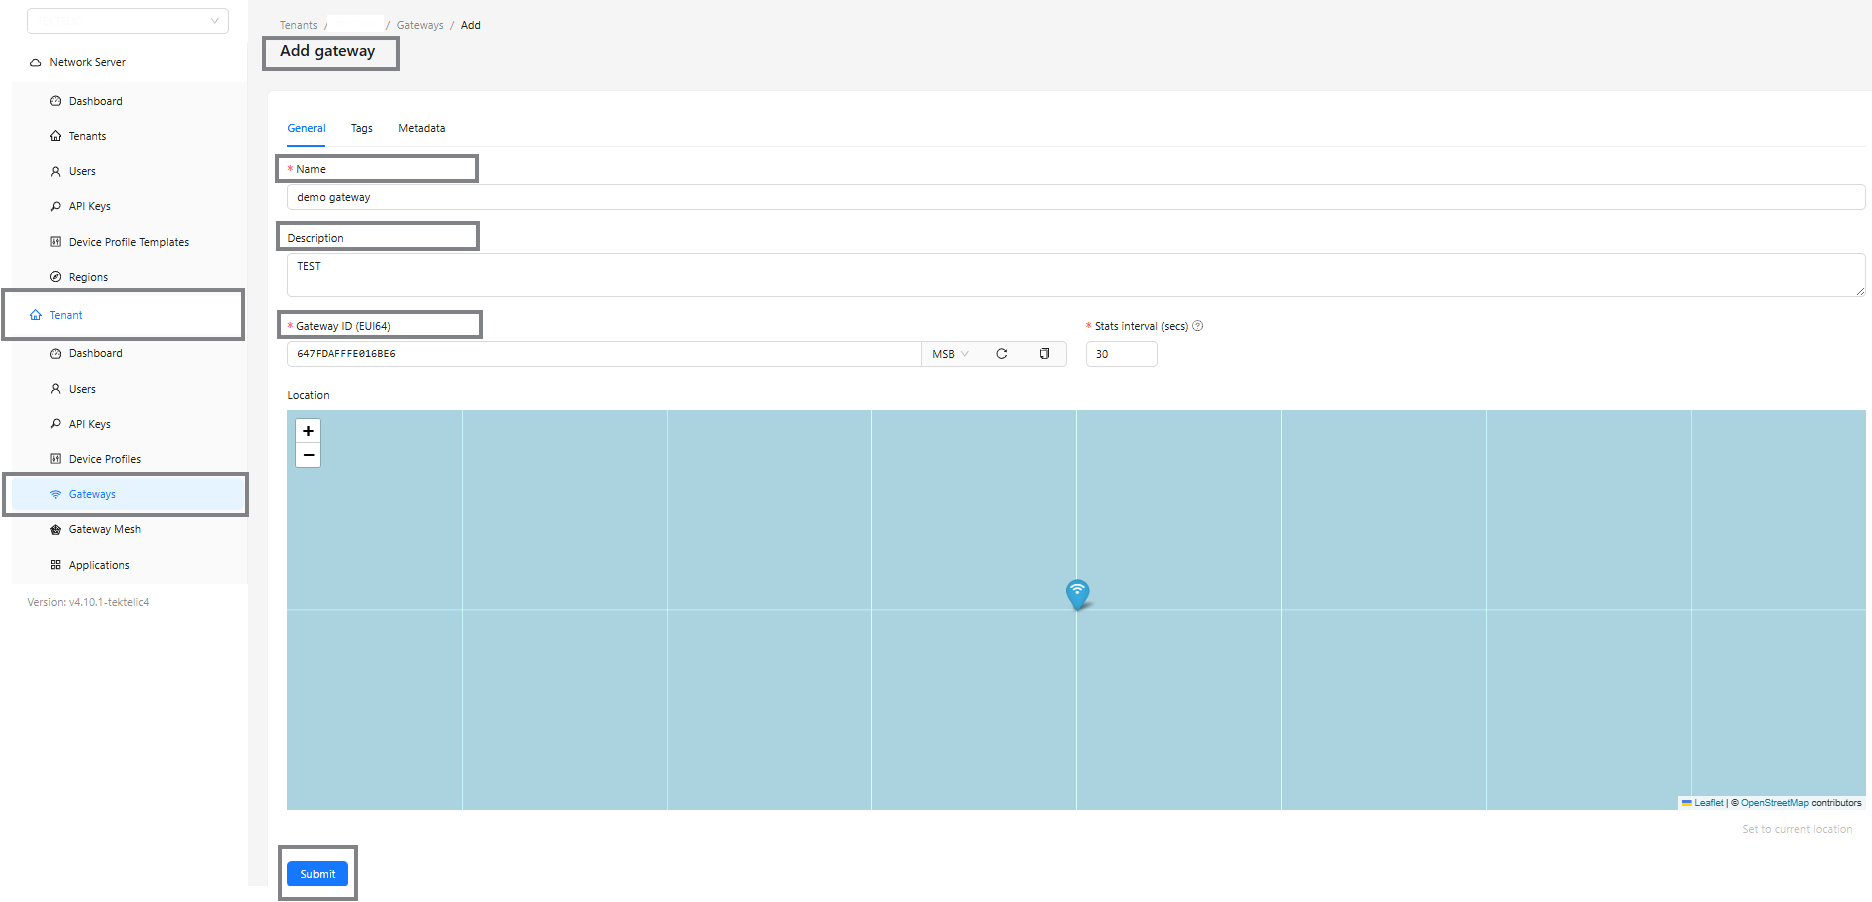
- Go to Tenant → Gateways.
- Click Add Gateway.
- Fill in:
- Name: A descriptive label (e.g.,
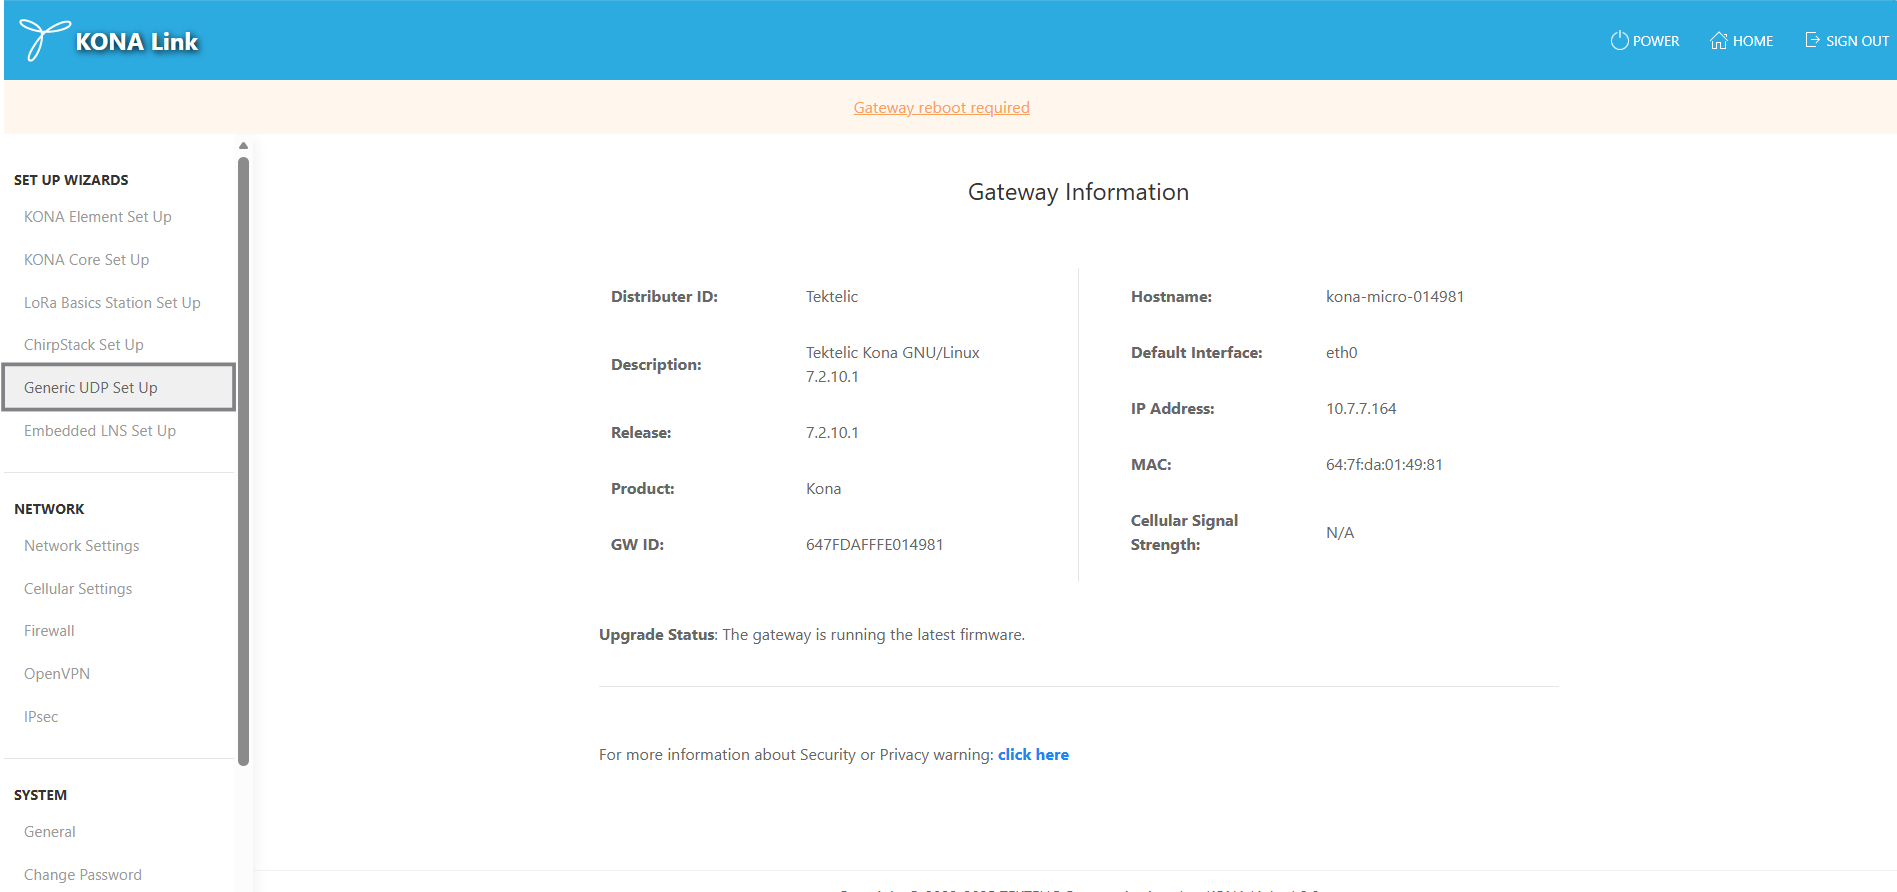
KONA-Micro-01) - Gateway ID (EUI): Found in KONA Link → Gateway Information
- Click Submit.
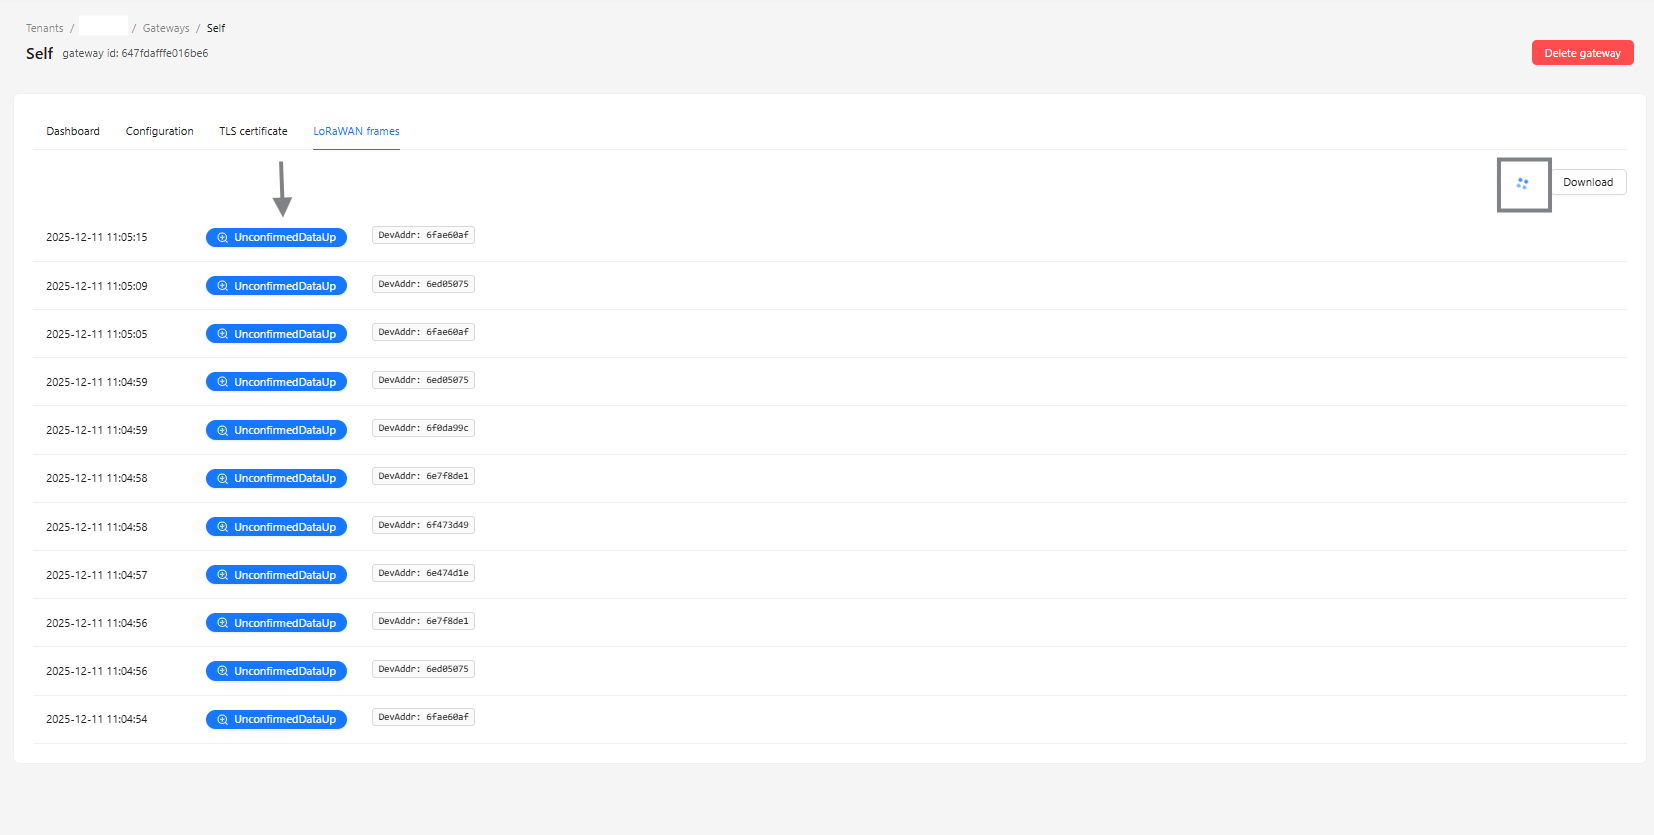
- Verify the gateway shows Online and check real-time data under LoRaWAN Frames.

- Confirm KONA Link BSP version 7.2.x or later is installed.
- Ensure the gateway and server use the same frequency band.
- Verify network connectivity (ping the ChirpStack server).
- Check:
- MQTT port
1883(or8883for TLS) - UDP ports
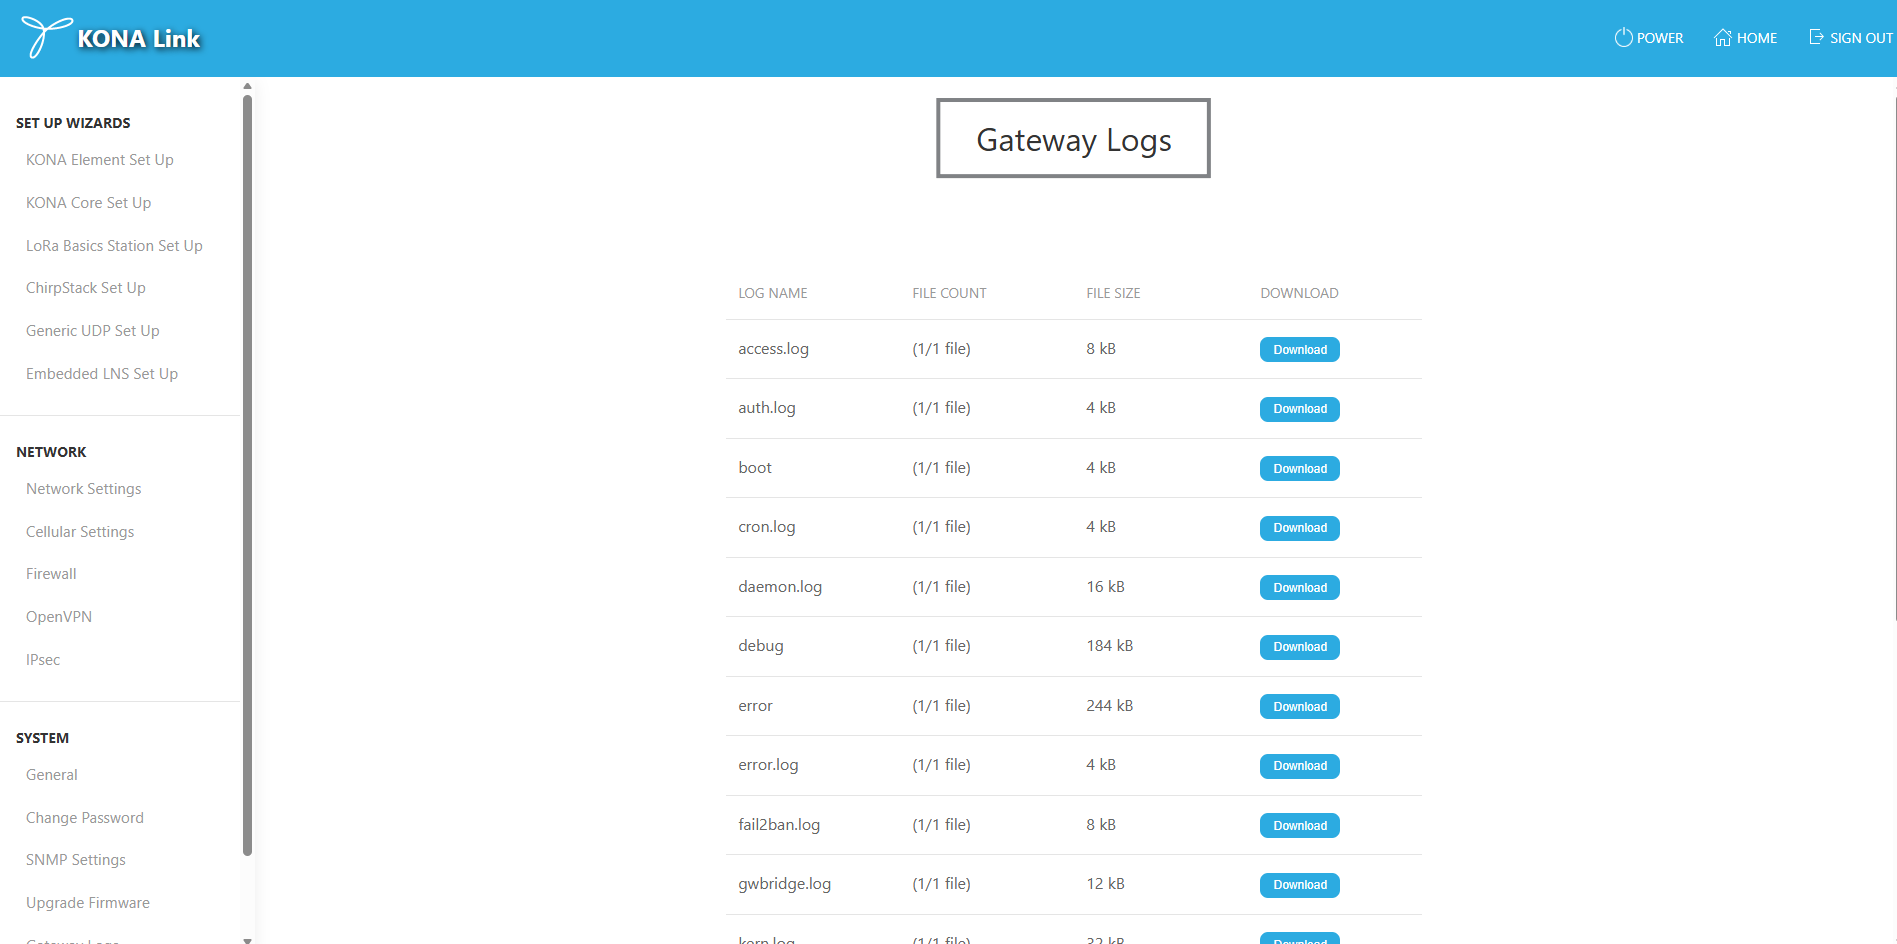
1700for uplink and downlink - View logs:
- In KONA Link → System → Gateway Logs
- In ChirpStack → Gateway → LoRaWAN Frames
You’ve successfully integrated your TEKTELIC KONA Gateway with ChirpStack using KONA Link.
Your gateway can now forward uplinks and receive downlinks through the ChirpStack Network Server.
For additional support or feed URLs, contact TEKTELIC Technical Support:
© 2025 TEKTELIC Communications Inc. All rights reserved.