Integrating TEKTELIC KONA Gateways with AWS IoT Core for LoRaWAN
This guide describes how to connect TEKTELIC KONA LoRaWAN® gateways to AWS IoT Core for LoRaWAN using the LoRa Basics™ Station protocol. The procedure uses the KONA Link web interface and requires no command-line access to the gateway.
Before you begin, ensure your gateway firmware supports LoRa Basics™ Station (BSP v7.2.x or later).
- An AWS account
- A TEKTELIC KONA gateway with the required BSP version and LoRa Basics™ Station installed
- Internet access for the gateway
The IAM Role allows the AWS Configuration and Update Server (CUPS) to manage gateway credentials. This step only needs to be done once per AWS account.
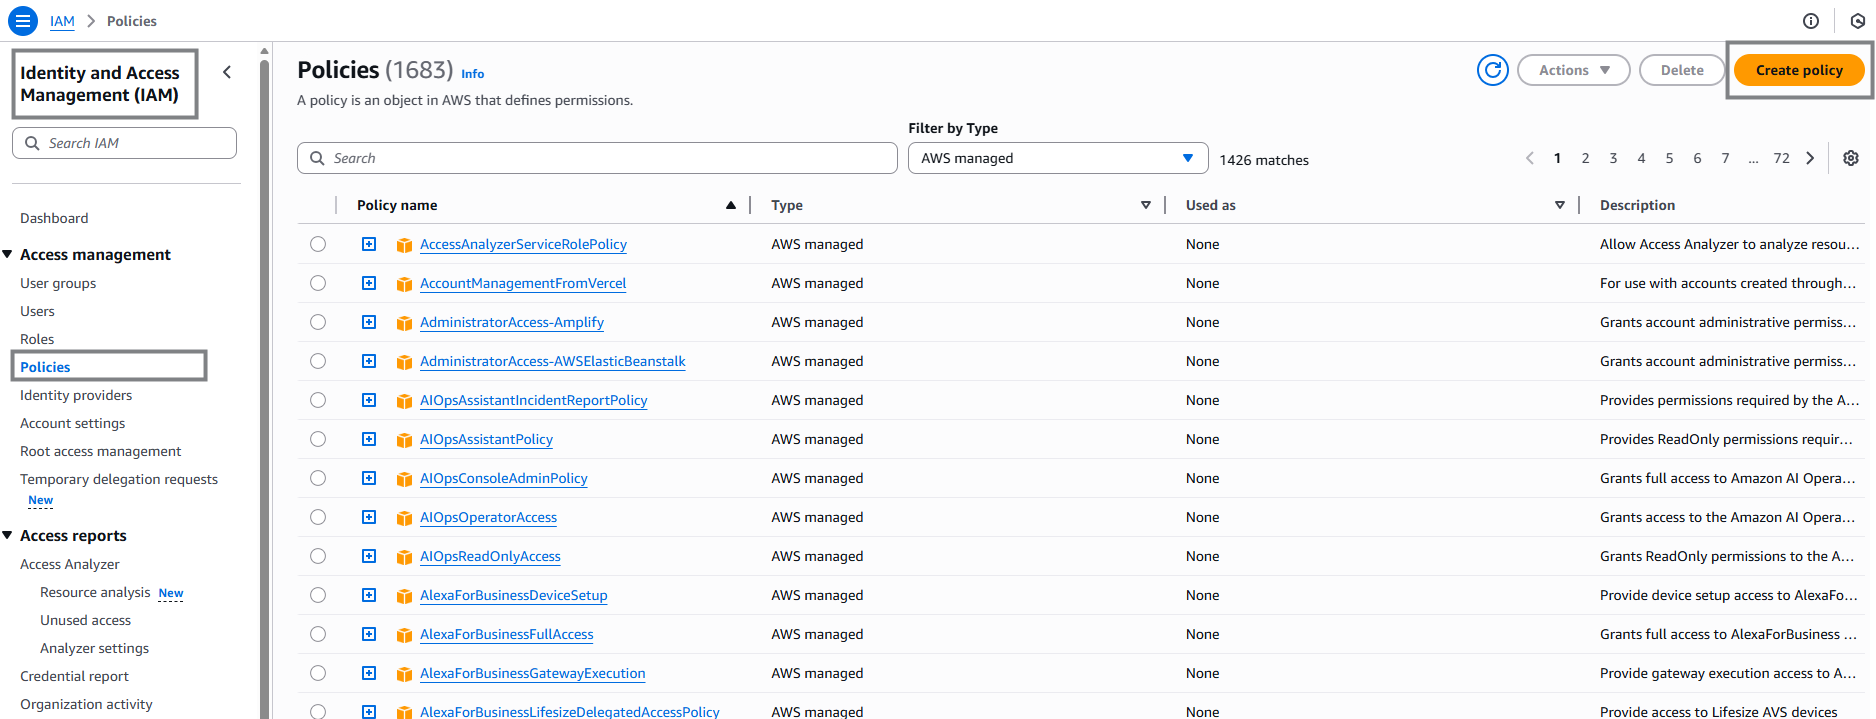
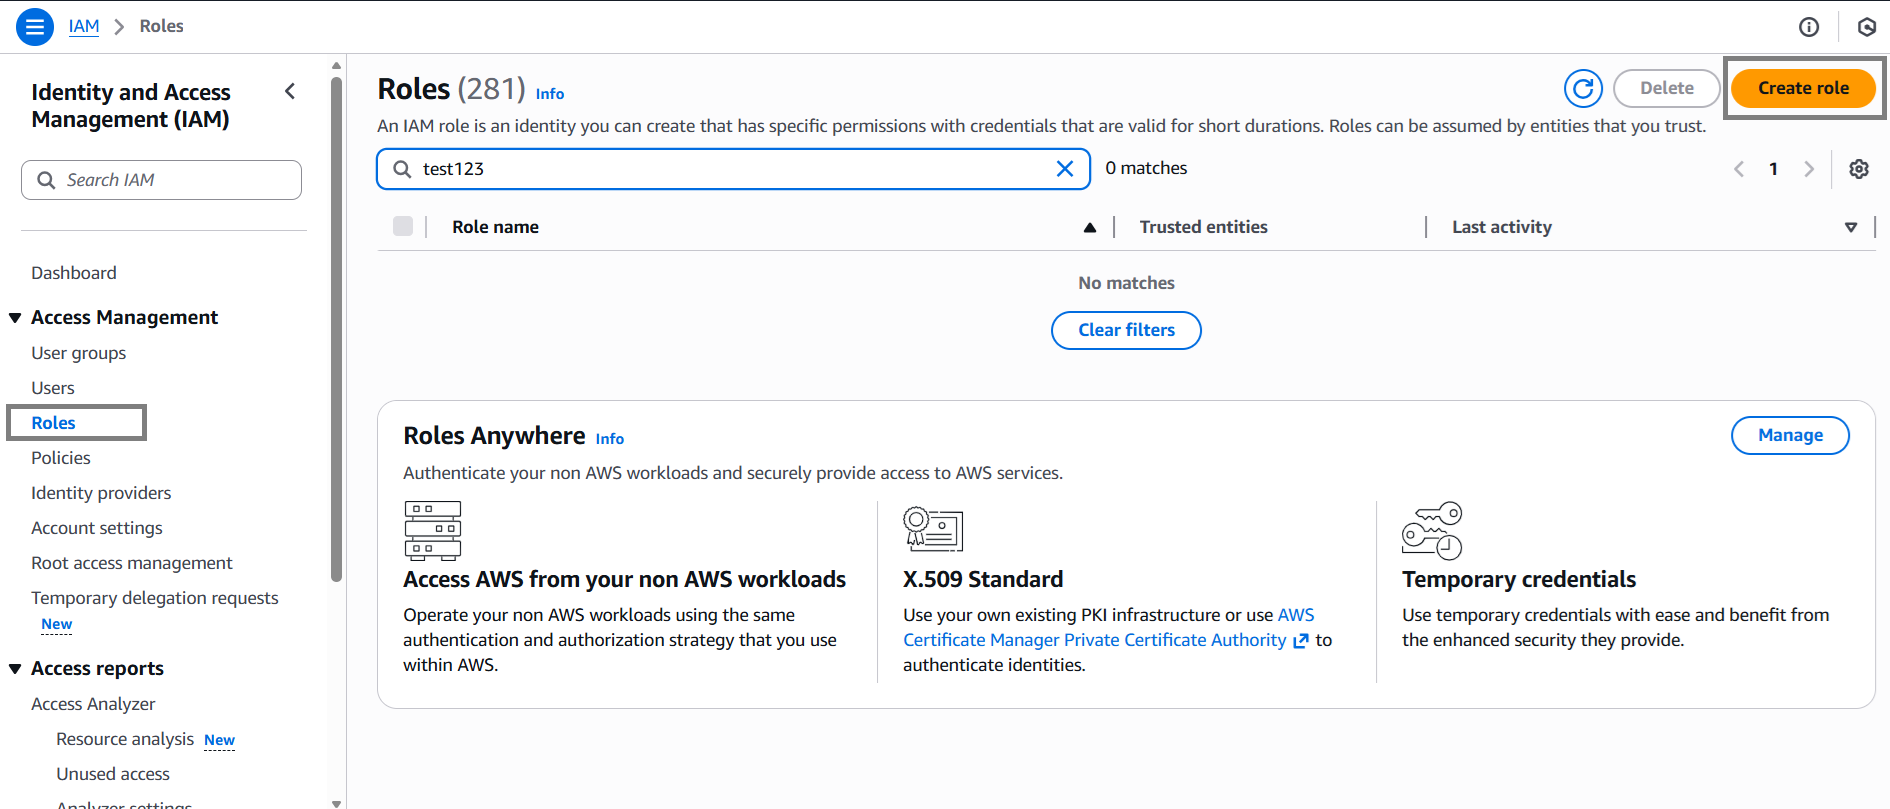
- Go to the AWS IAM Console → Policies → Create policy.
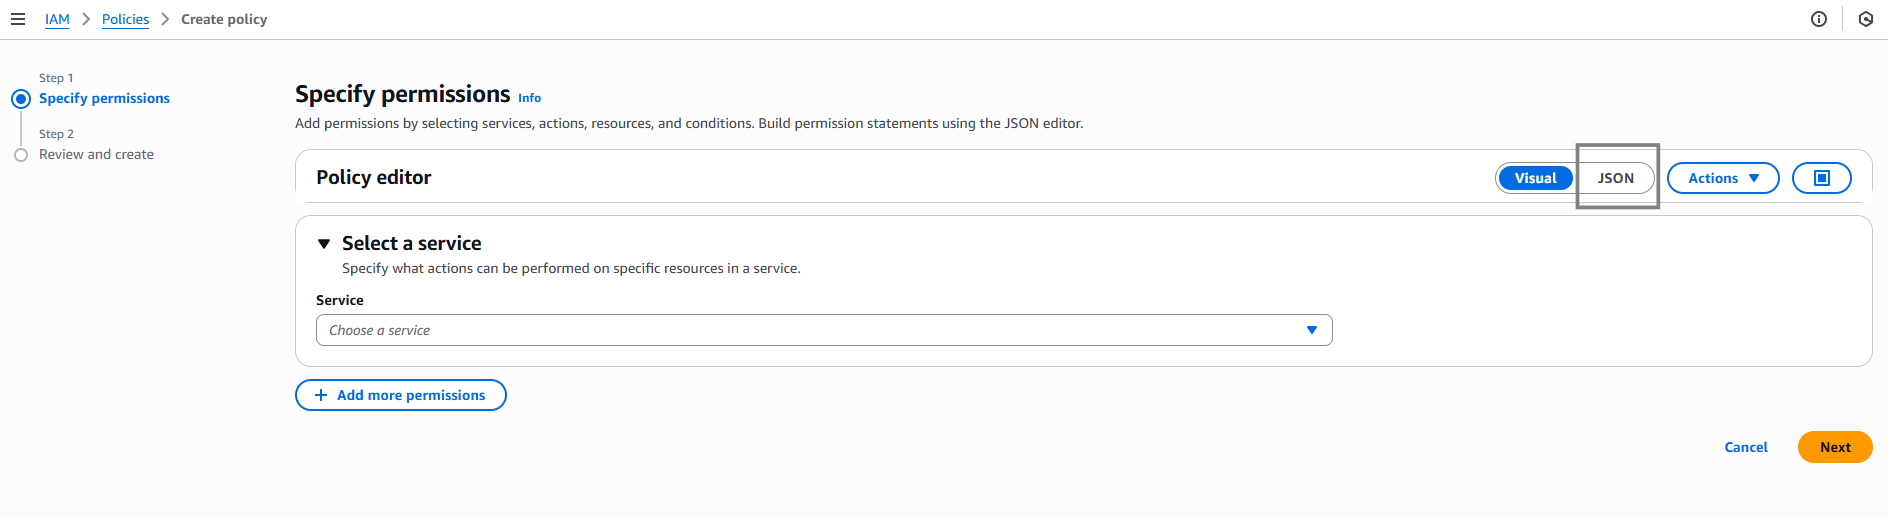
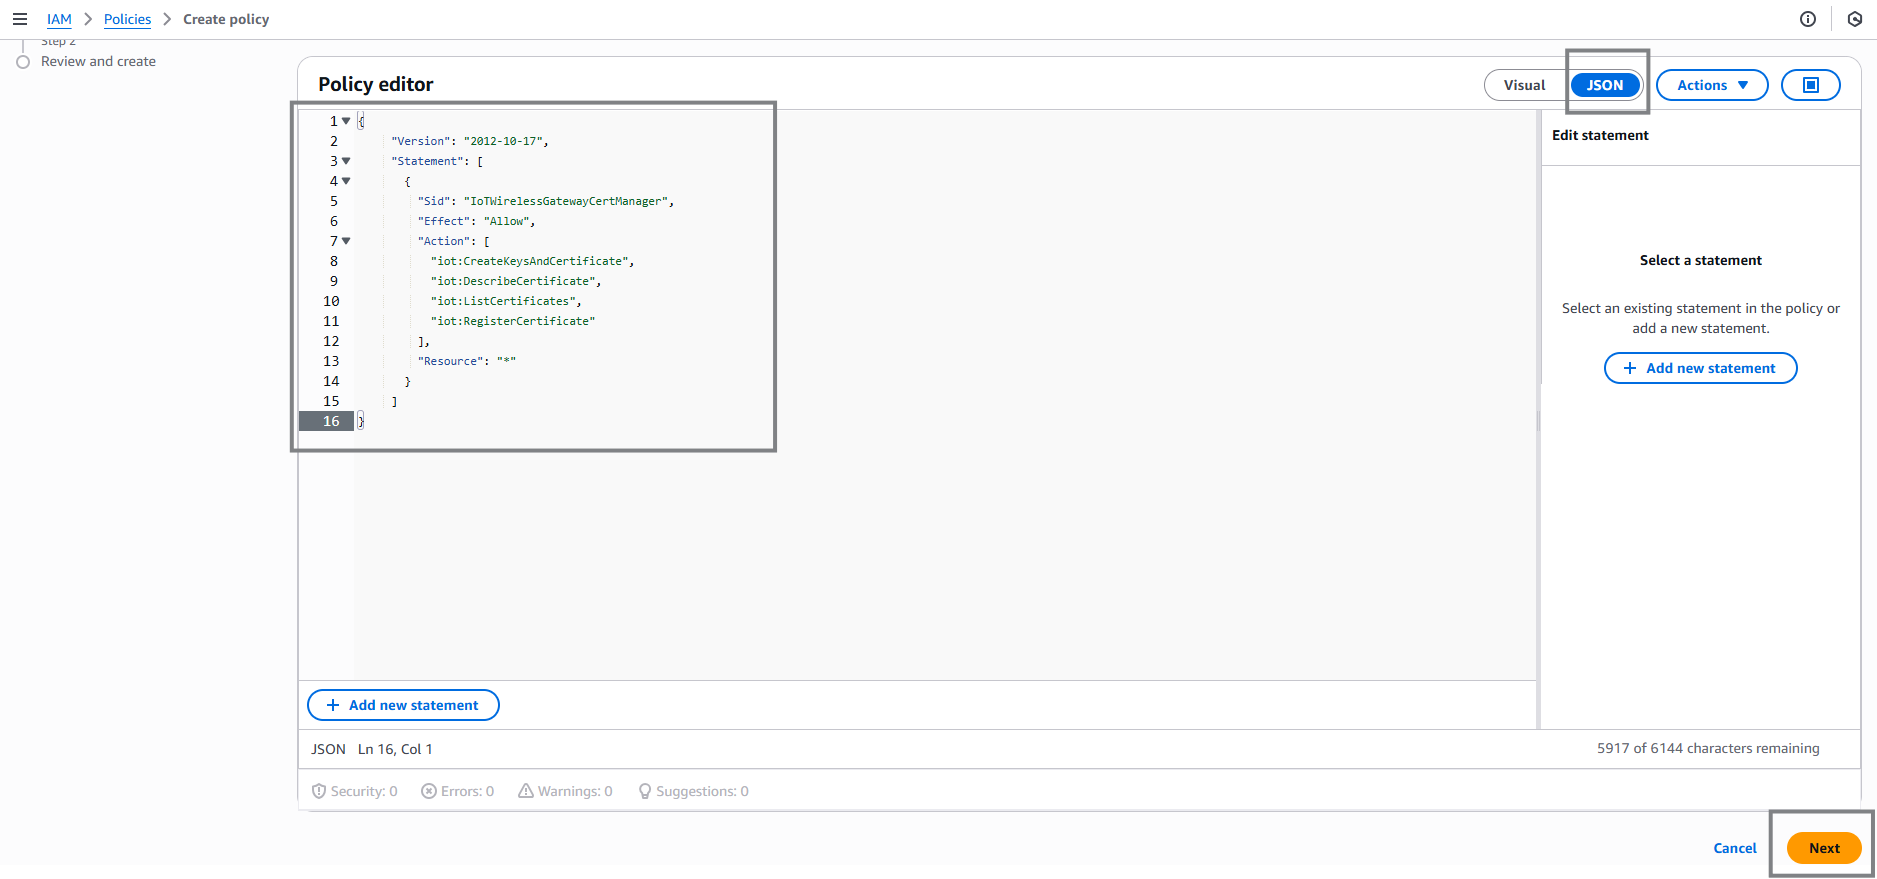
- Select the JSON tab and replace the content with the following policy:
{
  "Version": "2012-10-17",
  "Statement": [
    {
      "Sid": "IoTWirelessGatewayCertManager",
      "Effect": "Allow",
      "Action": [
        "iot:CreateKeysAndCertificate",
        "iot:DescribeCertificate",
        "iot:ListCertificates",
        "iot:RegisterCertificate"
      ],
      "Resource": "*"
    }
  ]
}
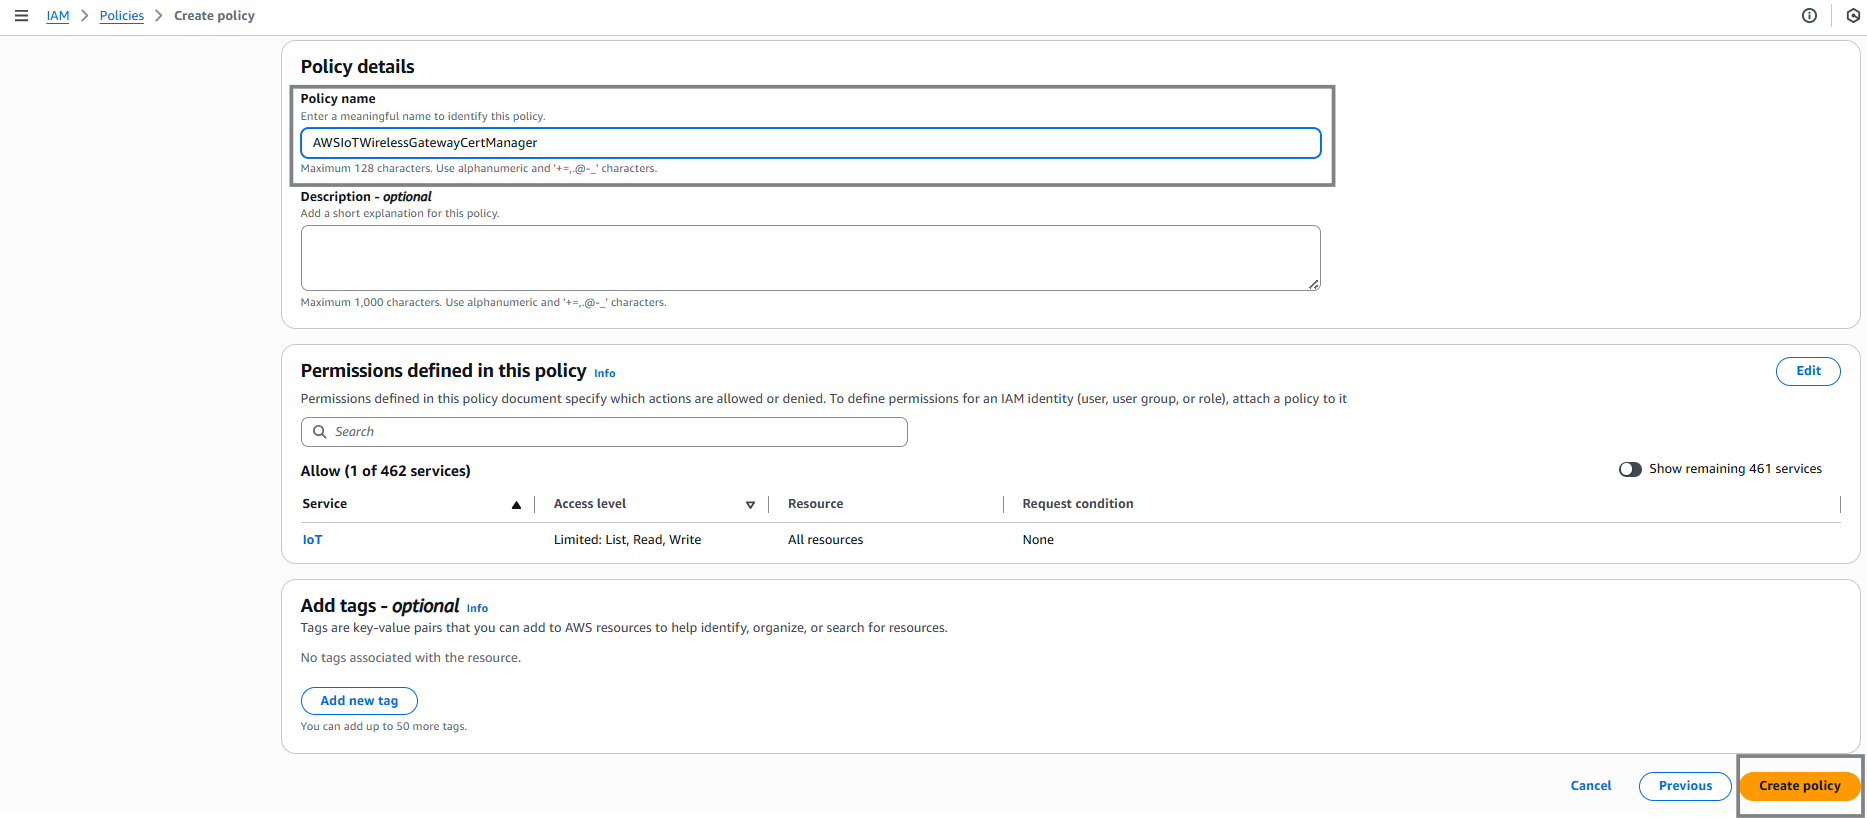
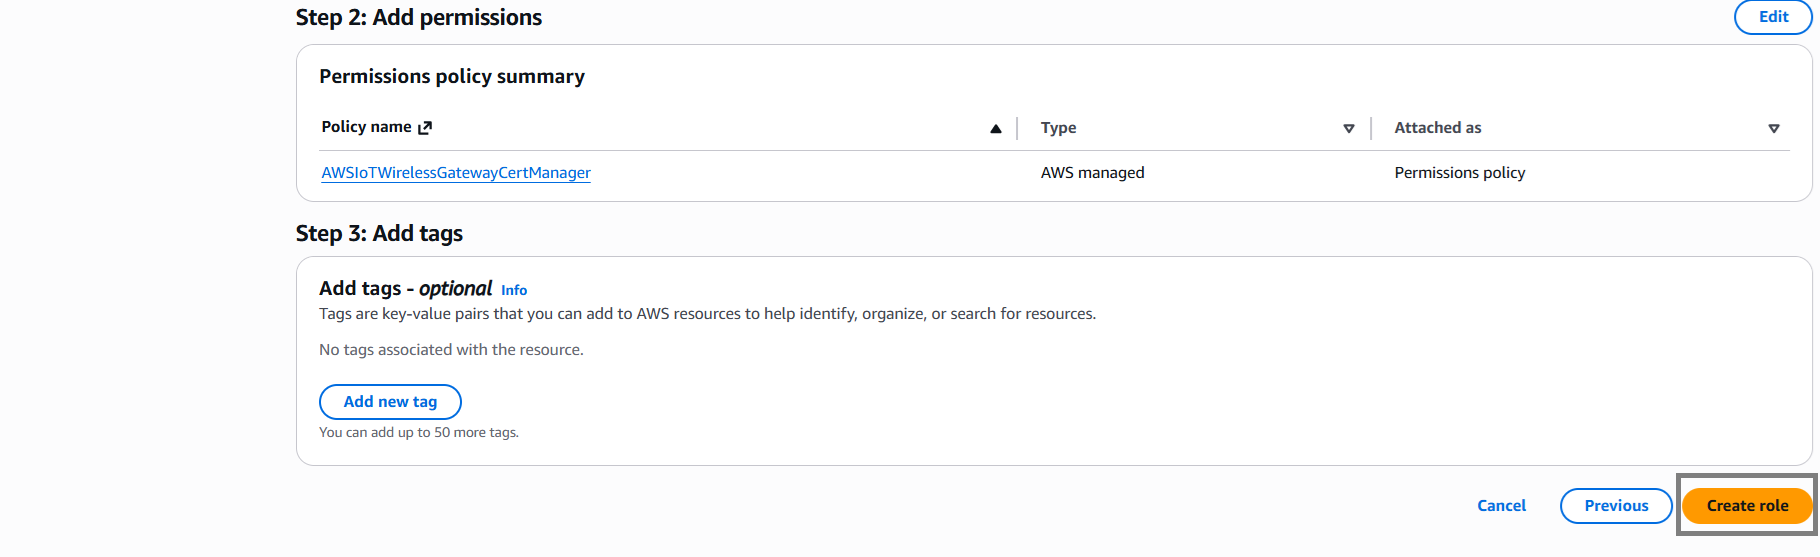
- Choose Next, name the policy AWSIoTWirelessGatewayCertManager, and click Create policy.
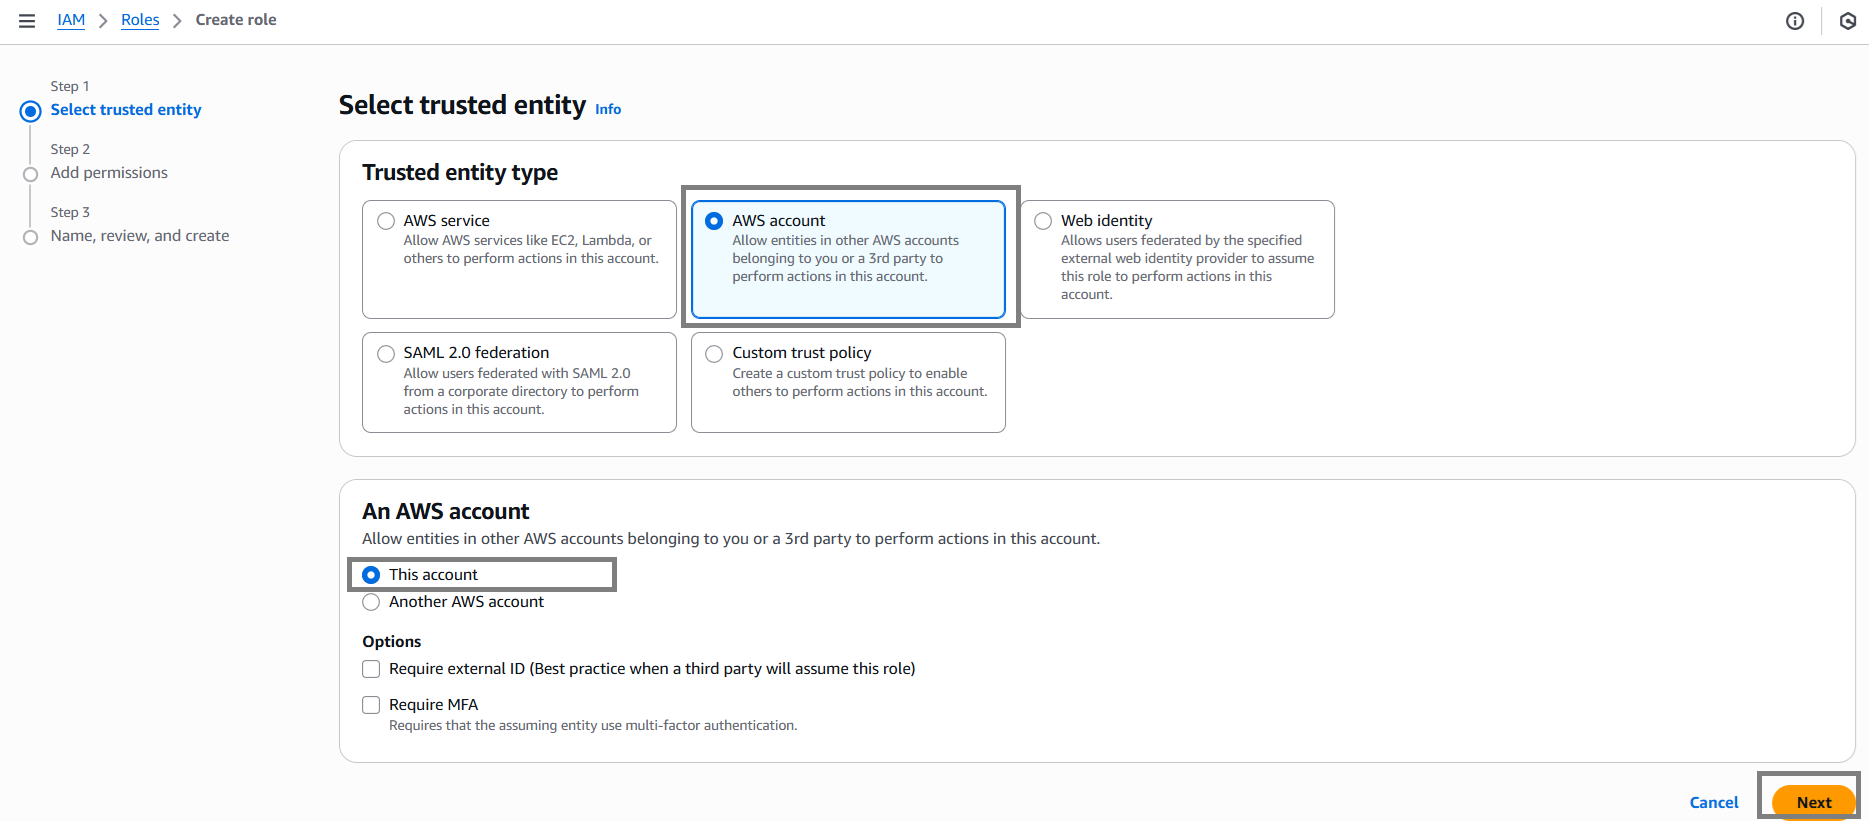
- Go to Roles → Create role → AWS account → This account → Next.
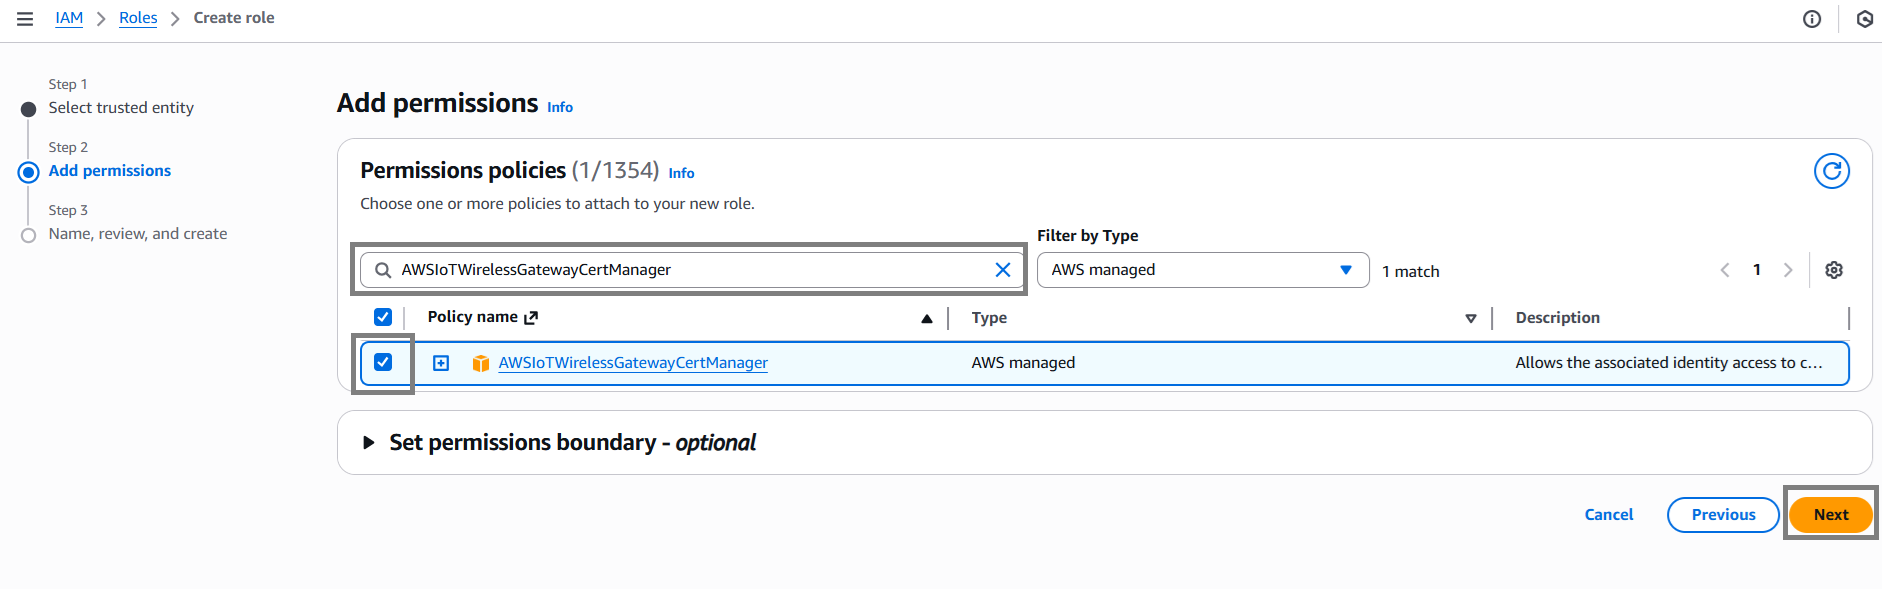
- Attach the policy AWSIoTWirelessGatewayCertManager.
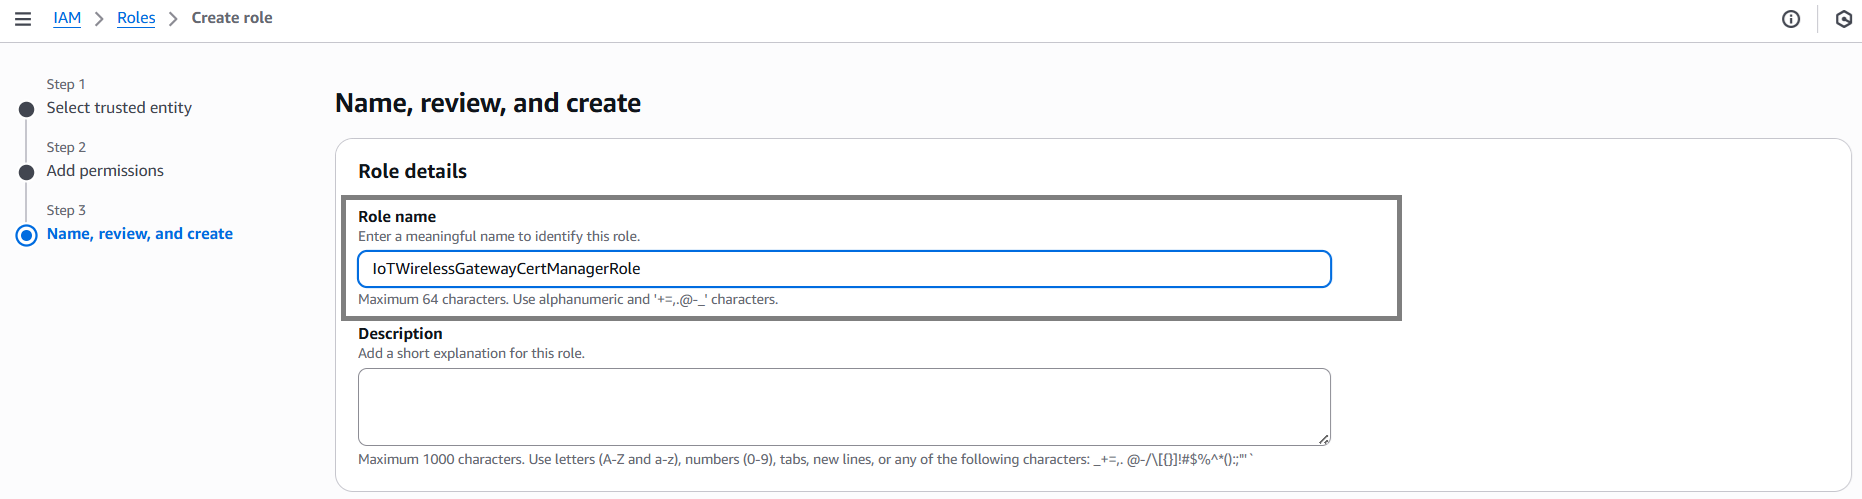
- Name the role IoTWirelessGatewayCertManagerRole.
- Select Create role.
-
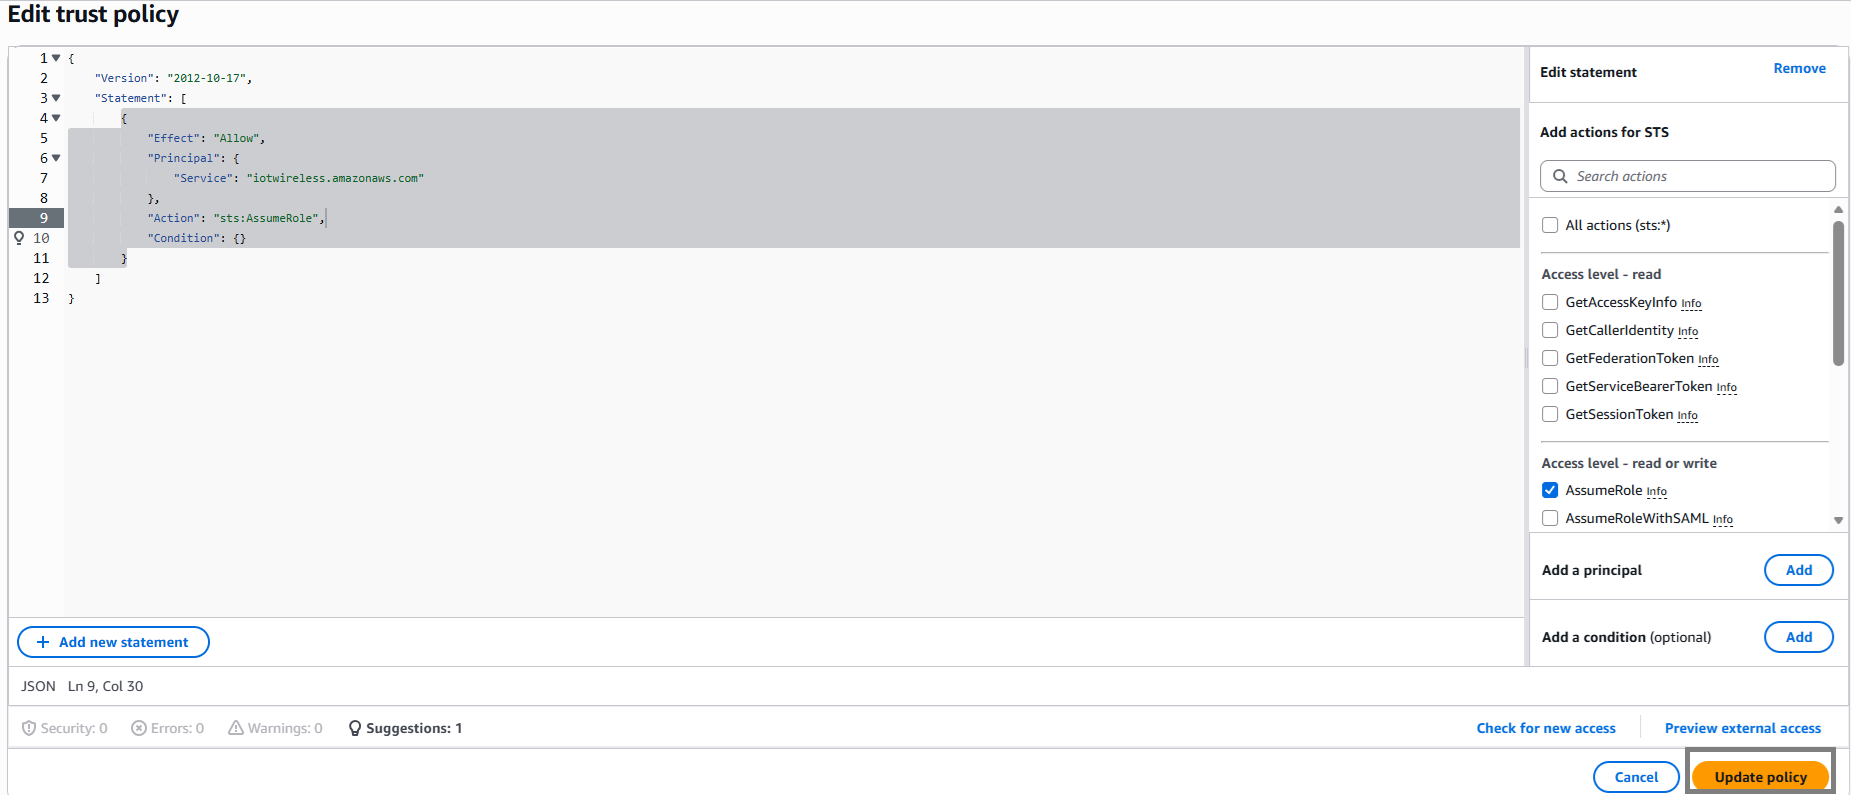
Edit the new role’s Trust relationship and update it as follows:
{
  "Version": "2012-10-17",
  "Statement": [
    {
      "Effect": "Allow",
      "Principal": {
        "Service": "iotwireless.amazonaws.com"
      },
      "Action": "sts:AssumeRole"
    }
  ]
}

- Save the trust policy by choosing Update policy.
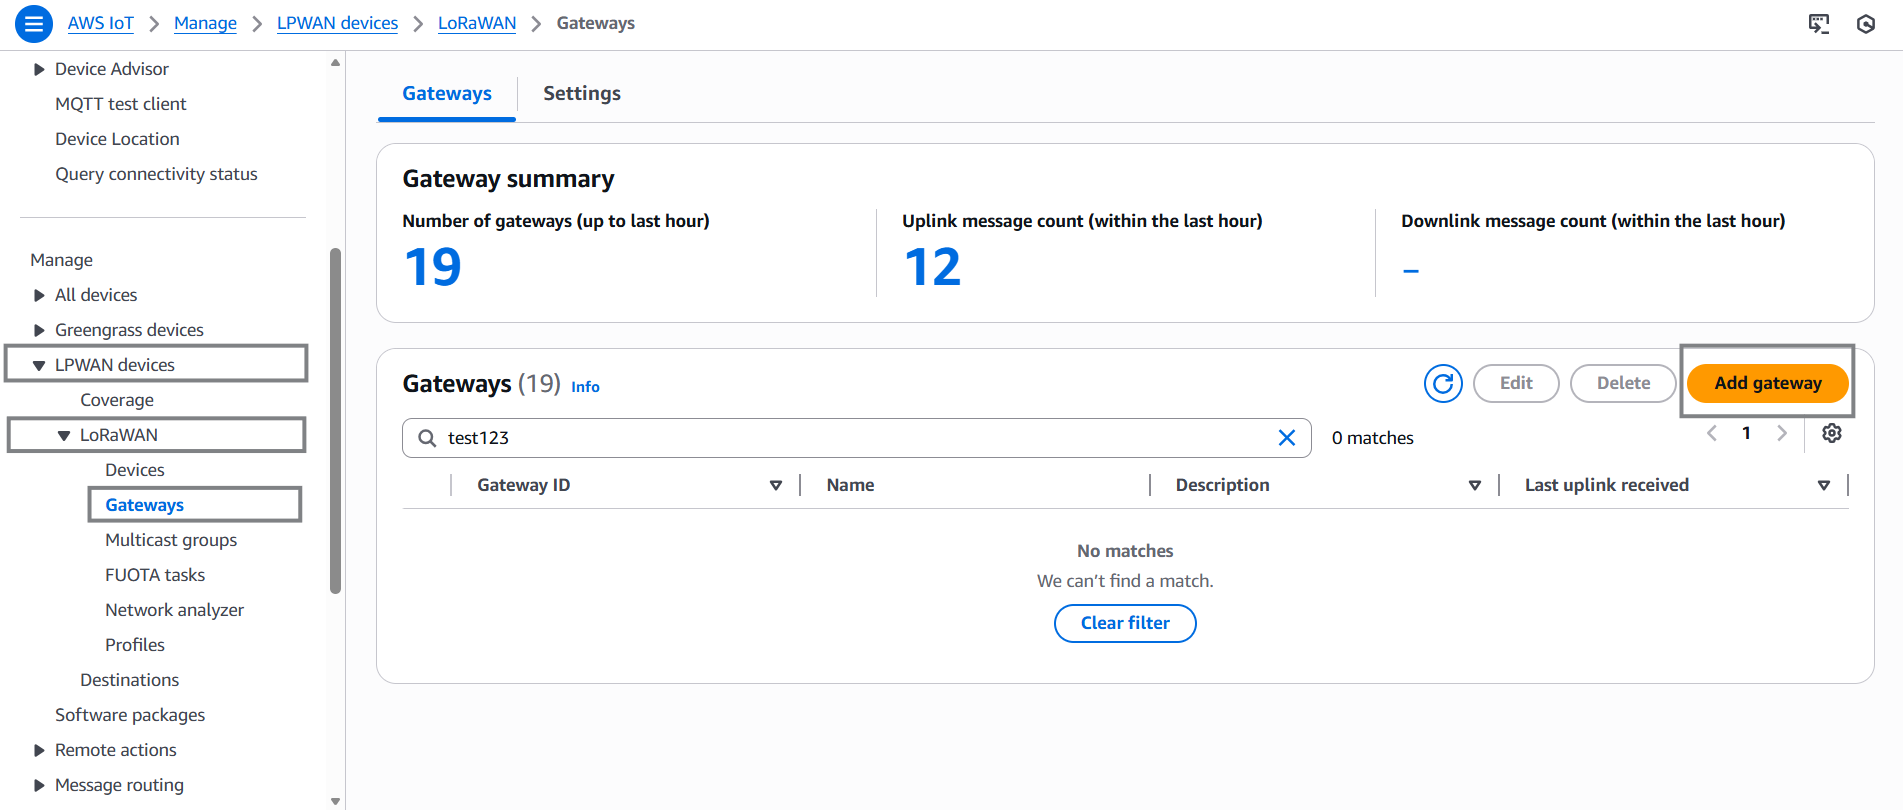
- Open the AWS IoT Core for LoRaWAN Console → LPWAN devices → Gateways → Add gateway.
-
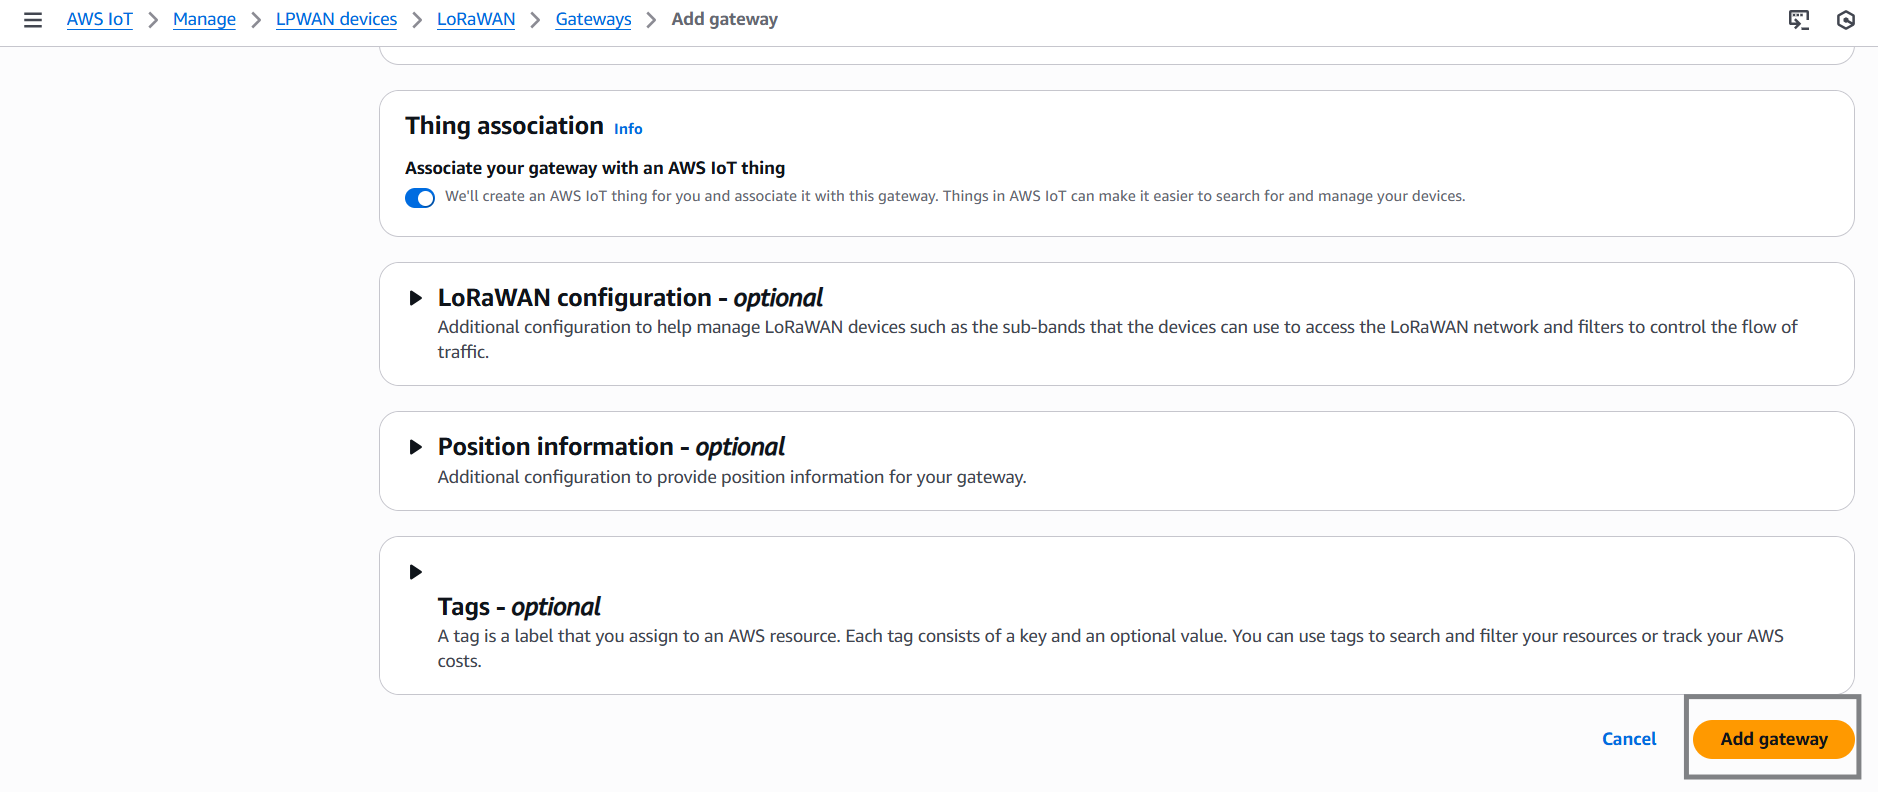
Enter the following information:
- Gateway EUI – printed on the gateway label.
- Frequency band – select the appropriate LoRaWAN region (e.g., US915, EU868).
- Optionally, enter a name for the gateway.

- Click Add gateway.
-
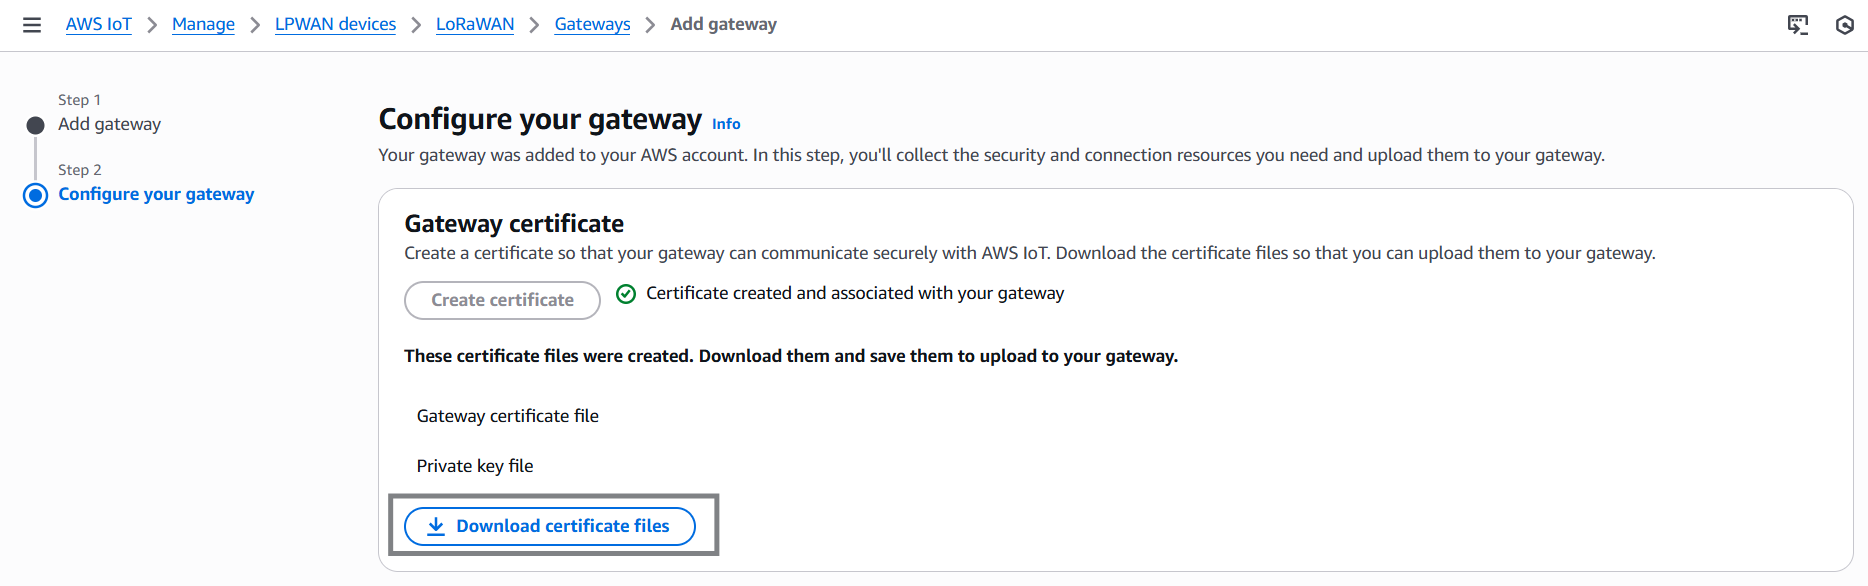
On the Configure your gateway page:
- Choose Create certificate.
- Download the certificate (
xxxx.cert.pem) and private key (xxxx.private.key).

-
Rename and duplicate the files as follows:
cups.crt ← xxxx.cert.pem cups.key ← xxxx.private.key -
Under Provisioning credentials, choose Download server trust certificates.
- Keep
cups.trustas is.
- Keep
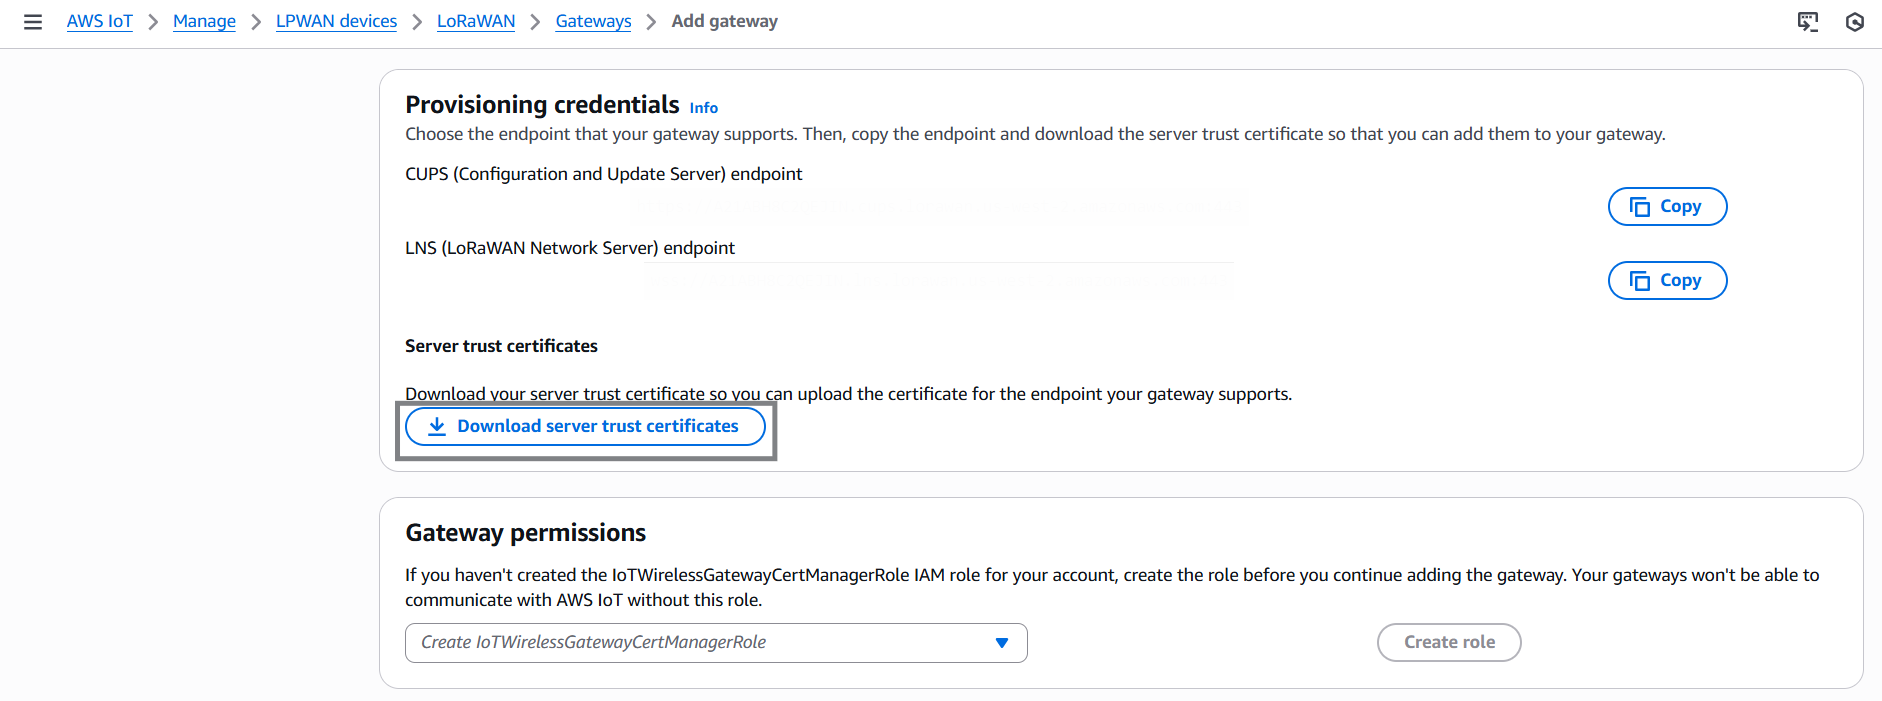
- Copy the endpoint URLs:
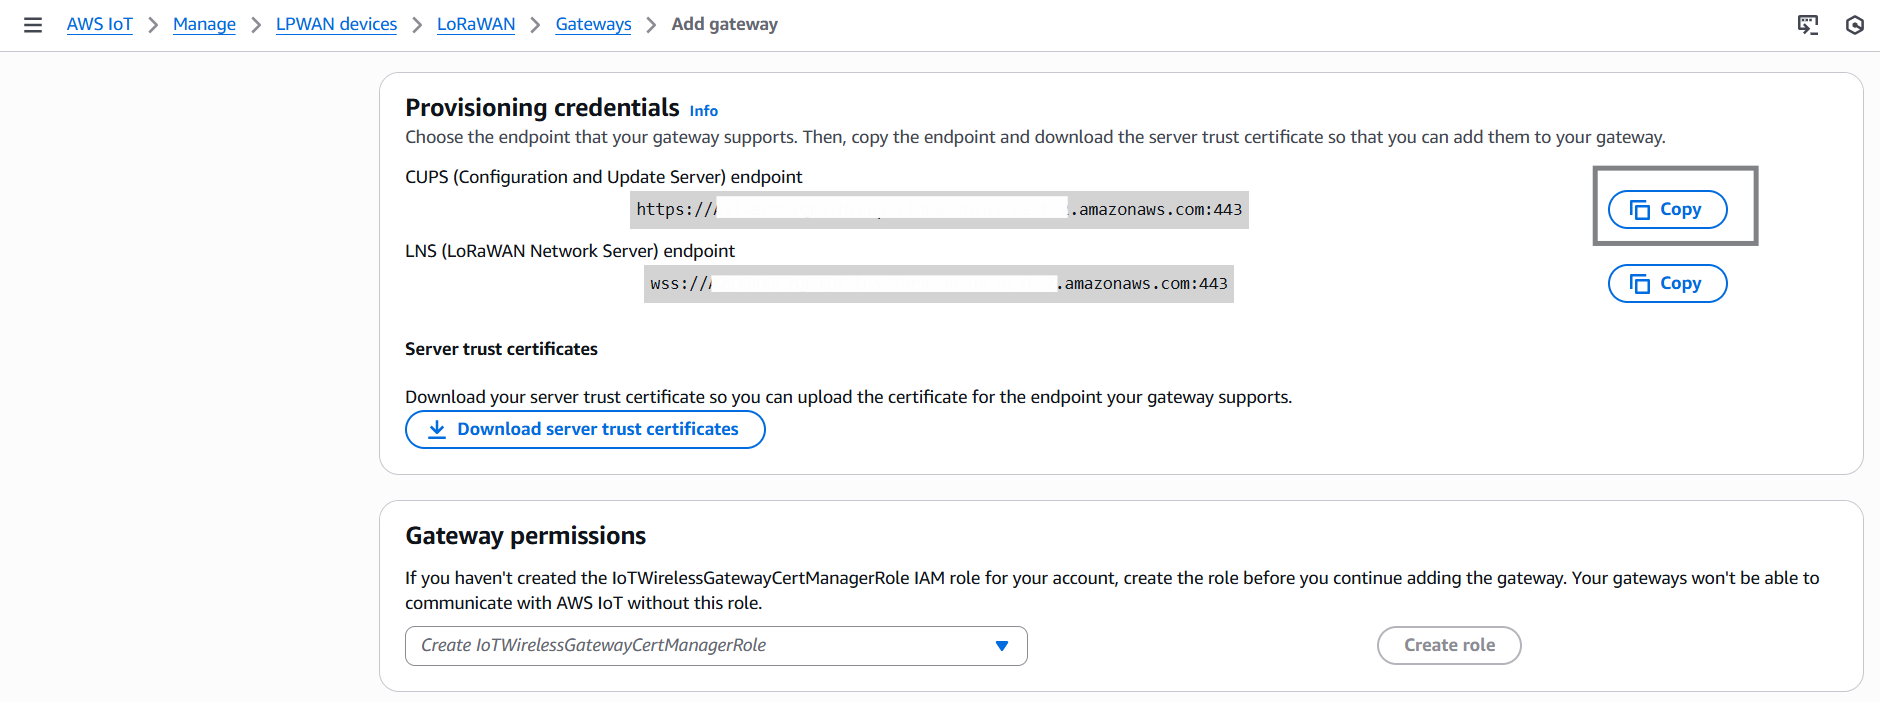
-
Create a text file named
cups.uricontaining your CUPS endpoint (e.g.):https://EXAMPLE.cups.us-east-1.amazonaws.com:443
-
You should now have the following four files ready:
cups.uri cups.trust cups.crt cups.key -
Select the role IoTWirelessGatewayCertManagerRole and click Submit to complete gateway registration.
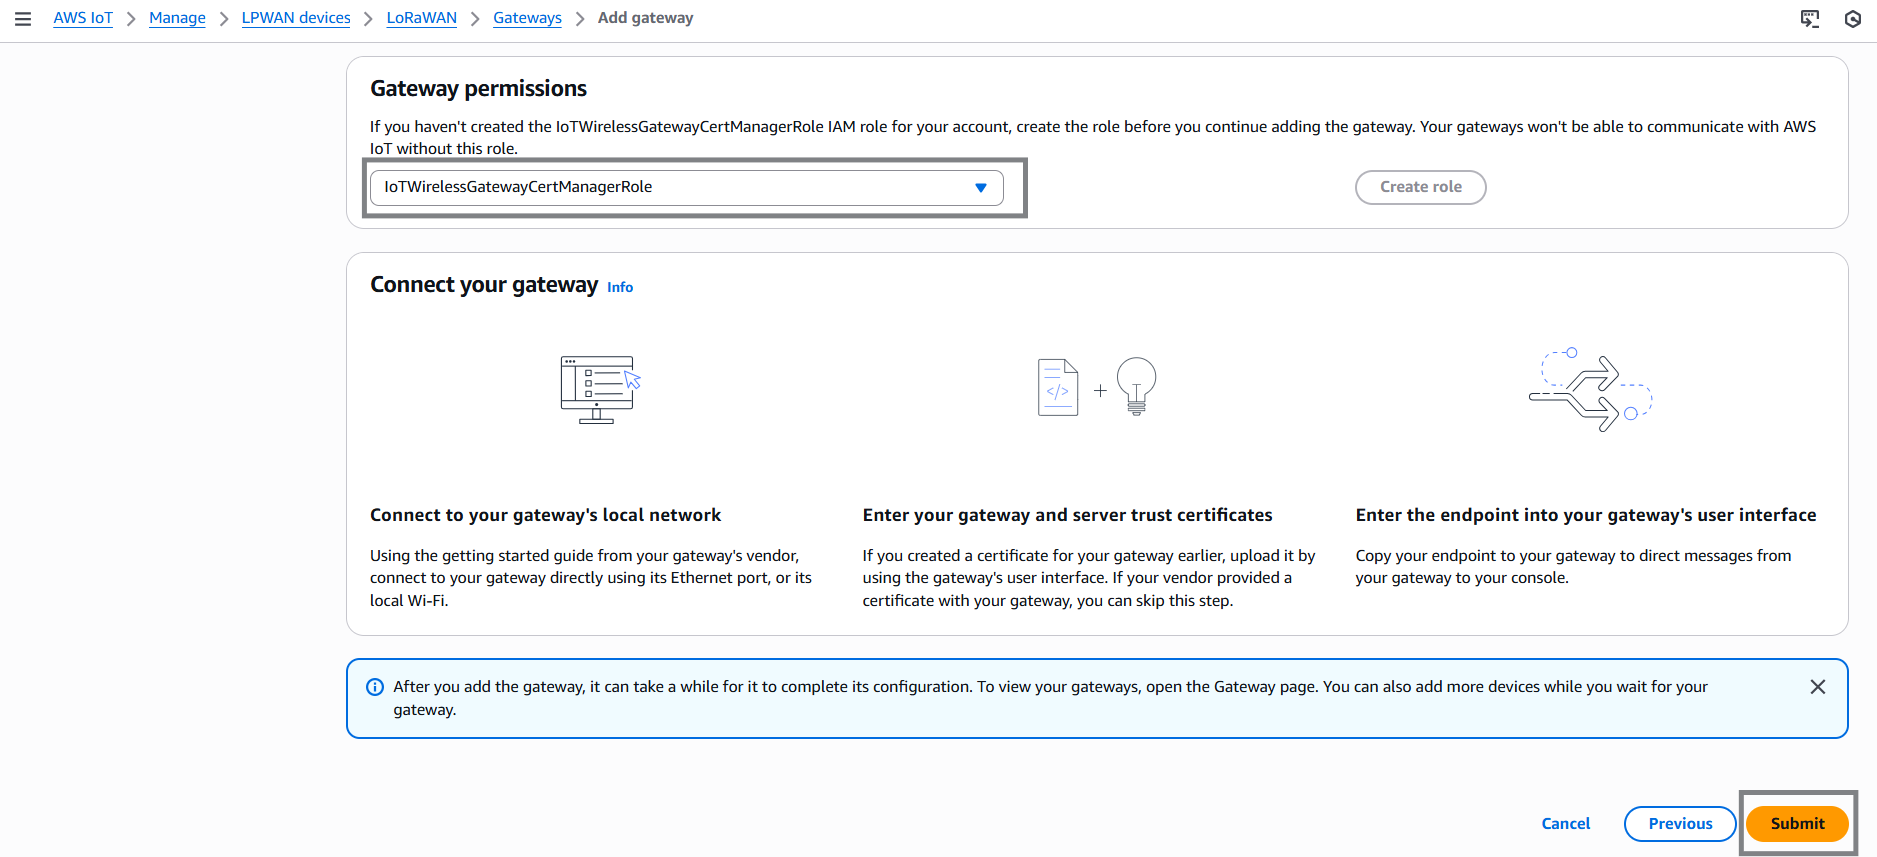
Once the AWS side setup is complete, configure the gateway through KONA Link.
- Log in to KONA Link using your gateway’s hostname or IP address:
http://kona-<model>-<last 6 digits of ID>.local/
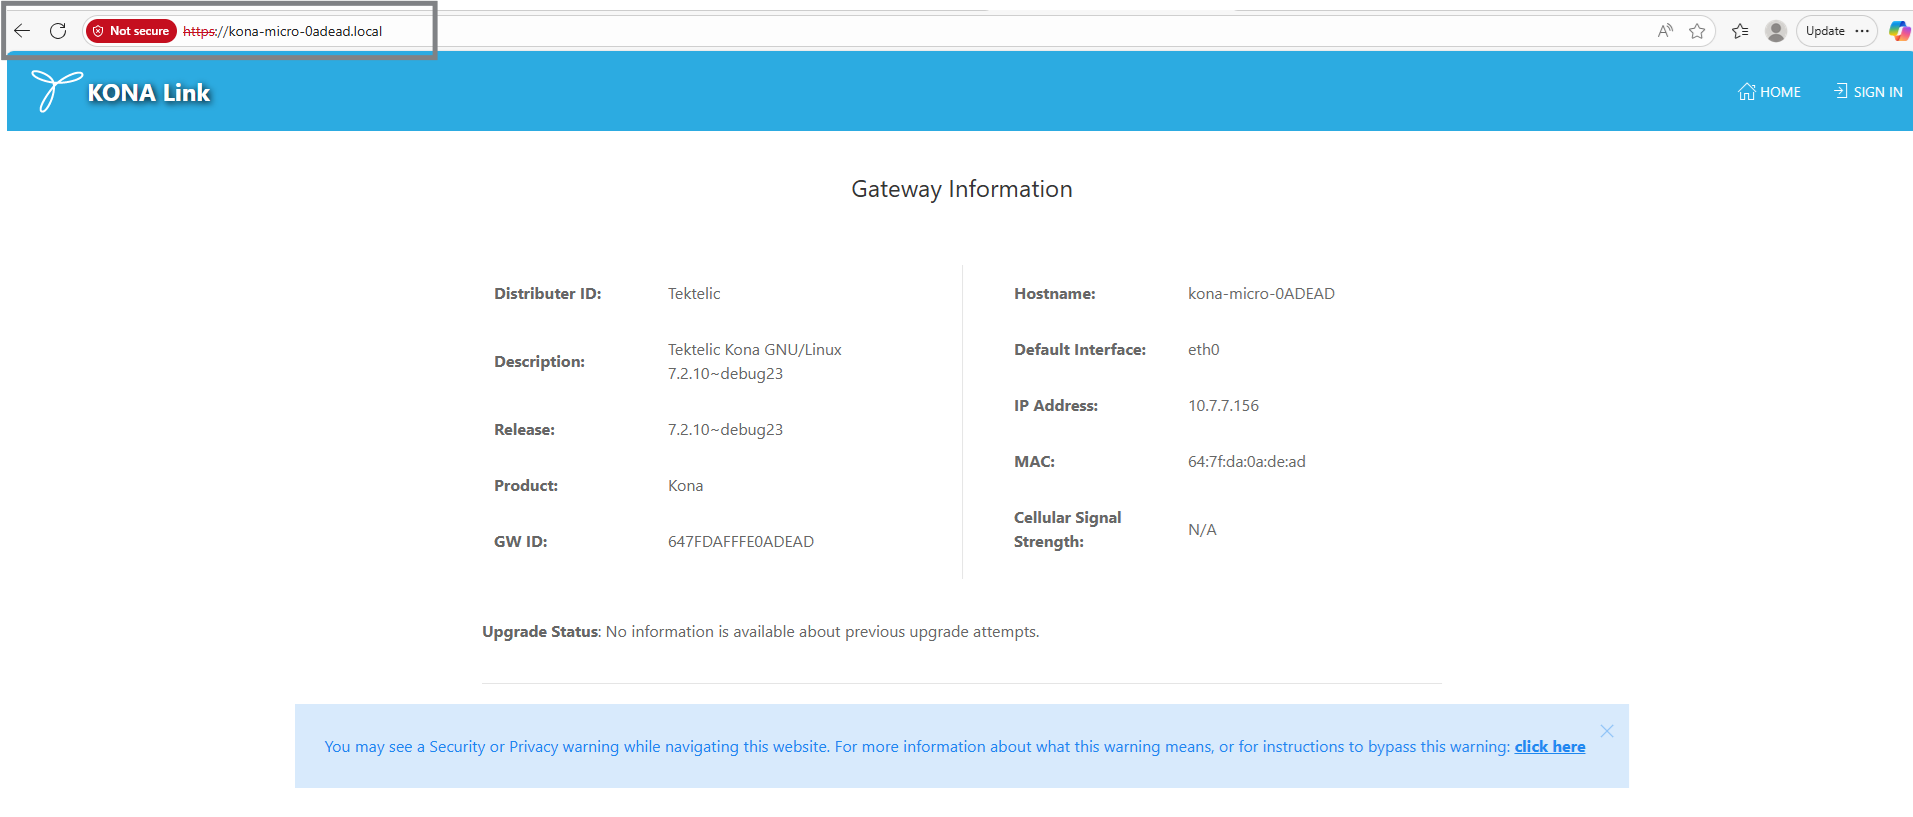
http://<GW IP address>/
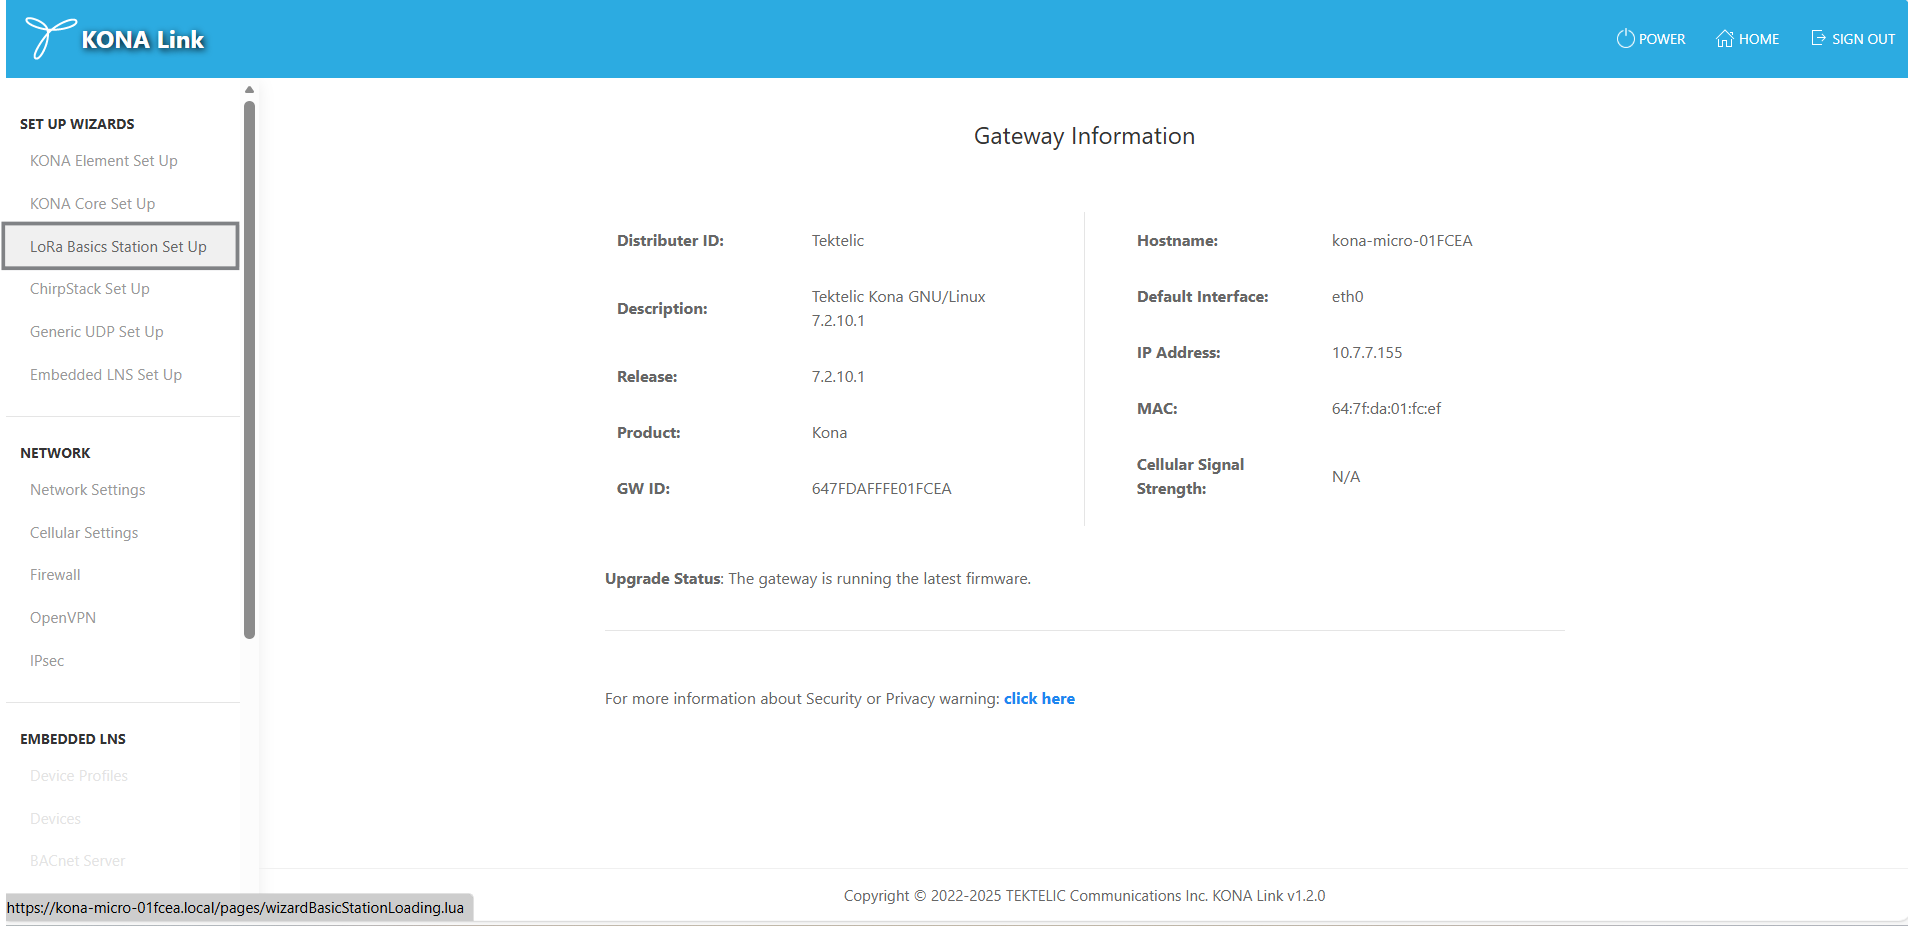
- From the main menu, select Setup Wizards → LoRa Basics Station Setup.
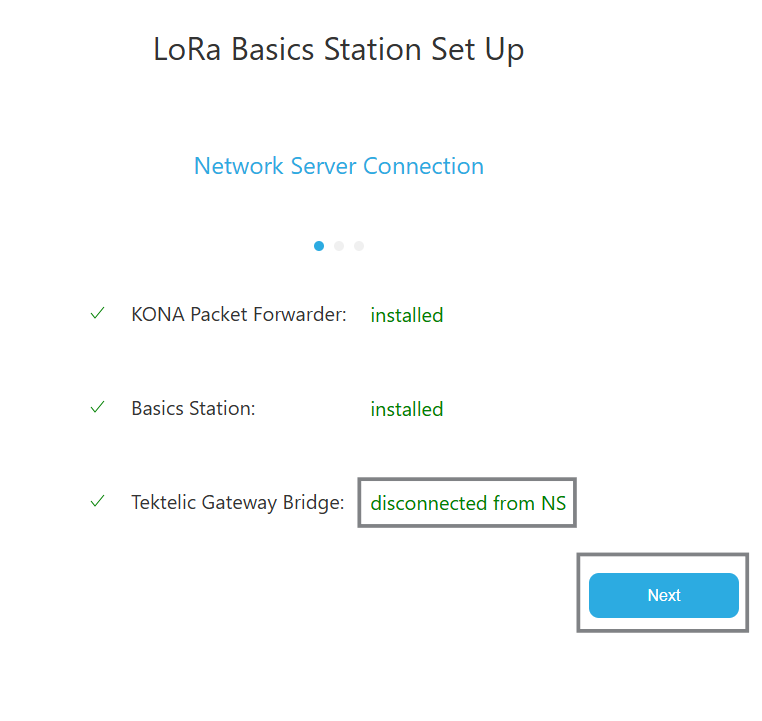
- When prompted, ensure that the gateway is not connected to KONA Core. Click Next to continue.
-
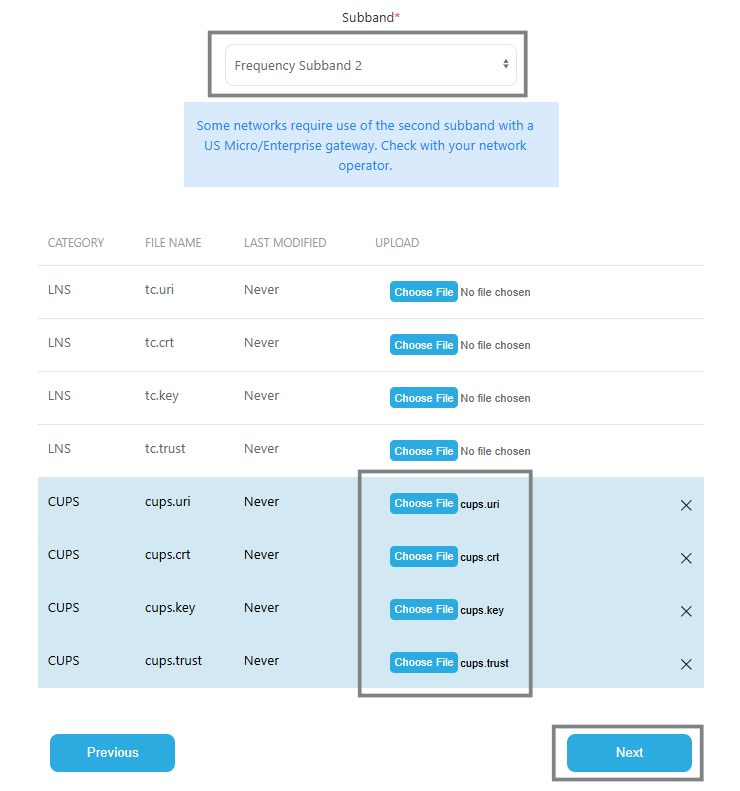
Select the frequency subband that matches your AWS region (default is 2).
-
Upload all four files prepared earlier:
cups.uri
cups.trust
cups.crt
cups.key
-
Click Next, then Done.
-
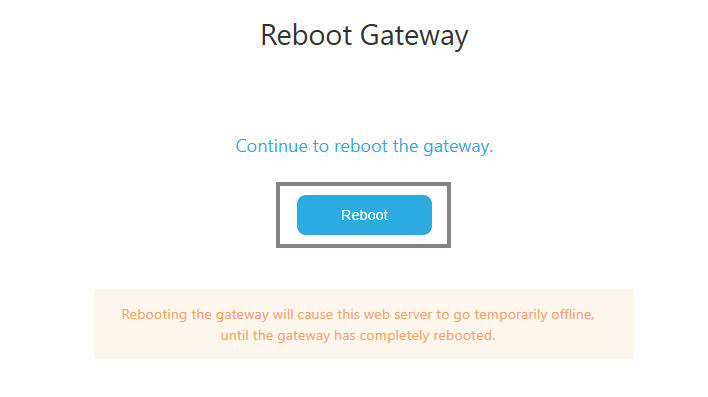
Reboot the gateway when prompted.
After the gateway restarts:
- In KONA Link, confirm that the Basics Station status shows Connected.
- In the AWS IoT Console, go to: Manage → LPWAN devices → Gateways
- Verify that the Last uplink received field shows a recent timestamp.
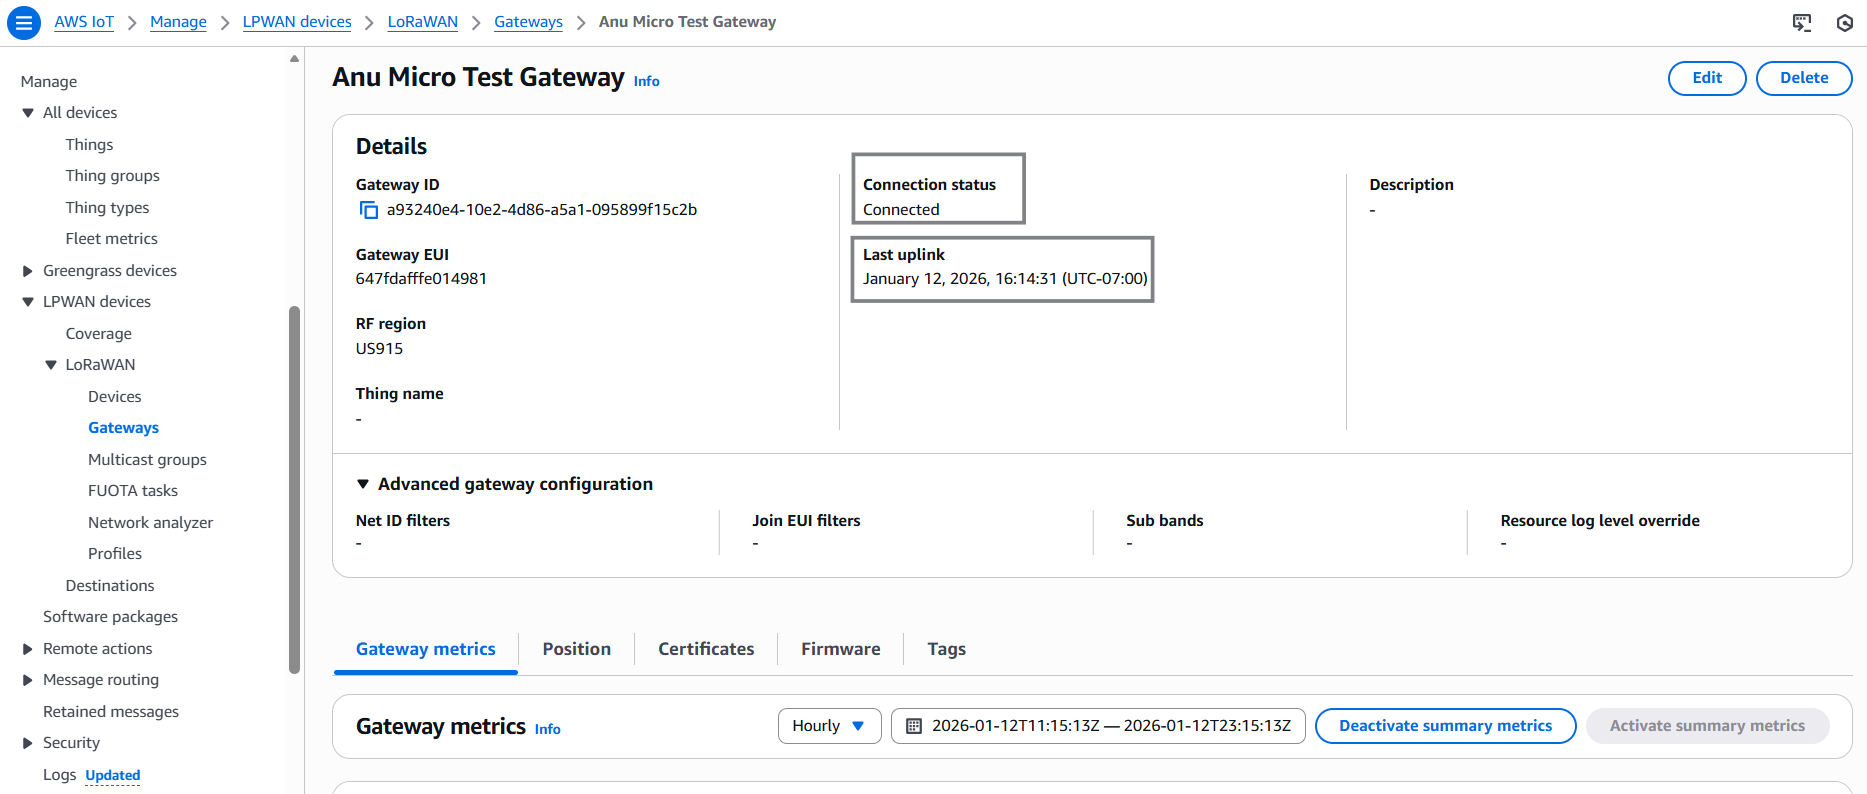
If data is flowing, your KONA gateway is successfully connected to AWS IoT Core for LoRaWAN.
You have now integrated your TEKTELIC KONA gateway with AWS IoT Core for LoRaWAN using the LoRa Basics™ Station protocol and the KONA Link web interface. All security credentials are managed using AWS IAM and CUPS/LNS trust files, providing a secure and reliable connection between your gateway and AWS IoT Core.