Semtech's LoRa Cloud token setup
1.Open Semtech’s LoRa Cloud™ instance: https://www.loracloud.com/

2.Click on the “Login” button.

3.For users that already have a Semtech’s LoRa Cloud™ account, please choose the “Log In” option and fill out the fields with the account credentials. Click on the “Log In” button to enter your Semtech’s LoRa Cloud™ account.

4.For new users of Semtech’s LoRa Cloud™, please choose the “Sign Up” option and fill out the fields with the credentials that will be used for the account. Click on the “Sign Up” button to proceed with the account registration.

5.After the registration part has been successfully finished/the user has successfully entered the existing Semtech’s LoRa Cloud™ account, please complete the 2FA verification using either Google Authenticator or the SMS message sent to the user’s mobile number mentioned during the registration part.

6.After the user has successfully entered their Semtech’s LoRa Cloud™ account, click on the “Services” section and choose the “Modem & Geolocation Services” option.

7.On the “Modem & Geolocation Services” page, choose the “Device Owners” section.

8.On the “Manage Device Owners” screen, click on the “Create New Owner” button.

9.Enter the name that will be used for the “Device Owner."

10.Click on the “Submit” button to save the “Device Owner” entity.

11.After the new device owner entity has been successfully created, choose the “Manage Tokens” section.

12.On the “Manage Tokens” page, find the first generated token on the list and click on the “Copy” button to save the token. This token will be used in the future.

At this point, it is assumed that user successfully finished SetupWizard onboarding procedure.
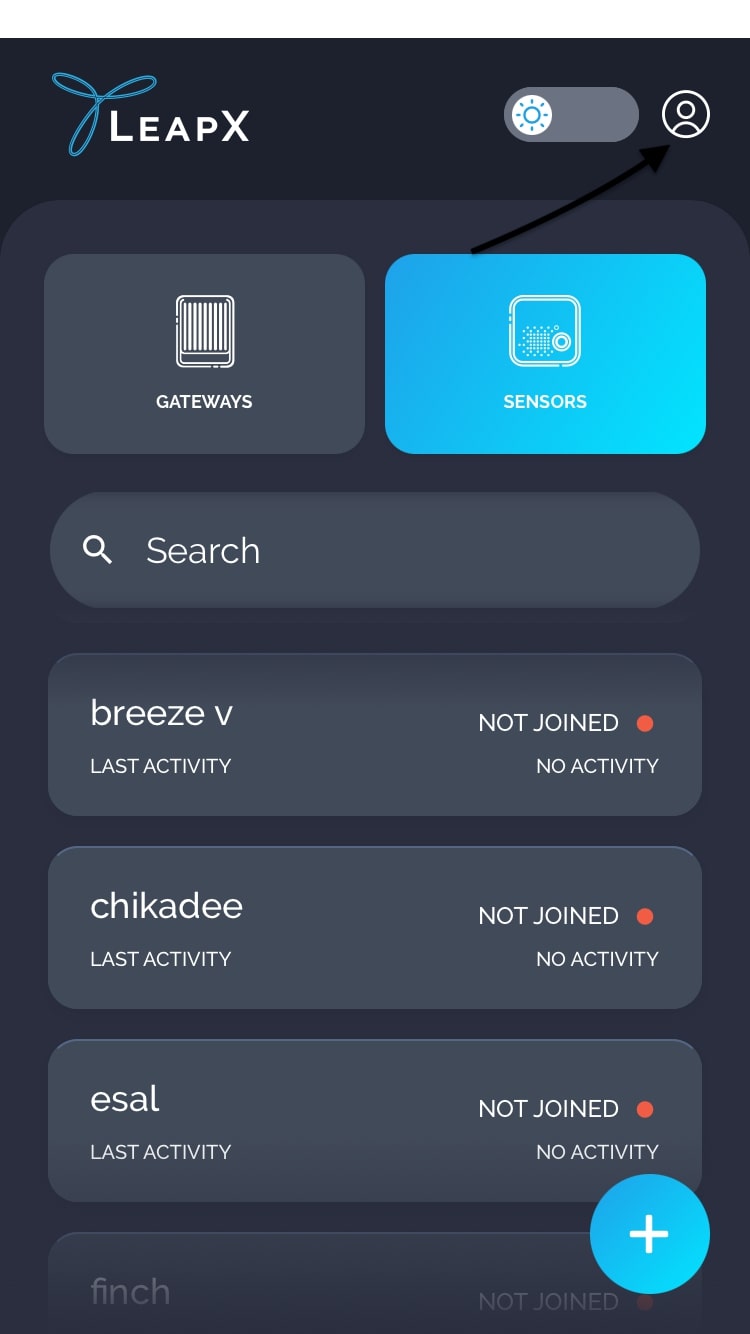
1.Tap on “Human” button to open “Account settings” screen.

2.Tap on “Semtech LoRa Cloud” button to open it.

3.Paste the token value from the “Semtech LoRa Cloud” into the field.

4.Tap on “Submit” button to save changes.
